
As an Amazon Associate I earn from qualifying purchases.
Wire wrapping for beginners looks intimidating in photos. Rows of neat coils, stones locked in place with no glue, no solder, nothing holding it together but bent metal. Searches for the technique show up regularly on Pinterest Trends, and it looks like a skill that takes years.
It doesn’t. Most of what makes a wrapped pendant look “professional” comes down to two moves: the basic loop and the wrapped loop. Once your hands know those two moves, you can wrap almost any small stone you own.
This guide skips the fancy weaves and jumps straight to the project most beginners actually want to finish in one sitting: a single wrapped stone pendant, made with a tumbled crystal that has no drilled hole. No specialty tools, no soldering iron, no waiting for glue to cure.
You’ll still bend a few wires wrong the first time. Everyone does. The goal here is a pendant you’ll actually wear, kinks and all.
What You Need
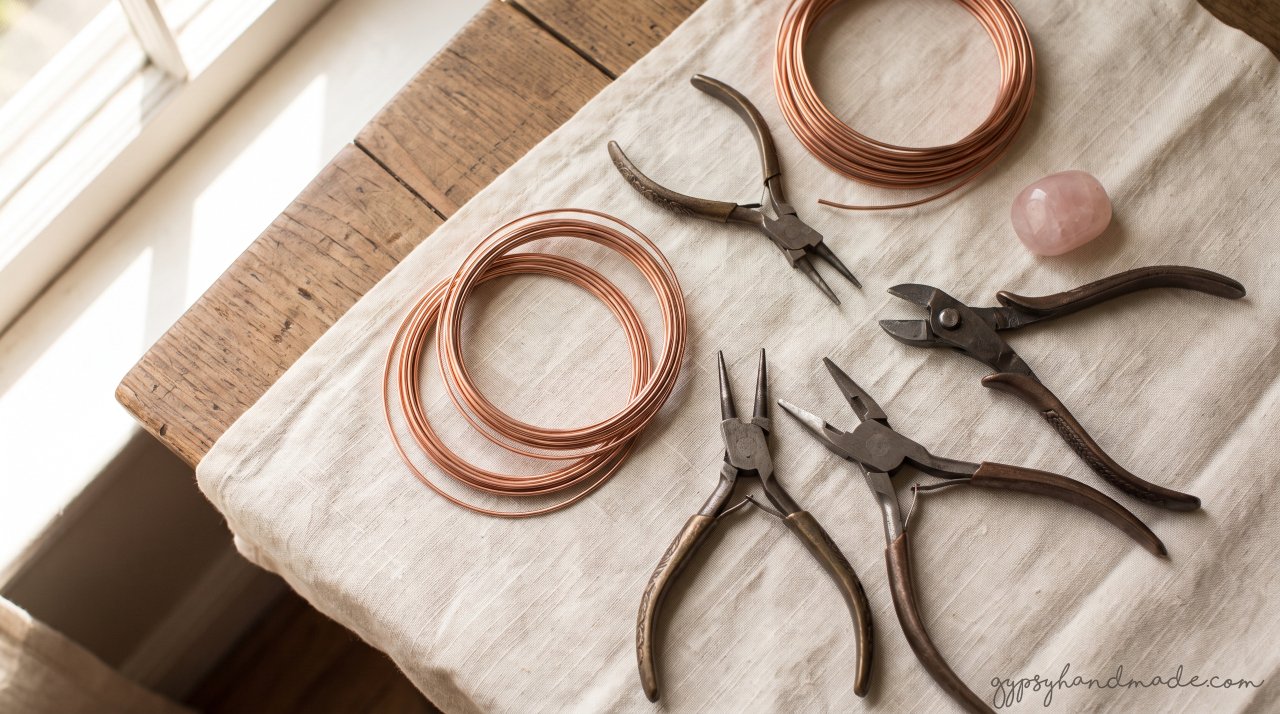
- 20-gauge (0.8mm) dead-soft copper or silver-plated wire, 3 feet
- One tumbled stone or crystal, roughly 1 to 1.5 inches, no hole needed (rose quartz, tiger’s eye, and amethyst all wrap well for a first project)
- Round-nose pliers
- Flat-nose (chain-nose) pliers
- Flush wire cutters
- A 6-inch ruler or measuring tape
- One jump ring, 6mm
- A cord or chain to finish the necklace
Skip jewelry-grade tools for now. A basic three-piece pliers and cutter set from a craft store runs under $20 and will get you through several projects before you need anything sharper or more precise. The same pliers work for making beaded bracelets, so it’s worth having them on hand beyond this one project.
Step 1: Straighten Your Wire Before You Do Anything Else
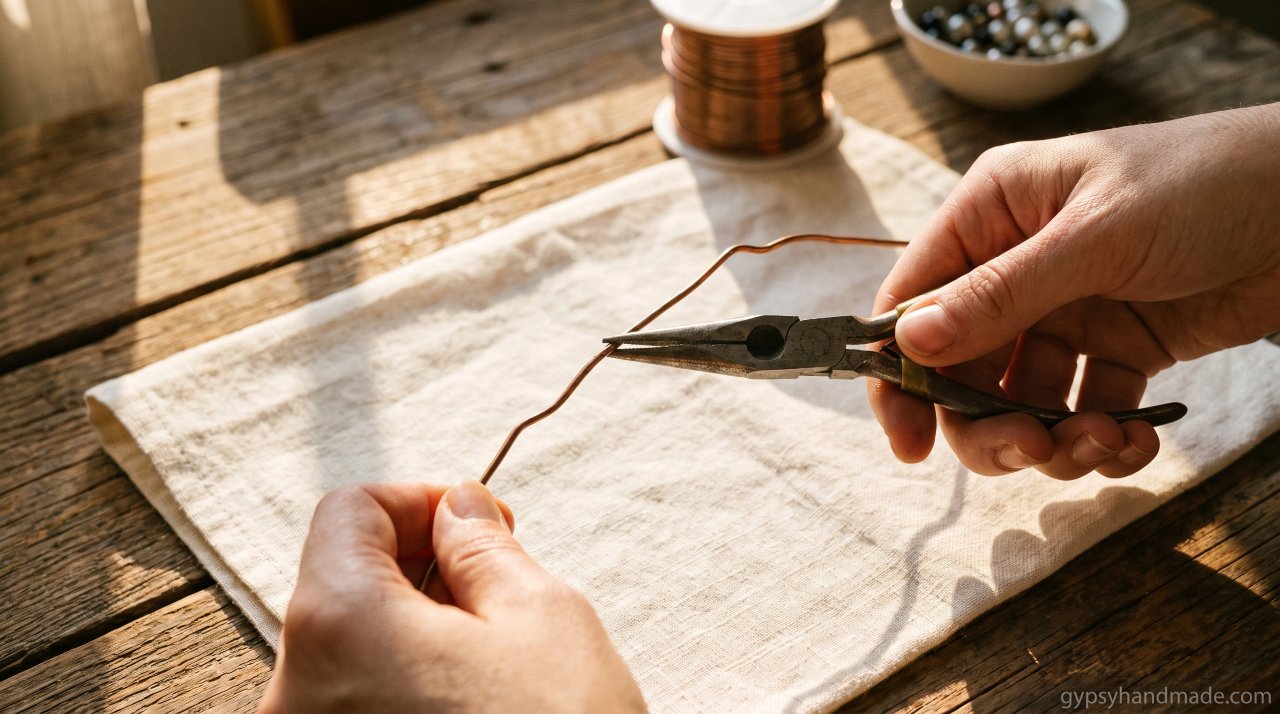
Wire comes off the spool with a curve baked into it, and that curve fights you the whole way through the project if you skip this step. Run the wire between your thumb and the flat side of your flat-nose pliers, pulling it through slowly two or three times.
Kinked wire is the single most common reason a first pendant looks amateurish. A kink work-hardens the metal at that exact spot, so pliers can’t smooth it out later. Straighten now, or start over with a fresh piece.
Done correctly, the wire should lie flat on your table without curling back on itself.
Step 2: Cut Your Wire to Length
Measure and cut two pieces: one 18-inch piece for wrapping the stone, and one 6-inch piece for the wrapped loop at the top. Cutting both now means you’re not scrambling for more wire mid-wrap with a half-finished pendant in your hand.
New wrappers almost always cut too short, trying to save wire. Extra length gives you room to fix a wrap that goes crooked, and any leftover gets trimmed flush at the end anyway.
Done correctly, you’ll have two clean-cut lengths with no jagged or bent ends.
Step 3: Cage the Stone With Your 18-Inch Wire
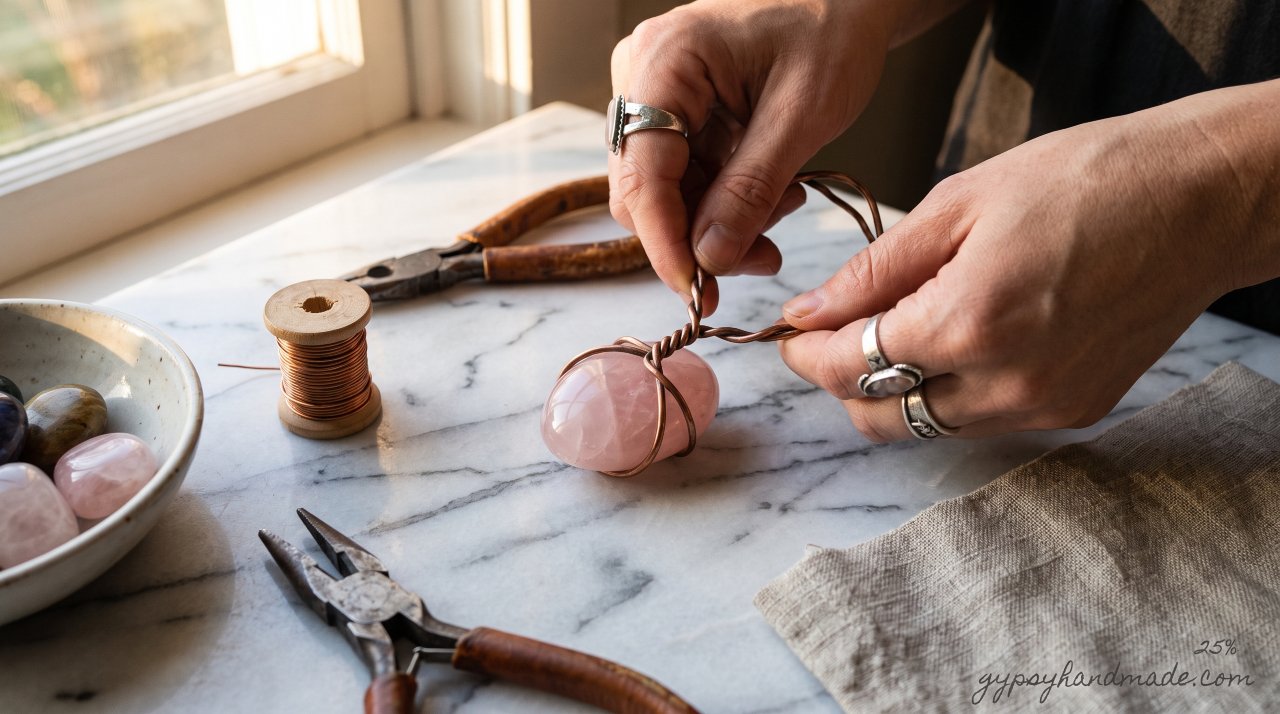
Find the center of your 18-inch wire and lay the stone across it, then bring both ends up and over the top, crisscrossing them like you’re gift-wrapping a small box. Snug the wire against the stone’s narrowest point so it can’t slip out sideways.
This is where patience matters more than skill. Stones without a drilled hole rely entirely on wire tension to stay put, so if the cage feels loose, unwrap and start the crisscross again rather than pushing forward.
Done correctly, the stone shouldn’t wiggle when you gently shake the wire cage.
Step 4: Bring the Wires Together at the Top
Once the stone is caged, gather the two wire ends directly above the stone and twist them around each other three or four times using your fingers, then finish the twist tightly with flat-nose pliers. This twisted section becomes the neck of your pendant.
A loose twist here is the second most common failure point, right after kinked wire. If the twist isn’t tight, the whole pendant will tilt sideways once it’s on a chain.
Done correctly, the twist sits centered above the stone and doesn’t loosen when you tug gently.
Step 5: Make a Wrapped Loop With the 6-Inch Wire
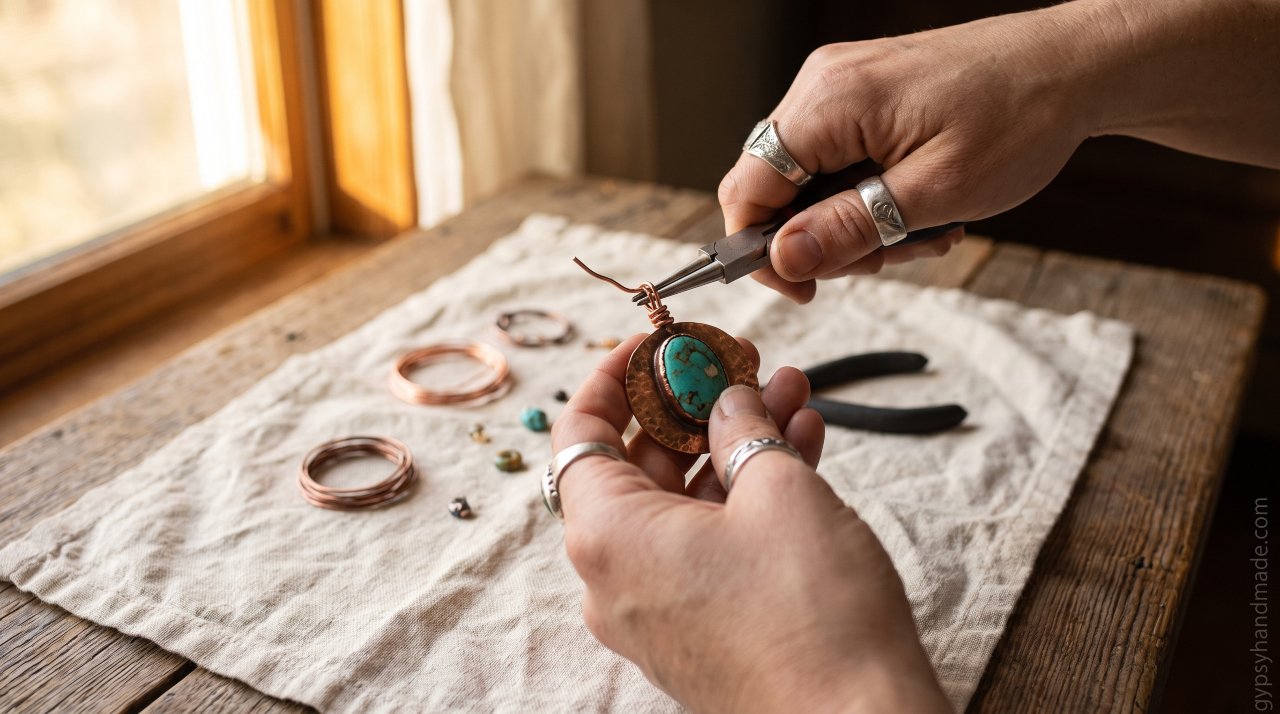
Trim the twisted section down to about half an inch, then use your round-nose pliers to bend that half-inch straight up and curl it into a loop. Take your 6-inch wire, thread it through the loop, and wrap it downward around the twisted neck three or four times before trimming the tail flush.
A wrapped loop, unlike a simple bent loop, won’t open under the everyday tug of a chain or clasp. This is the detail that separates a pendant that survives daily wear from one that falls apart in a pocket.
Done correctly, the loop sits at a right angle to the stone and the wrapped coils below it lie flat with no gaps.
Step 6: Attach the Jump Ring and String Your Chain
Open the jump ring sideways, never straight apart, by twisting one end toward you and the other away. Slide it through your wrapped loop, close it the same way you opened it, and thread your cord or chain through.
Pulling a jump ring straight open instead of twisting it distorts the metal and leaves a visible gap that never fully closes again. This one habit will save every jump ring you own from here forward.
Done correctly, the jump ring closes with no visible seam and the pendant hangs straight when you hold the chain up.
Common Mistakes (and How to Fix Them)
The stone slips out of the cage. The crisscross wasn’t snug enough at the stone’s narrowest point. Unwrap and recage, pulling each pass tighter before moving to the next.
The pendant hangs crooked. The twist above the stone was uneven or loose on one side. Untwist back to the stone and redo it with even pressure on both wires.
The wire snapped while wrapping. This usually means the wire was bent back and forth in the same spot too many times, work-hardening it until it broke. Start that section over with a fresh length rather than trying to salvage the brittle spot.
The loop looks lopsided. Round-nose pliers taper, so where you place the wire on the jaw changes the loop size. Mark a spot on your pliers with a bit of tape so every loop starts from the same point.
Frequently Asked Questions
What gauge wire is best for wire wrapping beginners?
20-gauge dead-soft wire is the standard starting point. It’s thick enough to hold its shape once wrapped but soft enough to bend by hand without special tools.
Do I need a drilled stone for wire wrapping?
No. The caging technique in this guide works on tumbled stones with no hole, which is part of why it’s a good first project. Drilled beads open up other techniques later, but they aren’t required to start.
Is copper or silver wire better for a first project?
Copper is cheaper and forgiving, which makes it the better practice material. Once your technique is consistent, switching to silver-plated or sterling wire for a finished piece costs the same effort with a nicer result, and it’s worth learning how to tell if jewelry is real gold before you invest in higher-end wire or findings.
How much wire do I actually need per pendant?
Budget roughly 24 inches total for a small to medium stone: 18 inches for the cage and twist, 6 inches for the wrapped loop. Larger stones need more wire for the cage.
Why does my wire keep kinking?
Usually from pulling it too fast off the spool or bending it sharply by hand instead of with pliers. Straightening the wire first, and using pliers for tight bends, prevents most kinks before they start.
Can I fix a mistake without starting completely over?
Often, yes. Unwrap back to just before the mistake and redo that section with fresh tension. Full restarts are only necessary if the wire has kinked or work-hardened to the point of snapping.
Wrapping It Up
Wire wrapping for beginners comes down to two habits: straighten your wire before you touch the stone, and keep every twist and wrap snug as you go. Everything else in this guide builds on those two things.
Your first pendant won’t be your best one, and that’s fine. Wrap a second stone this week while the motions are still fresh in your hands, and save this guide so you can walk through the steps again without hunting for your pliers instructions from memory.
If you end up making enough of these to sell, read up on pricing handmade crafts fairly before you list anything, and take a look at the Etsy Seller Handbook for guidance on photographing and describing wire-wrapped pieces for a shop.
Recommended Supplies for Wire Wrapping
- Jewelry Pliers Set (Round Nose, Flat Nose & Cutters) — everything you need to shape, grip, and cut wire cleanly.
- 20-Gauge Tarnish-Resistant Craft Wire — the most beginner-friendly wire gauge. Holds shape without snapping.

