
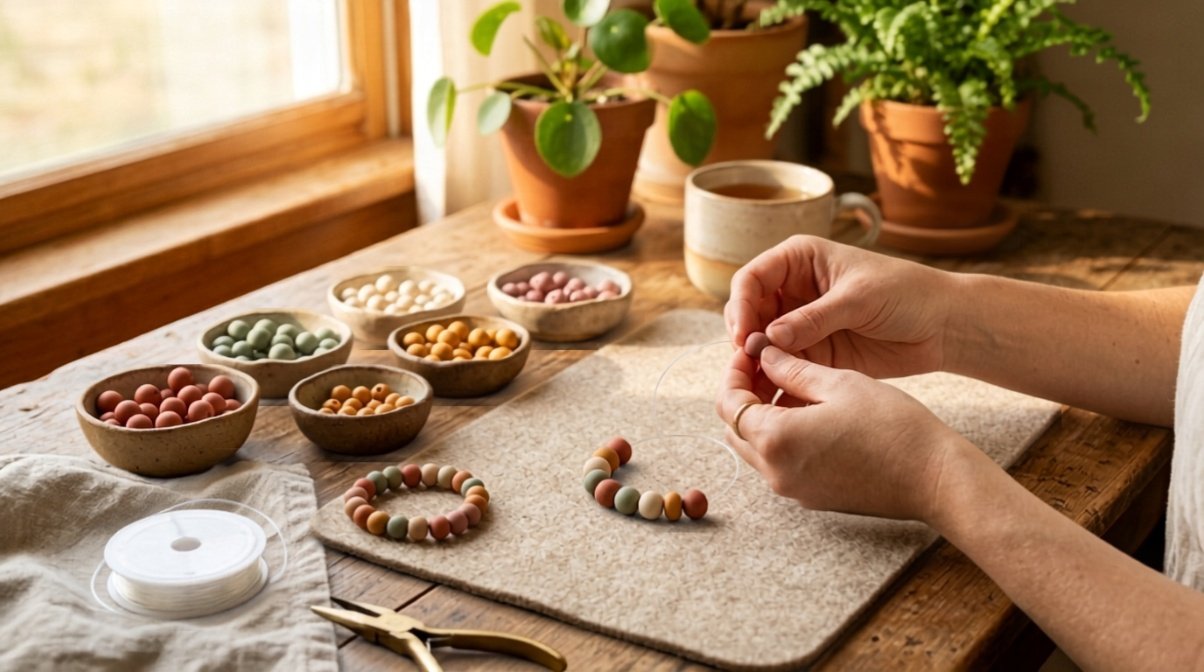
Half the clay bead bracelets people make end up in a drawer. Either the elastic snaps after a week, the beads slide to one side, or the finished piece fits one wrist and nobody else’s. None of that is your fault — it is a materials and math problem, not a creativity problem.
These 15 clay bead bracelet ideas are organized by skill level so you can start where you are and work your way up. Each idea includes the actual bead count for an average adult wrist (17cm / 6.7 inches), the pattern logic behind it, and one tip to keep it holding together long-term.
Quick Answer: Clay Bead Bracelet Ideas at a Glance
Clay bead bracelet ideas range from simple solid-color stacks to detailed letter-word bracelets and themed gradient patterns. The average adult wrist needs 28-32 standard 6mm polymer clay beads per bracelet, strung on 0.8mm or 1mm clear stretch elastic cord. Tie off with a surgeon’s knot (not a regular double knot), add a small dot of jewelry glue, and tuck the knot inside a bead. The 15 ideas below are grouped into Beginner, Intermediate, and Advanced patterns — covering solid stacks, color-blocking, word bracelets, gradient fades, themed sets, and mixed-texture combinations. All work with standard polymer clay beads available at most craft stores.
Before You Start: The Bead Count Formula
Getting fit right is the first thing most tutorials skip. Use this before picking any pattern:
| Wrist Size | Bead Count (6mm beads) | Elastic Length to Cut |
|---|---|---|
| Small (15cm / 5.9″) | 25-27 beads | 25cm (10″) |
| Medium (17cm / 6.7″) | 28-32 beads | 28cm (11″) |
| Large (19cm / 7.5″) | 33-36 beads | 30cm (12″) |
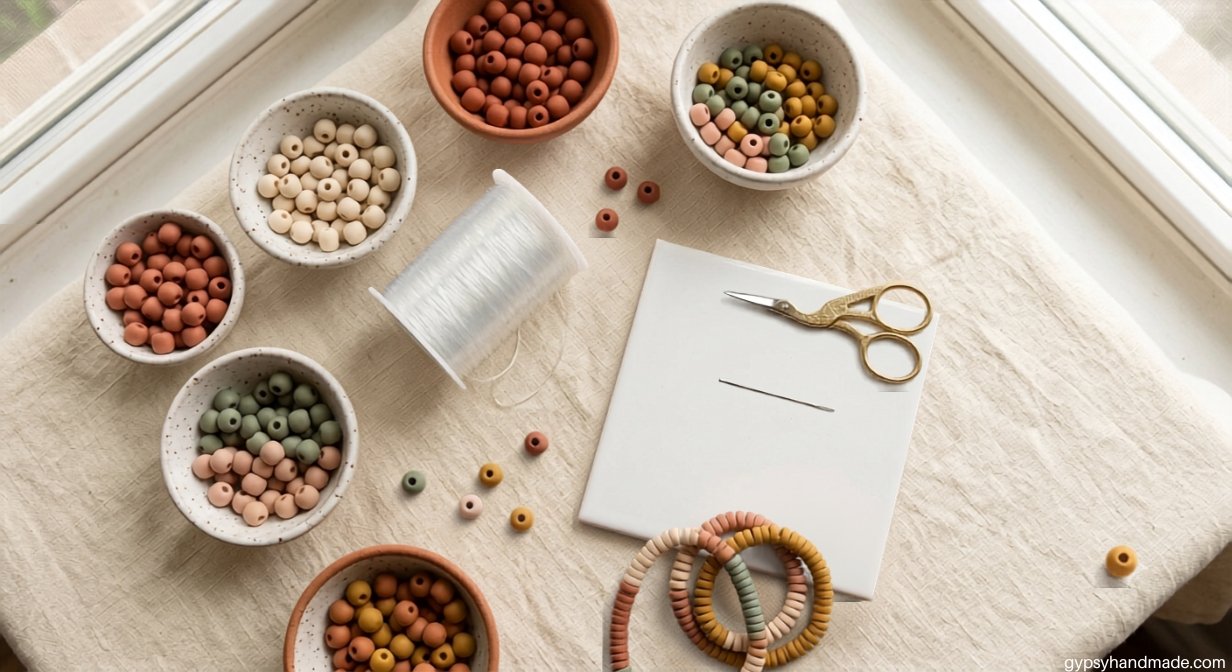
Always cut your elastic 10cm longer than your finished bracelet length. That extra length is your working tail for knotting.
Beginner Clay Bead Bracelet Ideas
These ideas require no pattern counting. You are choosing colors and threading — nothing more.
1. The Solid Stack
Three bracelets, each a single color, worn together as a set. This is the fastest entry point into clay bead bracelet-making.
What you need: 30 beads per bracelet in three different colors. 0.8mm clear stretch elastic. One beading needle (optional but helpful for threading quickly).
Why it works: Solid colors layer visually without competing. Terracotta, dusty pink, and sage green are the current Pinterest-leading trio for this style.
The one tip beginners miss: Thread the beads in groups of five, checking the overall drape across your palm as you go. A bracelet that lies flat on a table will curl when worn — the palm check catches tension issues early.
2. Alternating Two-Color Pattern
One bead of color A, one bead of color B, repeated all the way around.
What you need: 16 beads of Color A + 16 beads of Color B (32 total for a medium wrist). 1mm clear stretch elastic.
Pattern logic: ABABABABAB. Simple to count, striking to look at. White and black, cream and terracotta, or lavender and yellow all read cleanly at this scale.
Common mistake: Mixing 6mm and 8mm beads accidentally. Even one size difference creates visible gaps and uneven tension. Sort your beads before threading.
3. Random Color Confetti Bracelet
No pattern at all. Grab beads one at a time without looking and thread them in the order you pick them up.
What you need: A shallow bowl of mixed color beads. 30 beads total. 1mm elastic.
Why it works: The randomness creates an organic, hand-finished look that deliberate patterns sometimes miss. Confetti bracelets also hide uneven bead sizing better than structured patterns.
Real maker note: Resist the urge to “correct” the sequence mid-threading. The whole point is the imperfect mix.
4. Neutral Earth Tone Stack
Three to five bracelets in cream, sand, warm brown, terracotta, and bone — all neutrals, worn as one wide stack.
What you need: 30 beads per bracelet. Five colors in the neutral range. 0.8mm elastic.
Why it works: Neutrals stack without visual noise. This look photographs extremely well in natural light and has been pinned heavily on the “quiet luxury” and “boho neutral” boards since 2024.
Tip: Include at least one matte finish bead among glossy ones. The texture contrast keeps the stack from looking flat on the wrist.
5. Word Bracelet (Single Word)
Spell out one word using letter beads, surrounded by color beads on either side.
What you need: Letter beads (4mm or 6mm — match your clay bead size). Enough color beads to fill the remaining space. 1mm elastic is recommended over 0.8mm when mixing bead types.
Pattern logic: Center the word on your elastic. Count how many letters you need, place them in the middle, then fill outward symmetrically with color beads until you reach your wrist count.
Common mistake: Centering the word on the finished bracelet instead of the elastic. Center it on the cord first, then fill outward.
Intermediate Clay Bead Bracelet Ideas
These ideas involve planned color sequences and simple counting.
6. Gradient Fade Bracelet
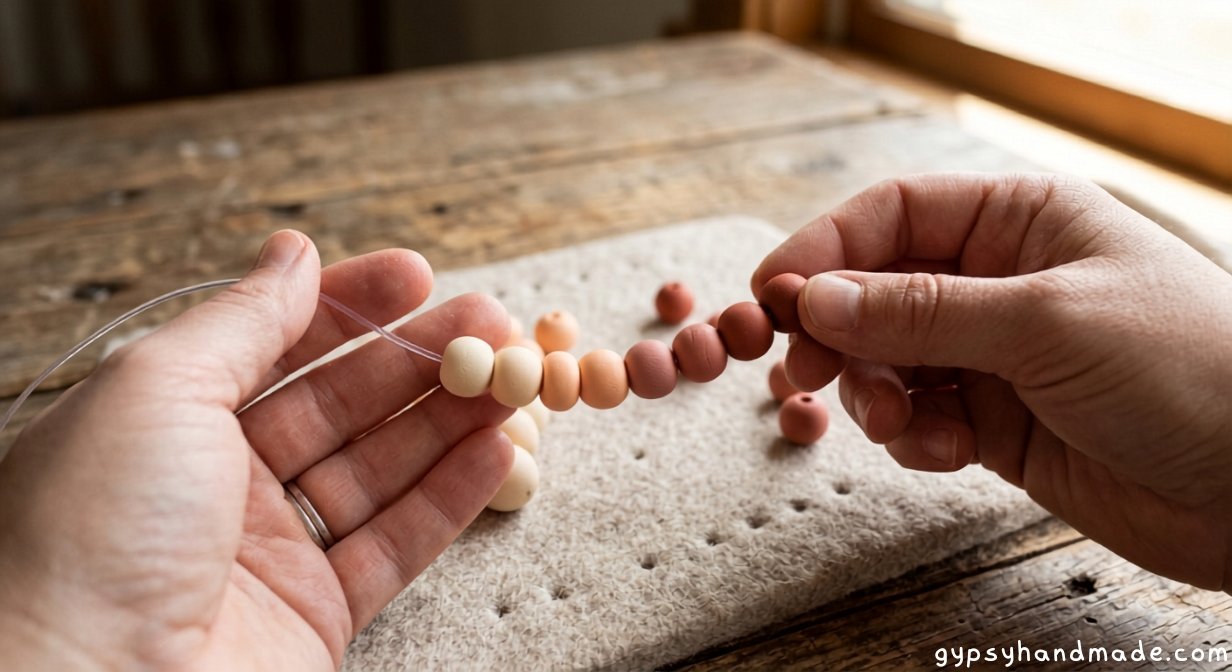
Colors shift from light to dark (or one hue to another) across the full length of the bracelet.
What you need: Five shades of the same color family (e.g., pale pink to deep rose, or cream to rust). 6-7 beads per shade. 30 beads total. 1mm elastic.
Pattern logic: 6 cream, 6 blush, 6 soft pink, 6 rose, 6 deep rose. Because it is a loop, the darkest shade meets the lightest at the back — which creates a natural focal point at the clasp-free join.
The thing most tutorials skip: Gradients work best with beads from the same brand and finish. Mixing matte and glossy breaks the fade visually because light reflects differently off each surface.
7. Stripe Block Pattern
Groups of 4-5 same-color beads repeat in a set sequence.
What you need: 3-4 colors. 6-8 beads per color block. 32 beads total. 1mm elastic.
Pattern logic: AAAABBBBCCCCDDDDAAAA. Block stripes read clearly at arm’s length. Pair two neutral blocks with one old color block for a balanced look.
Difficulty note: Count your blocks before you thread. A small counting error at the start means uneven blocks at the join, which is visible on the wrist.
8. Checkerboard Pattern
Alternating two colors in pairs: two of Color A, two of Color B, repeated.
What you need: 16 beads each of two contrasting colors. 32 total. 0.8mm or 1mm elastic both work.
Pattern logic: AABBAABBAAABB. For a medium wrist, you need exactly 8 pairs of each color. This only works cleanly if our bead count divides evenly by 4 — adjust total count up or down by one bead if needed.
9. Themed Bracelet Set (Seasonal)
Three bracelets designed around a single theme — autumn, summer, holiday — with coordinated but not identical bead choices.
What you need: A color palette of 5-6 shades. Mix of solid and patterned clay beads where available. Letter beads for one accent word per bracelet optional.
Autumn example set:
- Bracelet 1: Rust, burnt orange, cream solid stack
- Bracelet 2: Dark brown, gold, cream alternating pattern
- Bracelet 3: “FALL” word bracelet in amber with brown fill beads
Why themed sets work: They are purchased (and pinned) as groups rather than individuals. If you plan to sell on Etsy, themed sets consistently price 40% higher per bracelet than singles.
10. Mixed Texture Bracelet
Combine smooth clay beads with seed beads, small wooden beads, or tiny metal spacers between every few clay beads.
What you need: 20 clay beads (6mm) + 10 accent beads (3-4mm, different texture). 1mm elastic only — thinner elastic won’t hold the weight variation evenly.
Common mistake: Using metallic spacers from a different batch than the clay beads. Metal spacers have sharp internal edges that gradually cut through elastic over months. Look for plastic-core or rubber-edged spacers when mixing with elastic cord.
11. Letter Name Bracelet
Spell out someone’s name using letter beads, filling either side with their favorite color.
What you need: One letter bead per letter of the name. Enough fill beads to reach 30 total. 1mm elastic.
Real maker tip: Names longer than 7 letters need either 4mm letter beads (smaller) or an extra 2-4 fill beads to maintain wrist fit without the word cramping. Check the full name length against your wrist count before threading.
Advanced Clay Bead Bracelet Ideas
These require planned sequences, patience, and occasionally a second pair of hands.
12. Chevron Pattern Bracelet
A repeating V-shape formed by carefully sequenced color changes.
What you need: 3 colors. 0.8mm elastic. A bead mat or tray for pre-laying the pattern before threading.
Pattern logic: This works in groups of 6 beads: ABCCBA, repeated 5 times for a medium wrist (30 beads). Pre-lay the full sequence on your bead mat before threading a single bead. Errors are nearly impossible to spot mid-thread.
Honest difficulty note: The chevron pattern is forgiving in theory but unforgiving if your beads are even slightly different sizes. Use beads from one batch only.
13. Full-Word Phrase Bracelet
Spell a complete short phrase across one or multiple connected bracelets.
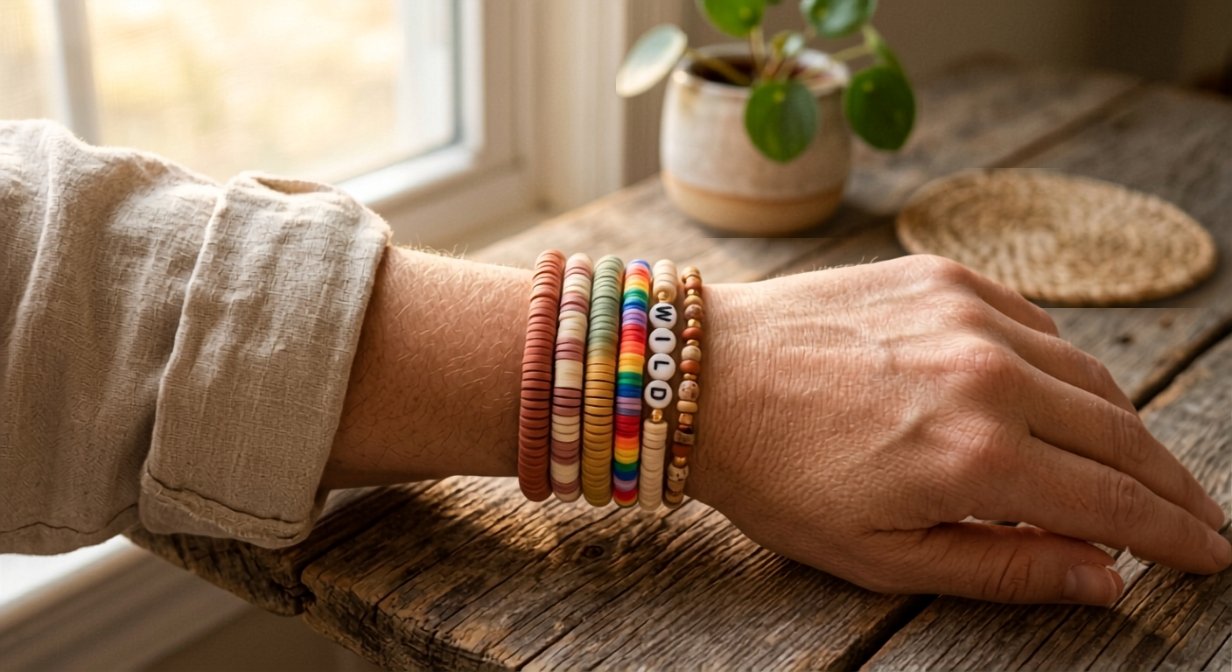
Examples: GOOD VIBES | STAY WILD | BE KIND | YOU GOT THIS
What you need: Letter beads for the full phrase. Spacer or dot beads between words. 1mm elastic.
For multi-bracelet phrases: Each bracelet holds one word. They are worn as a set in order. The words only read correctly when the bracelets are stacked in the right sequence — so tie each bracelet with a small color-coded thread knot on the inside to mark its position.
14. Gradient Rainbow Stack
A six-bracelet set where each bracelet is a different color of the rainbow, worn together as a full stack.
What you need: Red, orange, yellow, green, blue, purple beads — 30 per bracelet. Six lengths of 1mm elastic. This is a full afternoon project.
Why it works: The rainbow stack has been a consistent Pinterest top performer in the jewelry/bracelet category since 2022. It photographs in exactly one second in natural light against any neutral surface.
Honest time note: Threading six bracelets with clean, correctly-knotted finishes takes 2.5-3 hours if you are methodical. Budget the full session or do three bracelets, rest, then the other three.
15. Mixed Clay and Seed Bead Fine Pattern
Tiny 3mm seed beads alternated between 6mm clay beads in a deliberate mosaic-like pattern.
What you need: 15 clay beads (6mm) + 15 seed beads (3mm) per bracelet. 0.5mm elastic only — standard 1mm elastic is too thick for 3mm seed bead holes.
The critical finish step: With this fine elastic, a surgeon’s knot alone is not enough. You need three passes of knot, jewelry glue applied with a toothpick directly into the knot, and 60 minutes of drying time before wearing. Rushing this step is why fine-bead bracelets snap within days.
How to Finish Any Clay Bead Bracelet Correctly
The finishing knot is where most bracelets fail — not the design. Surgeon’s knot steps:
- Thread both elastic tails through one final bead before knotting.
- Cross right tail over left, then wrap it under and back through — same as a regular knot.
- Cross right over left again and wrap through a second time (this is the surgeon’s difference).
- Pull both tails firmly but not aggressively — elastic should feel taut, not stretched.
- Apply one small dot of E6000 or Beacon 527 jewelry adhesive to the knot with a toothpick.
- Pull the knot inside the nearest bead hole. Leave to cure for a minimum of 30 minutes.
- Trim tails close (not flush) with sharp scissors.
This method holds through daily wear, hand washing, and 12+ months of normal use. A regular double knot rarely lasts beyond 3-4 weeks.
Frequently Asked Questions
What words should I put on my clay bead bracelet?
Popular single-word choices include: LOVE, HOPE, WILD, SOUL, CALM, KIND, and personal names. For phrases, short two-to-three word combinations work best on a single bracelet: GOOD VIBES, BE KIND, STAY WILD, YOU WIN. Keep total letter count under 9 for a single bracelet at standard 6mm letter bead size on a medium wrist.
Are clay beads good for bracelets?
Yes. Polymer clay beads are lightweight, colorfast, and available in consistent sizes (typically 4mm, 6mm, or 8mm). They are heavier than seed beads but lighter than glass or stone, making them comfortable for all-day wear. The main limitation is hole size — most polymer clay beads have 1-1.5mm holes, which limits you to 0.5mm-1mm elastic cords.
How many clay beads do I need for one bracelet?
For a standard adult wrist (17cm / 6.7 inches), use 28-32 clay beads at 6mm size. Small wrists (15cm) need 25-27 beads. Large wrists (19cm) need 33-36 beads. Always measure your wrist with a flexible tape measure and test a loose loop of strung beads before knotting.
How do you tie a clay bead bracelet so it doesn’t break?
Use a surgeon’s knot (two full passes instead of one) on 0.8mm or 1mm clear stretch elastic. Apply a small dot of jewelry glue (E6000 or Beacon 527) directly into the knot, then slide the knot inside a bead hole to hide it. Let the glue cure for at least 30 minutes before wearing. This method reliably outlasts standard double knots by 6-12 months.
What elastic is best for clay bead bracelets?
0.8mm clear stretch elastic for lightweight bracelets with all-clay beads. 1mm elastic when mixing clay with heavier materials (wood, metal spacers, stone). 0.5mm elastic for fine-bead designs using 3mm or smaller beads. Avoid colored elastic — it fades over time and the discoloration is visible if the knot ever partially exposes.
Start With One, Then Stack
The only real mistake with clay bead bracelet ideas is overthinking the first one. Pick any pattern from the Beginner section, cut your elastic, count your beads, and thread. The surgeon’s knot and a dot of glue take two minutes once you have done it once.
If you want your next project, read our full guide on how to make beaded bracelets in 7 simple steps for a deeper look at elastic choices and bead sizing. And if you want to sell what you make, how to price handmade crafts covers the exact formula for Etsy and market pricing. Save this post and come back when you’re ready for the next skill level.
Written by Callum Langham, Founder and Master Craft Creator at Gypsy Handmade.

