
Author: Callum Langham, Founder & Master Craft Creator at Gypsy Handmade
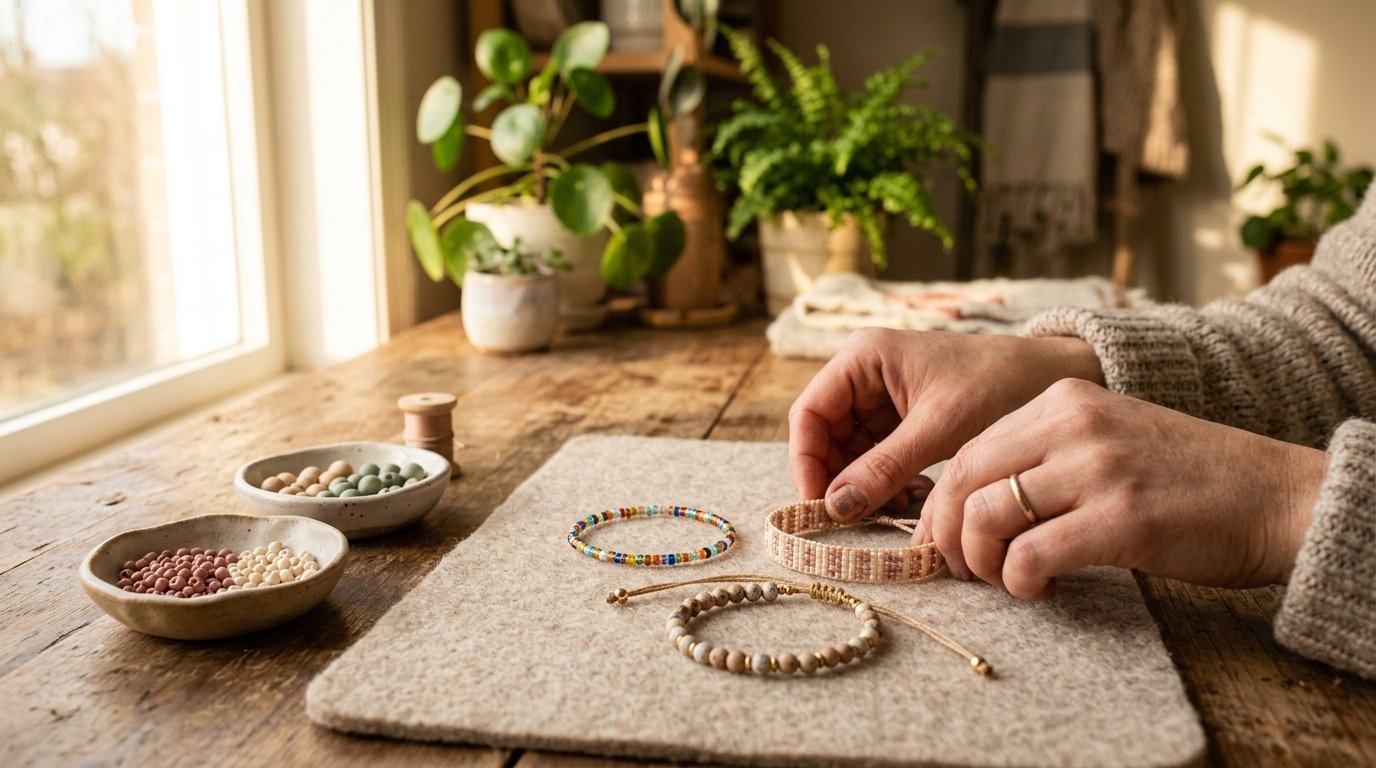
If you have ever given someone a friendship bracelet and watched their face light up, you already know why these keep coming back. Beaded friendship bracelets are trending again in 2026, and this time they have graduated from summer camp staples into something people genuinely wear every day.
The problem most tutorials skip: they show you one style and expect you to pick it. But stretchy bead bracelets, ladder stitch bracelets, and macramé-beaded bracelets are three completely different projects with different supplies, different time commitments, and very different results.
This guide covers all three. You’ll know exactly which style suits your skill level, what you need before you buy anything, and how to finish each one so it actually holds together long-term. And if you make multiple bracelets and want to turn them into a gift set, our guide on how to price handmade crafts covers what to charge if you ever want to sell them.
Quick Answer: Beaded Friendship Bracelets for Beginners
Beaded friendship bracelets are handmade jewelry pieces created by stringing or weaving beads onto cord, elastic, or embroidery floss. Three beginner-friendly styles are: stretchy bracelets (string beads on elastic, tie and tuck — under 30 minutes), ladder stitch bracelets (weave seed beads between two strands of nylon thread — 60 to 90 minutes), and macramé-beaded bracelets (incorporate beads into square knots on waxed cord — 60 to 120 minutes). Core supplies across all three styles are size 6/0 or 8/0 seed beads or letter beads, your chosen cord type, sharp scissors, and jewelry glue. The most common beginner mistake is skipping the knot-securing step, which causes bracelets to pop open within days of wearing.
What You Need Before You Start
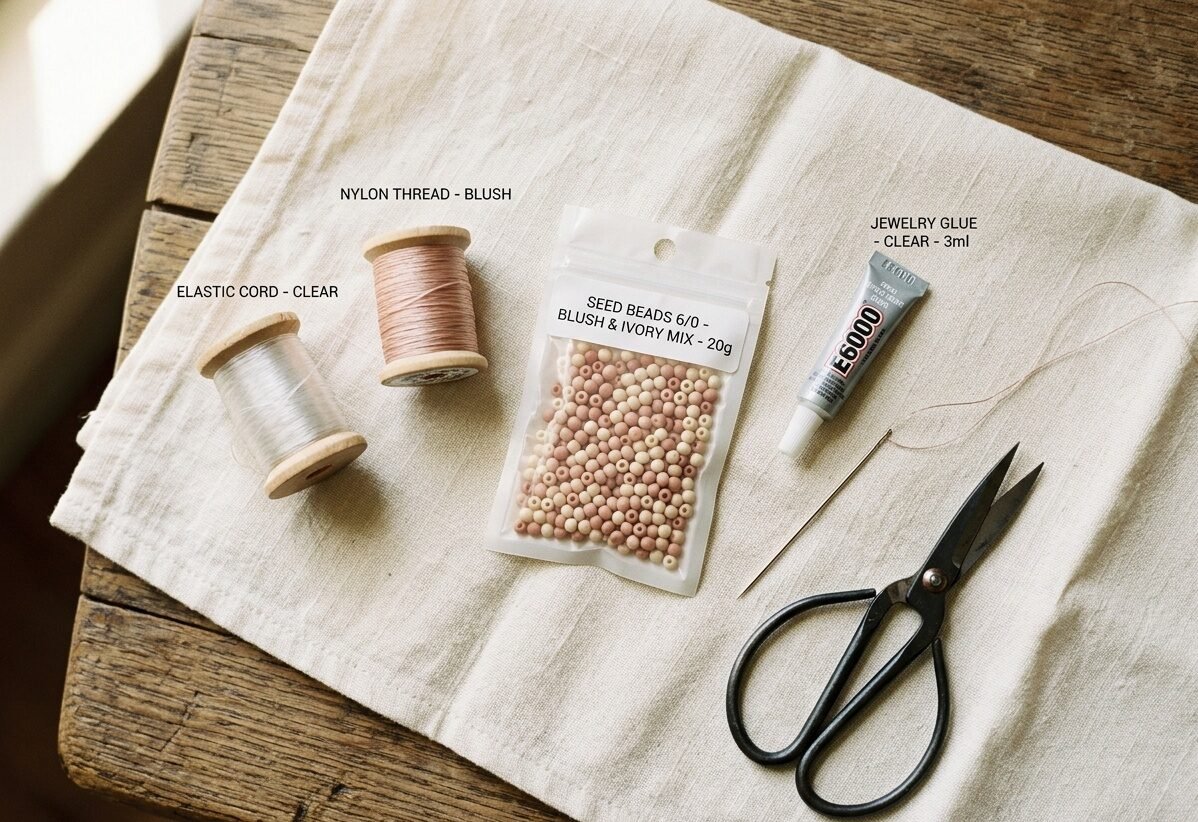
The supplies vary by style, but these three items appear in every method below:
- Sharp fabric scissors — blunt scissors crush beading cord instead of cutting cleanly, which makes threading a nightmare.
- Jewelry glue (E6000 or similar) — one tiny drop on your finished knot adds weeks of durability.
- Binder clip or tape — anchoring your work to a table keeps tension even while you string or weave.
The specific cord and beads are covered in each style section below. Don’t buy everything at once — buy for the one style you’re starting with.
3 Beaded Friendship Bracelet Styles
1. Stretchy Beaded Bracelet — Under 30 Minutes
Cord: 0.5mm clear elastic beading cord
Beads: Size 6/0 seed beads, letter beads, or acrylic beads
Tools: Scissors, binder clip, jewelry glue
Difficulty: Complete beginner
This is the one to make first. There are no knots to learn, no threading through tiny holes with a needle, and no complicated technique. You string beads onto elastic, tie the ends, and it’s done.
Measure around your wrist with a soft tape measure. Cut your elastic 10cm longer than your wrist measurement — that extra length gives you enough to tie a proper knot without the bracelet pulling tight. Secure one end with a binder clip.
String your beads in whatever pattern you like. For a classic friendship bracelet look, alternate two colours in groups of three. For something with meaning, use letter beads to spell a name or word. Work the beads along the elastic until they fill the wrist measurement (not the full cord length — leave the extra for tying).
Tie a surgeon’s knot: right over left, then left over right, two times each. Pull firmly. Add one drop of jewelry glue on top of the knot and let it dry for 10 minutes before trimming the excess cord ends. Tuck the knot inside a bead hole if you can — it hides completely and never digs into the wrist.
The most common mistake here is tying the bracelet too tight. The elastic stretches, so the finished bracelet should sit just slightly loose on your wrist before you put it on. If it fits snugly before stretching it to go on, it will be uncomfortably tight to wear all day.
2. Ladder Stitch Beaded Bracelet — 60 to 90 Minutes
Cord: Size D nylon beading thread (two 60cm lengths)
Beads: Size 11/0 seed beads in two or three colors
Tools: Size 10 beading needle, scissors, clasp (optional), jewelry glue
Difficulty: Beginner to intermediate
The ladder stitch creates a flat, structured band of beads that looks far more expensive than it is. You weave two strands of thread through each bead in opposite directions, which locks each bead firmly in place. The result is a rigid, polished bracelet that does not stretch or deform over time.
Thread a beading needle on each of your two cord lengths. Pick up two seed beads on one needle and slide them down to 15cm from the end (you need a tail for the clasp or finishing knot). Pass the second needle through the same two beads in the opposite direction and pull both threads firmly. The beads should sit side by side in a neat pair.
Pick up two more beads on one needle. Pass the second needle through them in the opposite direction. Pull taut. Repeat this process — two beads at a time, needles crossing through each pair — until the bracelet reaches your wrist measurement.
For finishing: tie the two thread ends together with a square knot and add a drop of jewelry glue. For a cleaner result, Fire Mountain Gems has a clear guide on attaching lobster claw clasps to beaded thread work that is worth bookmarking if you want a professional clasp finish.
The most common mistake: pulling the threads at uneven tension. Both needles need to be pulled with equal force after each pair of beads. Loose tension on one side creates a bracelet that curves instead of lying flat.
3. Macramé-Beaded Bracelet — 60 to 120 Minutes
Cord: 1mm waxed cotton or nylon cord, two 80cm working cords plus one 25cm core cord
Beads: 6mm round beads (wood, clay, or crystal) with holes large enough for your cord
Tools: Tape or clipboard to anchor work, scissors, jewelry glue
Difficulty: Beginner (if you know square knots)
This style brings the two crafts together — macramé knotting with beads incorporated into the pattern. The result is a bohemian, textured bracelet that pairs perfectly with the natural cord aesthetic you see everywhere in handmade jewelry right now.
If you are new to square knots, spend five minutes practicing on a scrap piece before starting. Our beaded bracelet guide covers the basic knot technique in detail.
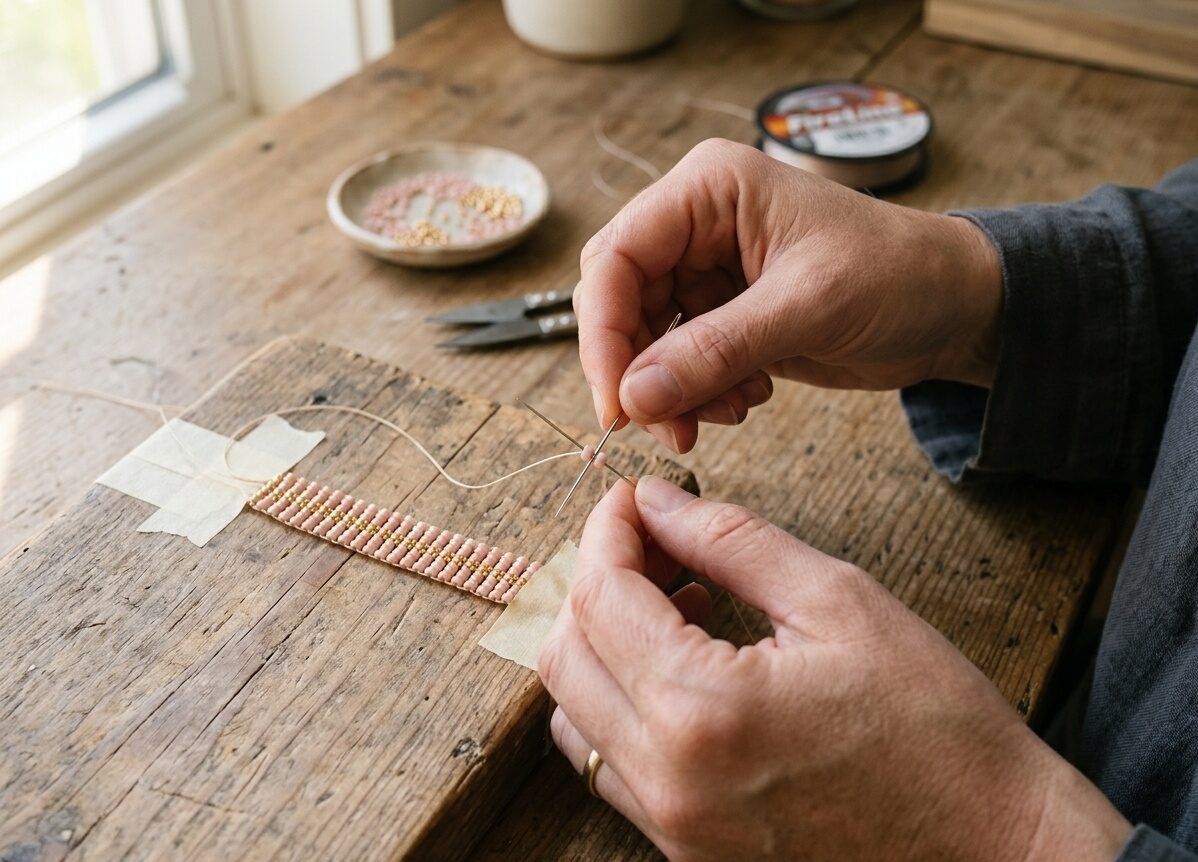
Tape your core cord (the short 25cm piece) flat to your work surface. Fold each working cord in half and attach them to the core cord using Lark’s Head knots — you will now have four working strands hanging down. Tie three or four square knots with the outer two cords around the inner two.
Slide one bead onto both inner cords. Hold it in place and tie three more square knots below it to lock the bead in position. Repeat: knots, bead, knots. Continue this pattern until the bracelet reaches your wrist measurement, ending with a section of square knots.
Finish with a sliding knot closure: this makes the bracelet fully adjustable and one-size-fits-all, which is what makes macramé-beaded bracelets such good gifts. Tie the two cord ends into a loop by crossing them and securing each with a simple overhand knot that can slide along the other cord. Trim and add a dot of glue.
For bead selection: wood and clay beads work best here because their holes are large enough for 1mm cord. Crystal beads tend to have smaller holes drilled for thin wire, not cord — check hole size before buying.
Common Mistakes (and How to Fix Them)
The bracelet pops open after a few days. The knot was not secured with glue. Untie it, retie cleanly, add glue, and wait a full hour before wearing.
The ladder stitch bracelet curves to one side. Tension on the two threads was uneven throughout. Start fresh and consciously pull both threads with equal force after every bead pair.
Beads slide around on the elastic instead of sitting still. The elastic gauge is too thin for the bead hole size. Switch to 0.7mm or 1mm elastic for beads with larger holes.
The macramé bracelet is too thick to close the sliding knot. Too many strands or too thick a cord for the bead size. Drop to 0.8mm cord or increase bead size to 8mm.
Frequently Asked Questions
What beads work best for friendship bracelets?
It depends on the style. Seed beads (size 6/0 or 11/0) work for stretchy and ladder stitch styles. Larger 6mm or 8mm round beads in wood, clay, or crystal suit the macramé-beaded style. For letter bead bracelets, standard 7mm pony beads or 6mm alphabet acrylic beads both fit comfortably on 0.5mm elastic.
What cord should I use for beaded friendship bracelets?
Three cords for three styles. Clear 0.5mm elastic for stretchy bracelets — it is forgiving and easy for beginners. Size D nylon beading thread for ladder stitch — it passes through a beading needle without shredding. Waxed 1mm cotton or nylon cord for macramé-beaded bracelets — the wax coating helps knots hold without slipping.
How do I make a beaded friendship bracelet adjustable?
Use a sliding knot closure rather than a fixed knot. Cross the two cord ends, and on each end tie a simple overhand knot around the other cord. When you pull both knots apart, the bracelet tightens. When you push them together, it loosens. Add a small drop of glue to each knot to stop it from fraying without locking it in place.
How long do beaded friendship bracelets last?
A stretchy bracelet made on quality elastic with a glued knot typically lasts 6 to 12 months of daily wear before the elastic weakens. Ladder stitch and macramé-beaded bracelets on nylon or waxed cord last considerably longer — 2 to 3 years is common if the finishing knot is secured properly. The weak point on all styles is always the closure, not the beads.
Can I sell beaded friendship bracelets?
Yes, and they sell well on Etsy and at markets. Material cost per bracelet is typically 0.50 to 2.00 depending on bead type, which leaves a healthy margin at the 8 to 18 price point most handmade jewelry sells for. Our handmade craft pricing guide walks through how to calculate your labour cost and set a price that is fair to you.
Start with One, Make Three, Give All of Them Away
The best thing about beaded friendship bracelets is how fast the second one goes. The first takes the full 30 to 90 minutes as you figure out the technique. The second one takes half that. By the third, you are in flow and your hands know what to do.
Make a set of three in the same color palette — one stretchy, one ladder stitch, one macramé-beaded. The variety of textures next to each other on a wrist looks genuinely curated, not crafted in an afternoon.
Save this guide so you have all three tutorials in one place. And when you are ready to branch out, our full beaded bracelet guide covers more bead types, pattern ideas, and colour combinations worth exploring.

