
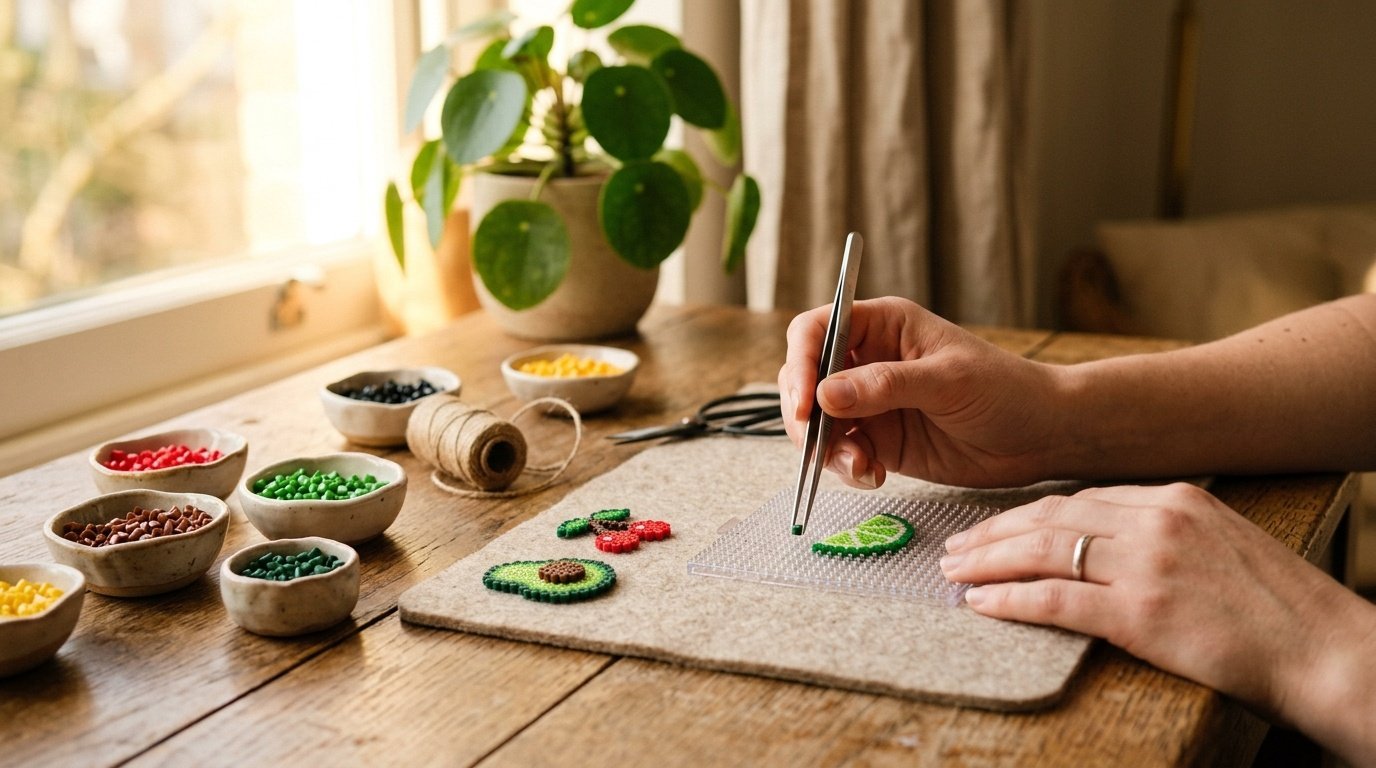
If you have ever seen tiny, crisp pixel-art keychains on backpacks or aesthetic jacket pins, chances are you were looking at mini perler beads. While classic 5mm midi perler beads are popular for kids’ crafts, 2.6mm mini perler beads are the choice for older crafters, jewelry makers, and anyone who wants detailed designs that take up half the space.
The main challenge for beginners: most online pattern grids are meant for larger 5mm beads. When you try to build a 30-by-30 bead grid using 2.6mm mini beads, the scale feels overwhelming and your tweezers slip constantly.
This guide solves that by starting small. Every pattern below uses a small grid count (from 5-by-5 up to 15-by-15 beads), so you can complete your first mini project in 10 to 20 minutes without eye strain. And if you enjoy bead crafts, our guide to beaded bracelets for beginners covers stringing and weaving techniques that pair naturally with your perler bead work.
Quick Answer: Easy Mini Perler Bead Patterns
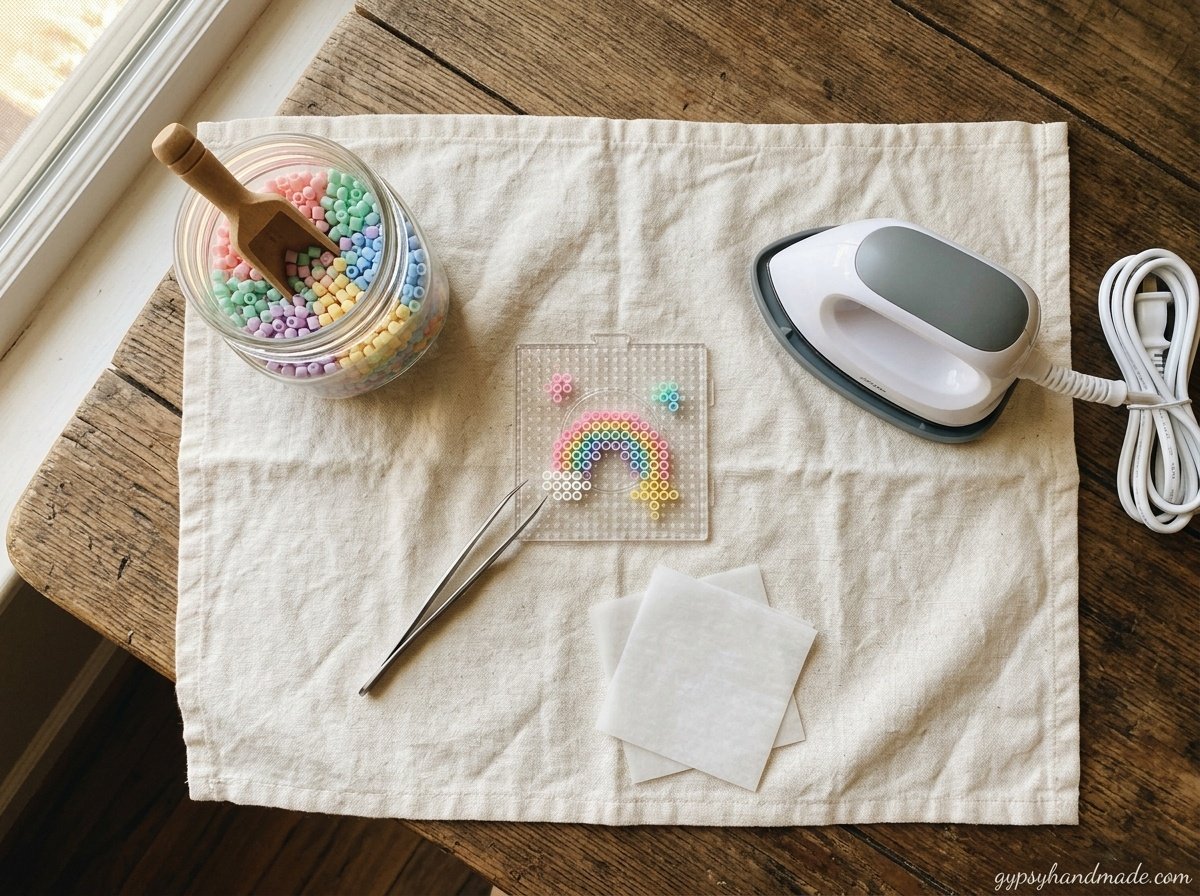
Mini perler beads are 2.6mm heat-fuse plastic beads that melt together under a standard household iron to form flat, durable pixel art. Beginners need four basic supplies: 2.6mm mini fuse beads, a mini square pegboard, fine-tip craft tweezers, and parchment paper or ironing paper. Easy starter patterns include 5×5 cherry pairs, 8×8 avocado halves, 10×10 retro gaming ghosts, and 12×12 boba tea cups. Heat your iron to medium (no steam), press gently in small circular motions for 10 to 15 seconds, and place a heavy book over the warm craft for 5 minutes so it cools completely flat.
What You Need for Mini Perler Beads
Mini perler beads are about half the size of standard fuse beads. Your hands and regular tools won’t cut it, so keep these four items ready:
- 2.6mm mini fuse beads — available in multi-color jars or sorted trays. Don’t mix them with standard 5mm beads on the same board; their heights don’t match.
- Mini pegboard (2.6mm pin spacing) — standard pegboards have pins spaced for 5mm beads. You need a board built specifically for mini beads.
- Fine-tip craft tweezers — placing 2.6mm beads by hand is frustrating. Tweezers make placing individual beads fast and precise.
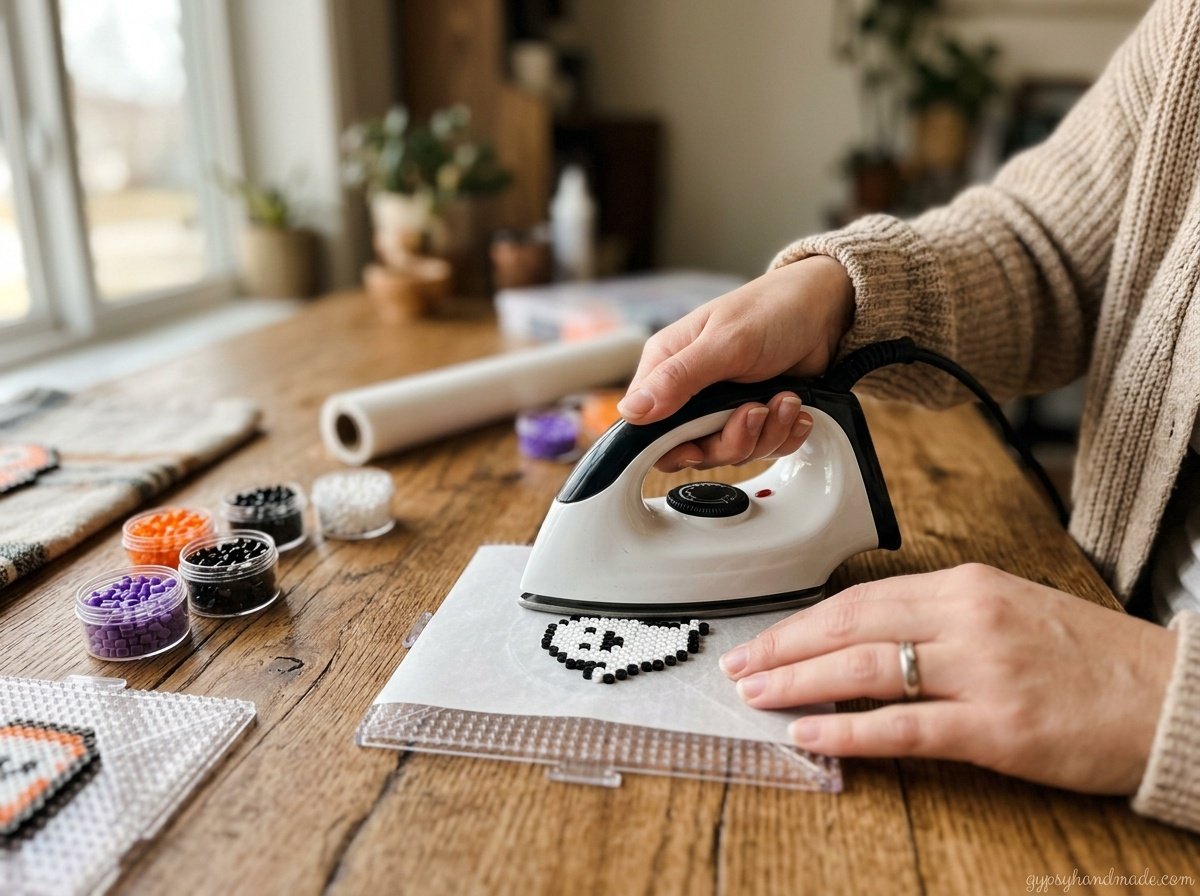
- Parchment paper & low-steam iron — parchment paper protects your iron from melting plastic. Never use wax paper, which melts onto your design.
For a full breakdown of bead types, Perler’s official starter guide explains the temperature settings and pegboard types for each bead size.
7 Easy Mini Perler Bead Patterns, Sorted by Grid Size
1. Mini Cherry Pair — 5×5 Grid (10 Minutes)
Grid size: 5 x 5 beads
Colors needed: Red (6 beads), Green (3 beads), Brown (2 beads)
Tools: Mini pegboard, fine tweezers, parchment paper
Difficulty: Absolute beginner
This is the fastest pattern on the list. A 5×5 cherry pair uses only 11 beads total, making it the perfect 10-minute warm-up to test your iron temperature and get used to fine tweezers.
Place two red beads side by side on your mini pegboard to form the base of the left cherry, with two red beads directly above them. Repeat for the right cherry, leaving a one-pin gap between them. Place one brown bead above each cherry for the stems, leaning inward so they meet at a single green leaf bead at the top.
Iron on medium heat for 8 to 10 seconds. Because mini beads melt quickly, check your progress after 5 seconds to avoid over-melting the thin stem strands.
2. Mini Avocado Half — 8×8 Grid (15 Minutes)
Grid size: 8 x 8 beads
Colors needed: Dark green, light green, brown, cream
Tools: Mini pegboard, tweezers, parchment paper
Difficulty: Beginner
The mini avocado is a classic Pinterest favorite. The dark green outer rind encloses a light green inner flesh with a brown central pit, creating a clean round shape that looks great as a keychain or shoe charm.
Form an oval outline on your pegboard using dark green beads (3 beads across top and bottom, 5 beads along the sides). Fill the inner ring with light green or lime beads. Place a 2×2 square of brown beads in the lower-middle section for the pit.
Once ironed and cooled, punch a tiny hole through the top dark green bead using a warm pushpin to attach a metal jump ring and keychain loop.
3. Mini Retro Ghost — 10×10 Grid (15 to 20 Minutes)
Grid size: 10 x 10 beads
Colors needed: Bright blue or red, white, dark blue
Tools: Mini pegboard, tweezers, parchment paper
Difficulty: Beginner
If you love 8-bit retro gaming art, this 10×10 ghost pattern is the classic starting point. The dome top, stepped bottom fringe, and square eyes are built entirely from straight rows, so you don’t have to guess diagonal pin placement.
Build a 10-bead wide base line, leaving two empty gaps of one pin each to create the ruffled bottom skirt. Work upward in solid rows of your main body color, adding two 2×2 squares of white beads near the upper third for eyes, with 1×1 dark blue beads inside for pupils.
Iron both sides lightly if you want a sturdy piece that won’t flex when attached to a backpack.
4. Mini Boba Tea Cup — 12×12 Grid (20 Minutes)
Grid size: 12 x 12 beads
Colors needed: Tan/milk tea brown, dark brown/black, white, pastel pink or purple (straw)
Tools: Mini pegboard, tweezers, parchment paper
Difficulty: Beginner
This design features a clear plastic cup outline, a colorful straw sticking out of the top, and dark tapioca pearls settled at the bottom. It makes a popular magnet for refrigerators or metal craft boards.
Outline the tapered cup using white or clear beads (10 beads wide at the top rim, narrowing to 7 beads wide at the base). Fill the lower three rows with dark brown boba pearls interspaced with milk tea tan beads. Fill the middle with solid tan beads, and extend a single vertical line of 4 pink beads out of the top center for the straw.
If you enjoy turning small bead pieces into wearable accessories, our guide on handmade craft projects covers how to attach jump rings, earring hooks, and pin backs cleanly.
5. Mini Succulent Pot — 12×15 Grid (20 to 25 Minutes)
Grid size: 12 x 15 beads
Colors needed: Terracotta orange, sage green, dark green, cream
Tools: Mini pegboard, tweezers, parchment paper
Difficulty: Beginner to intermediate
A mini potted plant pattern brings a calm boho aesthetic to your perler bead collection. The terracotta pot sits on a trapezoid base, while the succulent leaves layer outward in alternating shades of sage and dark green.
Build the pot first: 8 beads wide at the base, widening to 11 beads at the rim using terracotta beads. Fill the pot with cream or light brown “soil” beads. Layer green beads in overlapping triangular clusters above the rim to form individual succulent leaves.
Place a heavy book over the ironed design for 5 minutes while it cools. Succulent designs have wider leaf points that tend to curl upward if cooled without weights.
6. Mini Sun & Cloud — 14×12 Grid (25 Minutes)
Grid size: 14 x 12 beads
Colors needed: White, light blue, bright yellow, pastel orange
Tools: Mini pegboard, tweezers, parchment paper
Difficulty: Beginner to intermediate
This design pairs a fluffy white cloud overlapping a golden sun. The contrast between rounded cloud curves and straight yellow sunburst rays makes it one of the most visually satisfying patterns on a mini grid.
Create a rounded cloud shape on the lower left using white beads. Behind the upper right edge of the cloud, build a semi-circle of yellow beads with 1-bead orange ray spikes extending outward.
This pattern makes a great brooch or bag clip. Glue a flat bar-pin back to the reverse side using E6000 craft adhesive after ironing.
7. Mini Planet Saturn — 15×10 Grid (25 to 30 Minutes)
Grid size: 15 x 10 beads
Colors needed: Pastel purple or lavender, gold, dark blue, white
Tools: Mini pegboard, tweezers, parchment paper
Difficulty: Intermediate
The planet pattern uses an elliptical ring angled across a central sphere. Because the ring extends past the sides of the planet body, this pattern teaches you how to reinforce narrow diagonal bead connections so they don’t break during ironing.
Build a central 6×6 circle of lavender beads for the planet body. Angle a 1-bead thick line of gold beads across the center from top-left to bottom-right, extending 3 beads past the body on each side to form the ring.
Iron on medium-low heat with light pressure to ensure all ring connections fuse completely into the main body.
Common Mistakes (and How to Fix Them)
Beads melt unevenly or crush flat. Your iron is too hot or you are pressing down too hard. Use medium heat and let the weight of the iron do the work while moving in gentle circles.
The finished piece bends or warps. Fuse beads expand under heat and shrink slightly as they cool. Always place a flat heavy object (like a hardcover book or wooden board) over your warm piece for 5 minutes immediately after ironing.
Beads pop off the pegboard while working. Mini beads are lightweight. A sudden nudge or deep breath can scatter your work. Work on a felt mat or rubber coaster to absorb desk vibrations.
The stem or edge breaks off. Thin 1-bead connections are fragile. Iron the reverse side lightly for 5 seconds to double the structural strength of delicate areas like stems or rings.
Frequently Asked Questions
What is the difference between mini and regular perler beads?
Regular (midi) perler beads are 5mm in diameter, while mini perler beads are 2.6mm. Mini beads produce designs that are roughly one-quarter the size of regular bead patterns, making them ideal for keychains, pins, and detailed pixel art. However, mini beads require mini pegboards with narrower pin spacing and fine tweezers for placement.
How do you iron mini perler beads without melting the pegboard?
Use medium heat without steam, cover your design completely with parchment paper, and keep the iron moving in slow, circular motions. Never press down hard or hold the iron still in one spot for more than 3 seconds. The pins on plastic pegboards can warp if exposed to direct heat through thin or torn paper.
Can you mix mini perler beads with standard perler beads?
No. Mini beads (2.6mm) and standard beads (5mm) have different heights and require different pin spacing on pegboards. If you place them on the same board, the iron will only make contact with the taller standard beads, leaving the mini beads un-melted underneath.
What can you make with mini perler bead patterns?
Because mini perler bead crafts are compact and lightweight, they are perfect for making enamel-style jacket pins, backpack keychains, phone charms, refrigerator magnets, drop earrings, and decorative bookmarks.
How long do mini perler bead creations last?
If fused properly on both sides and cooled flat under a weight, mini perler bead crafts last for years. The fused plastic forms a flexible, durable sheet that resists water and everyday wear.
Small Beads, Endless Possibilities
The secret to mastering mini perler bead patterns is keeping your first few projects small. Once you complete a 5×5 cherry or an 8×8 avocado, your hands get used to the tweezers and your timing with the iron becomes second nature.
Pick one pattern from this guide, set up your mini pegboard, and complete your first piece today. And when you want to explore more handmade gift ideas, our beginner DIY projects cover macramé, jewelry, and boho decor ideas worth trying next.

