
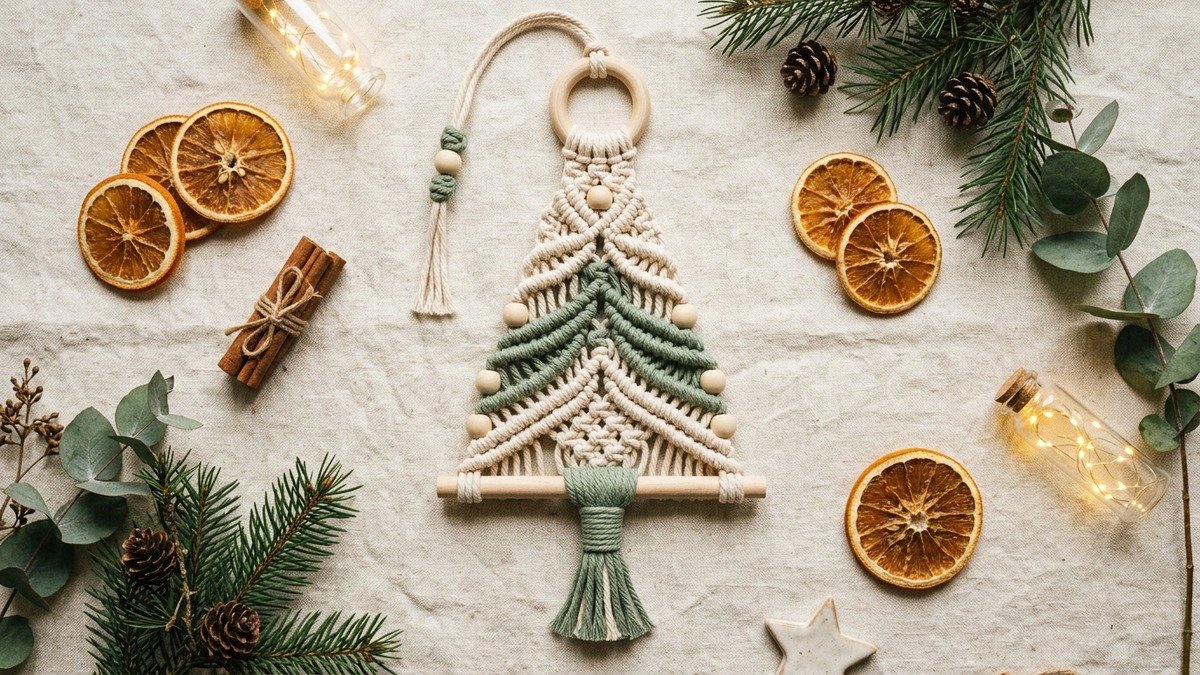
When the holiday season approaches, crafting your own handmade decorations brings an earthy warmth that mass-produced plastic ornaments simply cannot match. A handcrafted macrame christmas tree offers the ideal blend of festive holiday spirit and timeless bohemian texture. Whether you hang a miniature version on your pine boughs as a scented ornament or knot a grander wall hanging to anchor an entryway, this project transforms humble cotton cord and fragrant cinnamon sticks into heirloom holiday decor.
If you have already explored our seasonal favorites like the DIY macrame pumpkin tutorial, crafting holiday trees is the logical next step in your fiber art journey. The triangular silhouette naturally lends itself to tiered knotting sequences, allowing you to practice widening diagonal half-hitches and alternating square knots with zero guesswork. With natural unbleached cotton cord and muted evergreen accents, these trees complement modern Scandinavian, rustic farmhouse, and minimalist holiday aesthetics alike.
In this detailed maker tutorial, youwill learn how to calculate cord lengths, mount your foundation ring, knot each tiered branch layer, attach an aromatic cinnamon-stick trunk, and trim a neat fringe. Gather your cotton cord, warm up a cup of tea, and let us knot your new favorite handmade holiday decoration.
Quick Answer: How to Make a Macrame Christmas Tree
To craft an easy macrame Christmas tree ornament, mount two 1.5-meter lengths of 4mm natural cotton cord onto a 5 cm (2-inch) natural wooden ring using Lark’s Head knots, giving four working cords. Knot a starting Square Knot directly below the ring. To build expanding triangular boughs, add additional 60 cm accent cords along the outer diagonal edges using Lark’s Head knots or diagonal double half-hitches across four descending tiers. Thread natural wooden beads onto the center strands for decorative holiday baubles. Anchor the bottom bough to a 7 cm fragrant cinnamon stick or wooden dowel using double half-hitches to form the rustic tree trunk. Gather the remaining center cords into a tight Gathering Knot beneath the cinnamon stick, and trim the bottom fringe into a neat 5 cm tassel.
Key Project Takeaways
- ✓ Skill Level: Beginner friendly. Uses only Lark’s Head knots, Square Knots, and Diagonal Double Half-Hitches.
- ✓ Total Making Time: 25 to 40 minutes per finished ornament.
- ✓ Cord Recommendation: 3mm or 4mm single-strand or 3-ply cotton cord for clean, defined boughs.
- ✓ Natural Holiday Trunk: A 7 cm cinnamon stick serves as an aromatic, sturdy tree trunk that scents your living room.
1. Anatomy and Design Variations of a Macrame Tree
The evergreen conifer shape has symbolized resilience and renewal across winter solstice celebrations for centuries. Traditional textile records preserved in the Library of Congress folk arts archive show how European and American craft communities frequently adapted basic rigging hitches into decorative holiday ornaments. In macrame design, translating a three-dimensional pine tree into a flat or semi-sculptural hanging requires systematic tier widening.
There are three popular structural styles for holiday macrame trees:
- The Ring-Mounted Geometric Tree: Mounted onto a wooden ring with expanding rows of alternating Square Knots that taper outward into an inverted triangle. This design stays stiff and looks exceptionally clean against evergreen branches.
- The Feather-Fringed Fir: Knotted using a central vertical spine of square knots, with dozens of short cord segments tied outward using cow hitches and brushed into lush, feathery foliage.
- The Cinnamon Stick Wall Hanging: A larger statement piece (30 to 45 cm tall) that uses thick 5mm rope and hangs from a sturdy wooden branch or cinnamon dowel to decorate holiday mantels.
This guide focuses on the ring-mounted geometric style with a cinnamon stick base. It offers the most satisfying maker experience, requires no messy stiffening sprays, and holds its crisp shape year after year in storage.
2. Essential Supplies, Cord Selection, and Holiday Accents
Selecting suitable fiber makes all the difference when creating holiday keepsakes. For crisp knot definition and pleasant handling, always opt for natural cotton cord rather than slippery synthetic polyester. Studies from the Utah State University Extension textile guides emphasize that unbleached natural cotton offers superior knot friction and tensile stability, preventing decorative hitches from shifting or sagging over time.
You can choose between 3-ply twisted rope and single-twist string. Single-twist cord creates an ultra-soft, brushed cloud-like fringe at the base of your tree. Three-ply rope provides firmer structural rigidity and sharp textural definition for the knotted branch rows. If you need help sizing your project or adjusting cord quantities for multiple ornaments, test your numbers using our interactive macrame cord calculator before cutting.
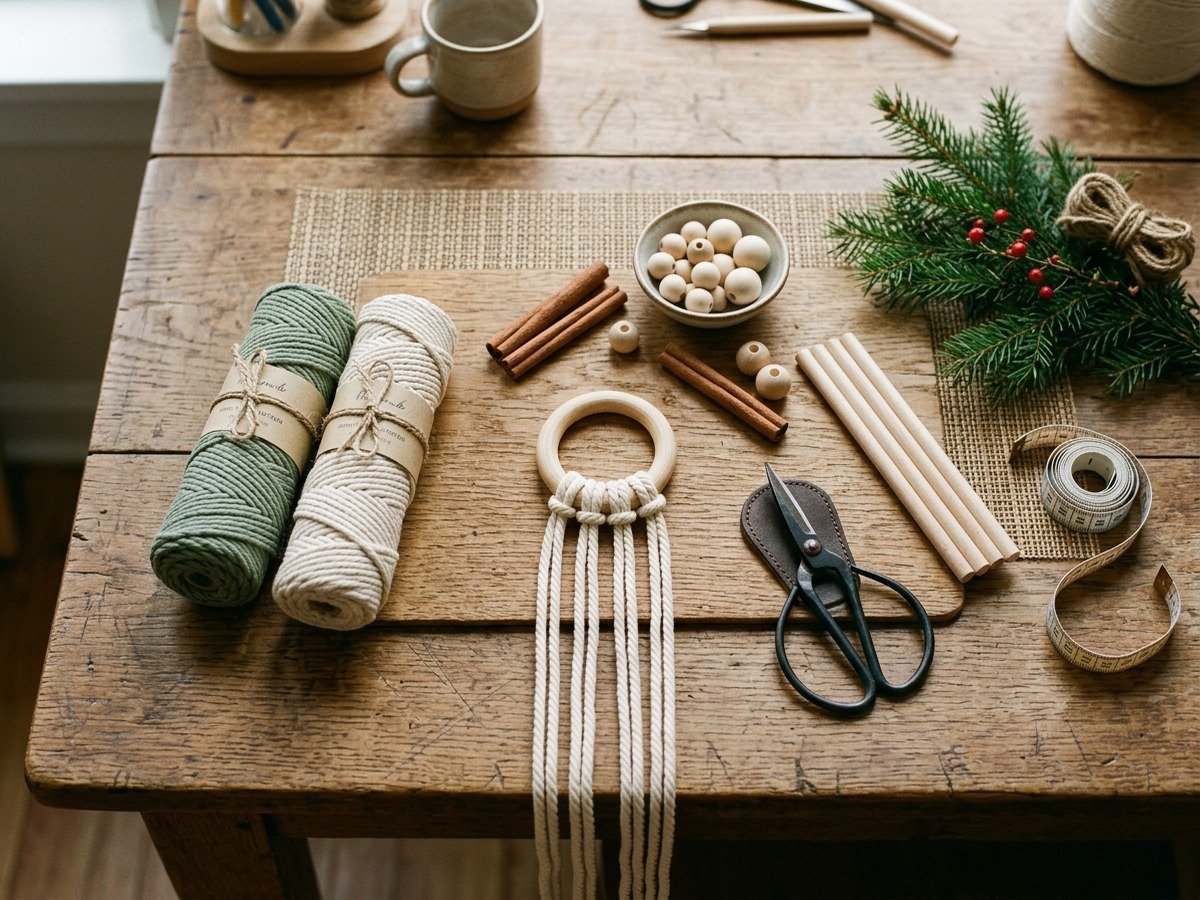
Here is your holiday craft supply checklist:
- 4mm Natural Cotton Cord: 12 meters total in natural ecru, pine green, or muted sage.
- Natural Wooden Rings: 5 cm (2-inch) untreated birch or beech craft rings.
- Cinnamon Sticks: 7 to 8 cm thick cassia or Ceylon cinnamon sticks for the trunk.
- Natural Wooden Beads: 12mm to 16mm raw wood beads with wide 4mm holes for threading.
- Essential Tools: Sturdy clipboard or cork pinning board, measuring tape, sharp fabric shears, and a metal pet slicker brush.
3. Calculating Cord Lengths and Sizing Reference
Calculating fiber lengths for tapered silhouettes requires accounting for cords added at subsequent tiers. Outer cords that form diagonal double half-hitches travel significantly further across the width of the piece than passive central anchor cords. Incorporating sustainably harvested natural timber or certified dowels aligns with USDA Forest Service sustainable timber guidelines, creating durable accents that last for decades.
The table below outlines cord lengths and dimensions for three standard tree sizes:
4. Step-by-Step Tree Knotting Tutorial
Before beginning your knotting sequence, ensure you are comfortable with foundational hitches. Reviewing our guide on essential macrame knots for beginners will refresh your memory on tying balanced square knots and smooth half-hitches.
Follow these sequential steps to knot your tree ornament:
Step 1: Mounting Foundation Cords to the Ring
Fold your two 1.5-meter foundation cords in half. Mount each folded cord onto the 5 cm wooden ring using a Lark’s Head knot. This yields four vertical working strands descending from the ring. Clamp the ring securely to your workboard so you can maintain steady upward tension while knotting.
Step 2: Knotting the Crown and Adding Tier 1 Boughs
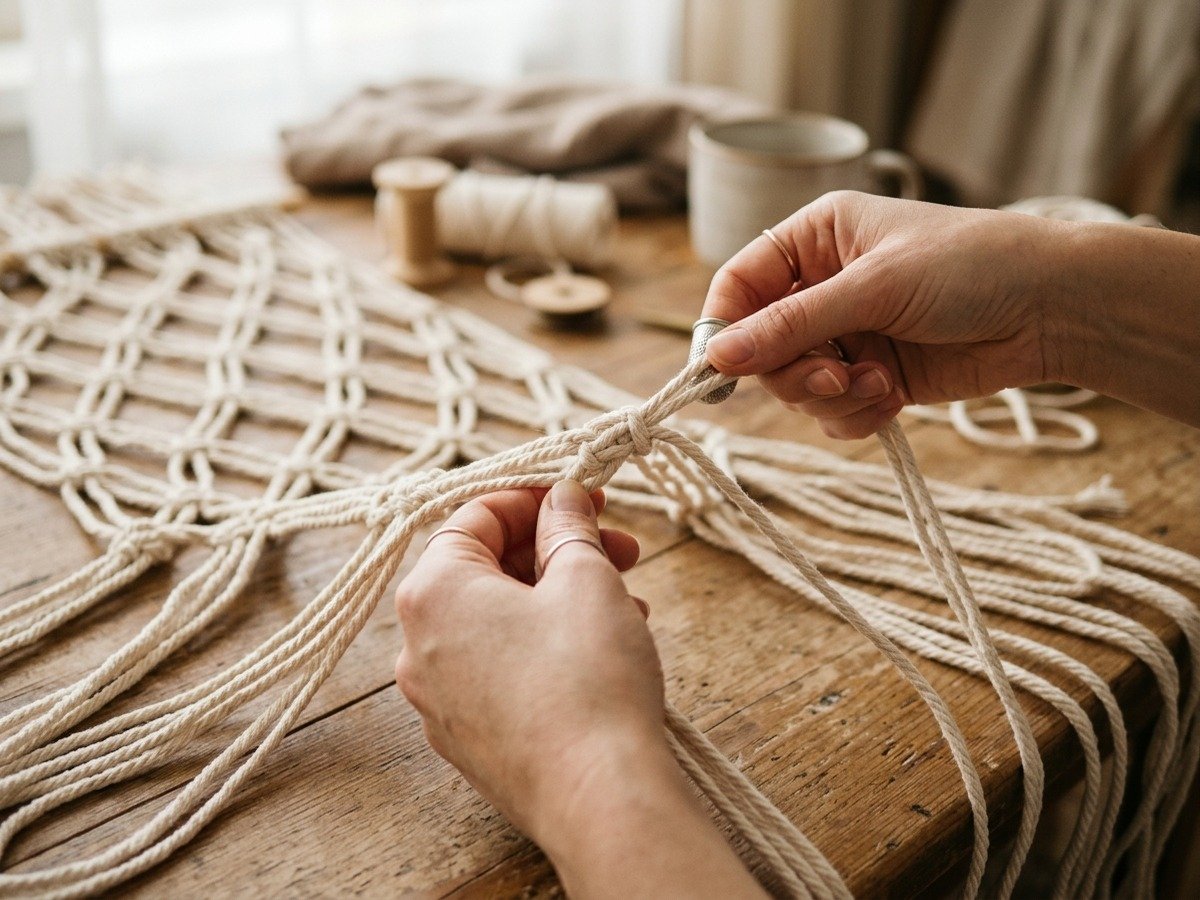
Tie one firm Square Knot directly beneath the wooden ring using the outer two strands as working cords over the middle two filler cords. This establishes the slender apex of the tree. Next, take a 50 cm cord, fold it in half, and attach it to the outermost left strand using a Lark’s Head knot. Attach a second 50 cm cord to the outermost right strand. You now have eight working strands. Tie two alternating Square Knots across this row to expand the tree bough outward.
Step 3: Knotting Tiers 2 and 3 with Bead Accents
Repeat the widening technique by adding two more 50 cm cords onto the outermost edges. Tie three alternating Square Knots across Tier 2. Thread a 14mm natural wooden bead onto the two center filler strands before tying the central square knot. The bead snuggles flush inside the diamond cavity, resembling a minimalist wooden ornament. If you enjoy larger fiber projects, this modular approach mirrors techniques found in our beginner macrame wall hanging tutorial.
Step 4: Forming the Bottom Edge and Securing the Cinnamon Trunk
To finish the bottom boughs with clean definition, tie a row of diagonal double half-hitches sloping from the outer corners toward the center. Place your 7 cm cinnamon stick horizontally directly beneath the lowest row of knots. Using each vertical cord, tie double half-hitches around the cinnamon stick, locking it firmly into place. The natural woody texture and rich spicy scent provide an authentic rustic trunk.
Step 5: Gathering Knot and neat Tassel Trimming
Bring all remaining cords together beneath the center of the cinnamon stick. Take a 30 cm scrap cord and wrap a clean Gathering Knot around the bundle, securing it tightly. Trim the hanging tassel tails to 5 cm with sharp fabric scissors. Use a metal comb or slicker brush to comb out the cotton fibers into a dense, fluffy fringe that crowns the base of the tree.
5. Styling, Gifting, and Festive Holiday Vignettes
Once your tree is finished, you can display it in numerous charming ways throughout your home:
- Fragrant Tree Ornaments: Hang smaller trees directly on the boughs of a Douglas fir or spruce tree. The warm heat from holiday fairy lights gently warms the cinnamon stick, releasing festive aromas into your living room.
- Artisan Gift Package Toppers: Tie a finished tree ornament onto brown kraft paper holiday gift boxes with natural jute twine. It serves as an extra reusable keepsake that your recipient can hang on their tree every December.
- Festive Holiday Garland: Knot five or seven mini trees in alternating shades of ecru and forest green, then string them across a holiday mantle garland intertwined with cedar branches and battery-operated fairy lights.
6. Troubleshooting Common Holiday Knotting Mistakes
If your first tree looks slightly lopsided or curls along the edges, keep these quick adjustments in mind:
- Tree Boughs Curving Inward: When adding tier branch cords, avoid pulling the outermost half-hitches too tightly. Pulling too hard drags the edges inward, turning your triangular pine tree into an oval. Keep your foundation cords angled at a steady 45-degree slope.
- Cinnamon Stick Tilting Crooked: When attaching the cinnamon stick trunk, work from the center outward to balance knot tension evenly on both sides. Tying all left knots first frequently pulls the stick up at an awkward angle.
- Frayed or Floppy Tassel: Spritz your combed tassel lightly with hairspray or diluted craft starch, then comb flat onto parchment paper. Once completely dry, give the bottom edge a crisp, razor-sharp haircut with fabric scissors.
Frequently Asked Questions
What is the best macrame cord size for Christmas trees?
For standard 15 cm ornaments, 3mm or 4mm cotton cord provides the ideal balance between knot detail and structural stiffness. For large wall hangings exceeding 35 cm, choose 5mm 3-ply cotton rope to give your branches full, robust definition.
How long does the cinnamon stick scent last?
A natural cinnamon stick retains its pleasant aroma for several months in an open room. To refresh the fragrance year after year, simply add one drop of pure cinnamon bark or sweet orange essential oil directly onto the wood trunk before hanging.
Can beginners make this macrame tree without prior experience?
Yes. The geometric tree relies primarily on the Square Knot and the Lark’s Head knot, both of which can be mastered in less than ten minutes. The symmetrical structure makes it very intuitive to check your work as you progress.
How do you store macrame ornaments between holiday seasons?
Store your macrame trees flat between sheets of acid-free tissue paper inside a rigid craft box. Avoid dumping heavy ornaments on top of them. When unpacking the following winter, simply give the tassel fringe a light comb with a pet slicker brush to restore its crisp shape.

