
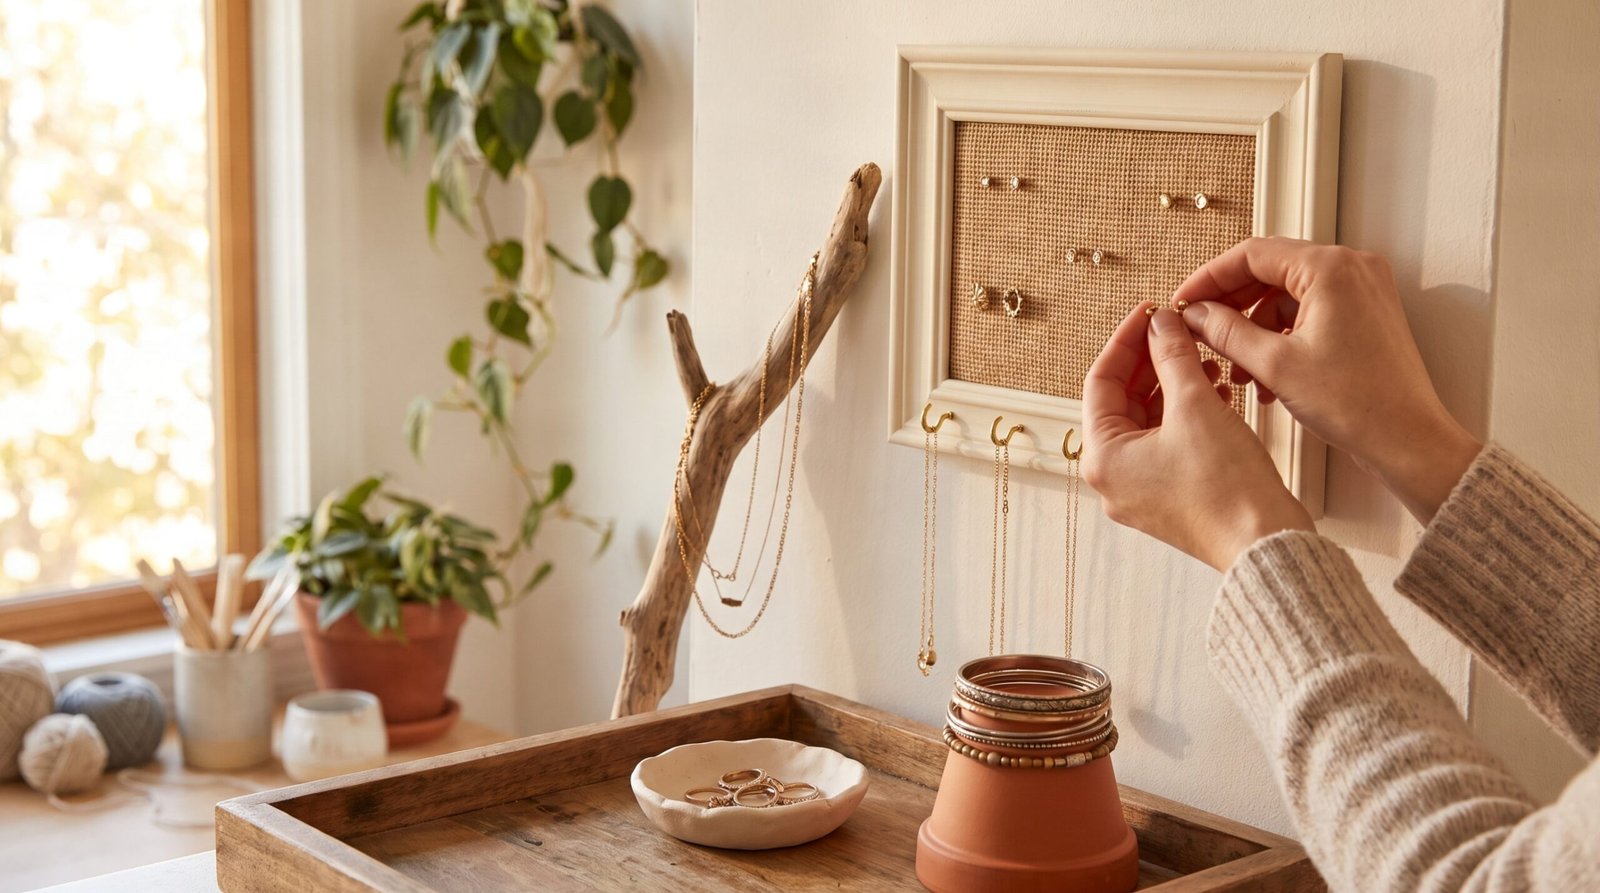
Your jewelry is probably somewhere right now you’d rather it wasn’t. Tangled at the bottom of a drawer. Piled on a bathroom counter. Buried under a stack of hair ties in a bowl that was supposed to be temporary.
A jewelry holder does not need to cost $40 at a home goods store. Most of the best DIY jewelry holder ideas use things already sitting in your home — a picture frame from a thrift run, a branch from the garden, or a shallow dish you made from air-dry clay. According to home styling experts at Real Simple, functional jewelry organization ideas rely on keeping pieces visible and tangle-free rather than hidden in drawers. The result looks intentional and considered rather than like something assembled from desperation on a Sunday afternoon.
These 10 ideas range from a 10-minute ring dish to a full wall organizer that holds every necklace, earring, and bracelet you own. All of them use materials that cost under $15, and most use things you already have.
What You Need Before You Start
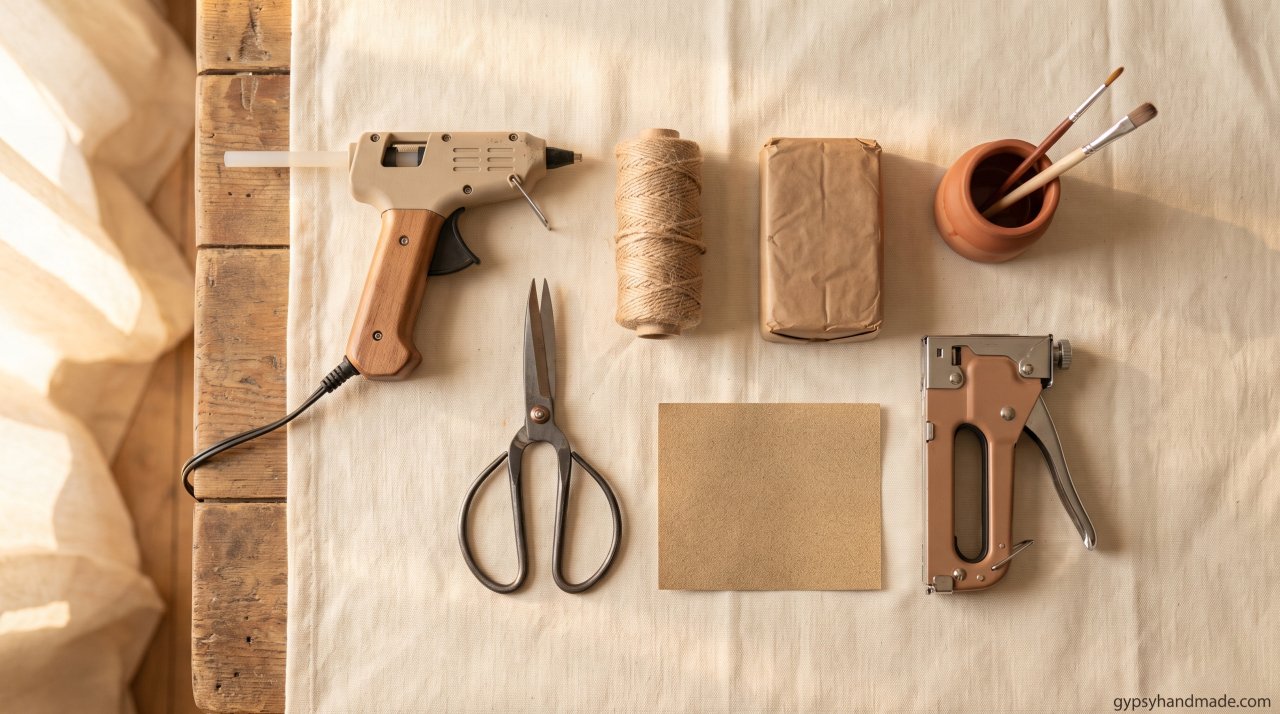
Most of these projects share a short list of tools. Gather these once and you can move through multiple projects in one afternoon:
| Tool / Material | Use |
|---|---|
| Sharp scissors or wire cutters | Cutting mesh, cord, or wire |
| Hot glue gun and glue sticks | Bonding without nails or screws |
| Staple gun (optional) | Attaching mesh or fabric to frames |
| Chalk paint or craft paint | Refreshing thrift store frames |
| Fine sandpaper | Scuffing frames before painting |
| Air-dry clay | Making ring dishes and small holders |
| Jute twine or macramé cord | Hanging and decorative wrapping |
1. Thrift Store Picture Frame Earring Holder
Time: 45 minutes | Cost: Under $5 | Best for: Stud and drop earrings
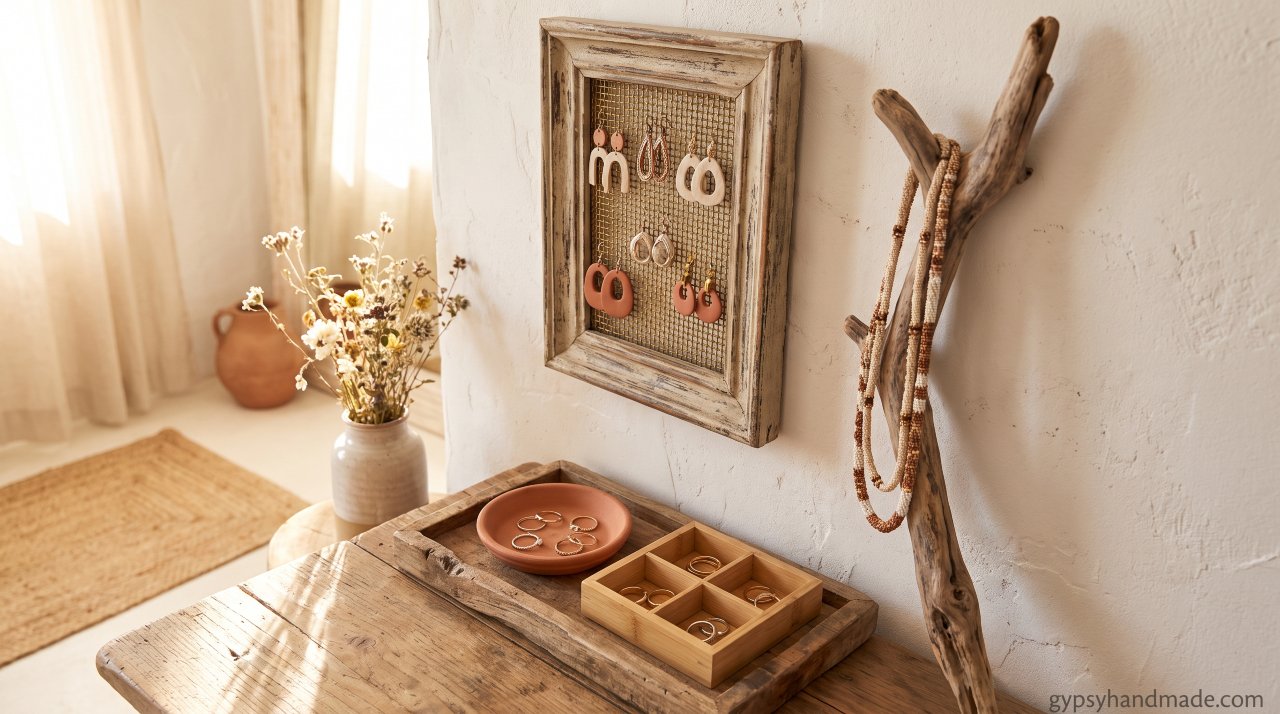
A thrift store picture frame with a piece of metal mesh stretched across the back is one of the most useful jewelry organizers you can make. Earrings hook through the mesh and hang flat and visible — no more digging through a jewelry box to find the matching pair.
What you need: One wooden picture frame (11×14 works well), metal mesh or chicken wire cut to size, staple gun, wire cutters, optional chalk paint.
- Remove the glass and cardboard backing from the frame.
- If the frame needs refreshing, lightly sand it and apply one coat of chalk paint in cream or sage. Let it dry fully.
- Cut your metal mesh slightly larger than the frame opening.
- Stretch it taut across the back of the frame and staple it in place along all four inner edges. Wear gloves — the mesh edges are sharp.
- Attach two D-ring hangers to the back and mount on your wall.
For a boho variation, replace metal mesh with a piece of jute burlap stretched tight across the frame opening. Earrings push through the loose weave and hang cleanly. This approach also works well for displaying macramé earrings. If you enjoy macramé, the macramé feathers tutorial on this blog shows how to make earring-ready macramé pieces that look striking displayed on a frame holder like this one.
2. Air-Dry Clay Ring Dish
Time: 10 minutes active, 24–48 hours drying | Cost: Under $3 | Best for: Rings and stud earrings
A small pinch bowl made from air-dry clay holds rings, studs, and small brooches on a nightstand or bathroom shelf. The slightly irregular shape of a hand-pinched dish is what makes it look artisan rather than mass-produced.
What you need: A golf ball-sized piece of air-dry clay, optional paint or glaze, matte varnish.
- Roll your clay into a smooth ball between your palms.
- Press your thumb into the center and pinch the walls upward and outward to form a shallow bowl shape.
- Smooth the inside with a damp fingertip if needed.
- Set on a flat surface and allow to dry for 24–48 hours, turning once.
- Paint with a terracotta, sage, or cream wash if desired. Seal with matte varnish.
Three dishes in graduating sizes — one large, one medium, one small — displayed on a small wooden tray form a complete ring and earring station that costs under $5 in materials total.
3. Macramé Cord Necklace Hanger
Time: 30 minutes | Cost: Under $4 | Best for: Necklaces and delicate chains
Necklaces tangle because they are stored in the same space. Separating them on individual hanging hooks solves the problem entirely. A simple macramé cord panel with wooden dowel pegs spaced evenly apart does this beautifully and keeps everything visible.
What you need: One natural wood dowel (40cm), 4mm macramé cord, 4–6 small wooden craft pegs or S-hooks, jute twine for hanging.
- Cut four cords at 80cm each.
- Fold each cord in half and attach to the dowel using a lark’s head knot, spacing them evenly.
- Tie three rows of alternating square knots below the dowel to create a small knotted panel.
- Thread one wooden peg or S-hook through the cord work at regular intervals — one peg per necklace.
- Attach jute twine to both ends of the dowel and hang on a wall hook.
For a quicker version with no knotting, simply hang a dowel from two lengths of cord looped over a wall nail, and press S-hooks directly into the dowel at equal spacing.
4. Driftwood or Branch Display
Time: 20 minutes | Cost: Free | Best for: Necklaces and longer chains
A sturdy branch or piece of driftwood mounted on a wall is one of the most organic and no-cost DIY jewelry holder ideas available. The irregular branch shape gives multiple hanging points at different heights — far more functional than a single straight rod.
What you need: A clean, dry branch (40–60cm), two lengths of jute twine or leather cord, two wall nails.
- Find a branch with at least four to six smaller side stems protruding naturally.
- Wipe clean with a slightly damp cloth. Let dry.
- Tie jute twine around each end of the branch to form a hanging loop.
- Hang from two wall nails spaced to keep the branch level.
- Drape necklaces over the side stems.
Sand any rough bark edges lightly before hanging if the branch will sit near a window or light source.
5. DIY Jewelry Holder With a Household Items Drawer Tray
Time: 15 minutes | Cost: Free | Best for: Rings, bracelets, and small items
Before buying any new storage, check your kitchen drawers. A silverware organizer tray — the divided plastic or bamboo insert that holds forks and spoons — is one of the most functional ring and bracelet holders available. Each compartment separates a different type of jewelry cleanly.
What to do: Remove the tray from the kitchen drawer. Line the compartments with a piece of cream felt cut to size to prevent scratching. Place the tray on your dressing table or inside a dedicated jewelry drawer.
Bamboo silverware organizers in particular look intentional and aesthetic when displayed on a surface with a few other earthy objects — a small candle, a clay dish, a folded linen cloth.
6. DIY Jewelry Holder Picture Frame With Burlap and Hooks
Time: 1 hour | Cost: Under $8 | Best for: Mixed jewelry collections
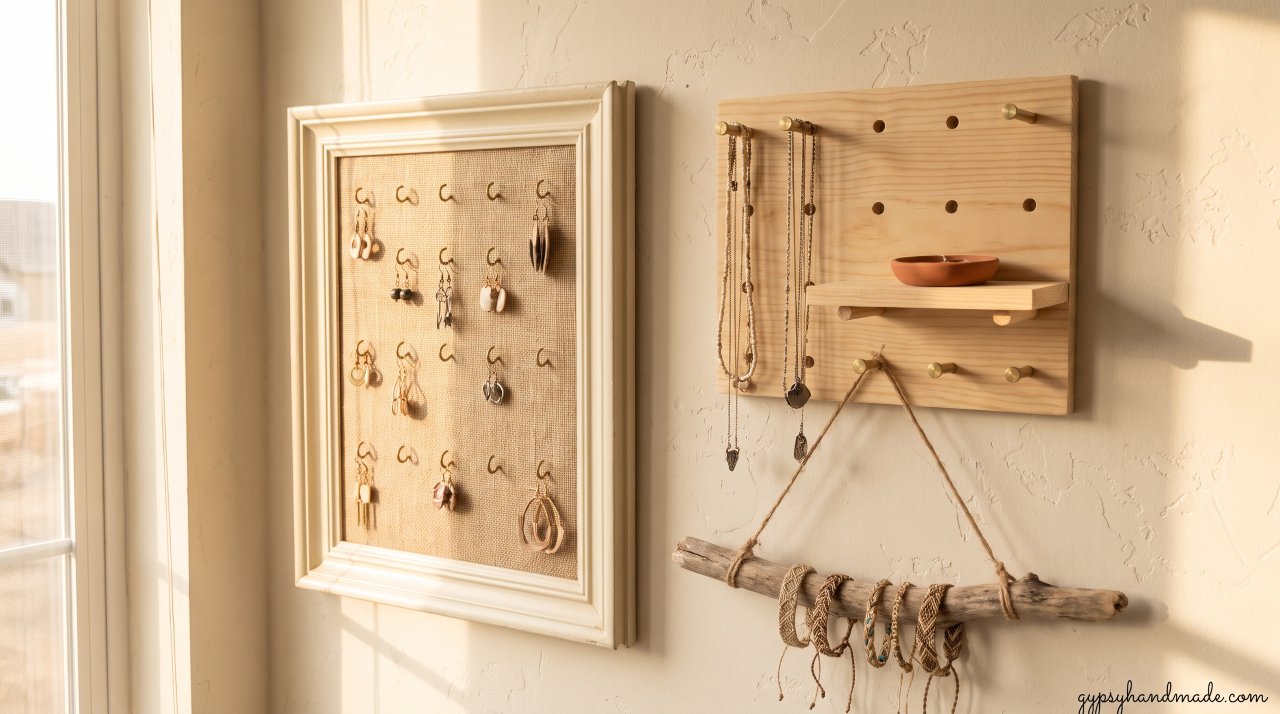
This version of the picture frame holder adds cup hooks screwed into the bottom inside edge of the frame — giving you mesh for earrings and hooks for necklaces in one single wall piece.
What you need: One deep wooden picture frame (shadow box style works best), burlap or jute fabric, staple gun, 4–6 small cup hooks, chalk paint (optional).
- Paint the frame if needed and let it dry.
- Cut burlap slightly larger than the frame opening.
- Stretch it taut over the back of the frame and staple along the inner edges.
- Screw cup hooks into the bottom inner edge of the frame, spacing them evenly.
- Hang on the wall. Push earrings through the burlap weave; loop necklaces over the cup hooks.
Burlap has a slightly looser weave than metal mesh, which makes it friendlier for earring posts that are shorter or thinner. The warm, natural texture of undyed burlap also fits the earthy, handmade aesthetic of the rest of your space.
7. Terracotta Pot Bracelet Stand
Time: 10 minutes | Cost: Under $2 | Best for: Bangles and wide cuff bracelets
A plain terracotta pot turned upside down makes a functional bracelet stand. Bangles and cuffs stack over the base of the pot and stay separated and visible. No crafting required beyond optional decoration.
What you need: One plain terracotta pot (10–15cm diameter works well), optional chalk paint or jute twine.
- Turn the pot upside down so the drainage hole faces upward and the flat rim becomes the base.
- Stack your bangles over the inverted pot from the top downward.
- Optional: paint the pot with chalk paint in sage or cream, or wrap the lower section with jute twine for texture.
Group two or three inverted pots in different sizes on a small wooden tray to create a complete bangle display station.
8. Corkboard Jewelry Wall With Map Pins
Time: 30 minutes | Cost: Under $5 | Best for: Stud earrings
A sheet of cork board mounted in a frame and studded with map pins gives each earring pair its own dedicated storage point. Every pair is flat, visible, and ready to grab. No tangling. No searching.
What you need: One picture frame, one cork sheet cut to size, map pins (brass or copper look best), chalk paint optional.
- Paint the frame if needed.
- Cut the cork sheet to fit inside the frame.
- Press map pins into the cork at regular intervals, spaced to hold earring pairs. Two pins per pair, spaced 1cm apart.
- Hang the frame on your wall. Push each earring post through the cork and cap with its back as normal.
For aesthetic consistency, choose map pins in brass or copper tone rather than bright-colored plastic ones.
9. Macramé Keychain Tassel Bracelet Roll
Time: 20 minutes | Cost: Under $3 | Best for: Delicate bracelets and stackers
A bracelet roll keeps delicate bead bracelets and stackers organized without tangling. A small piece of linen or felt, a length of macramé cord, and a few minutes of rolling is all it takes.
What you need: One 20x30cm piece of cream linen or felt, macramé cord, scissors.
- Lay the linen flat with the long edge horizontal.
- Fold the bottom third up toward the center.
- Sew or hot-glue a series of small vertical pockets across the folded section — each pocket holds one bracelet.
- Slide one bracelet into each pocket.
- Roll the linen from one short end to the other. Tie closed with a length of macramé cord.
For an even simpler version, roll a piece of felt around a cardboard tube (a paper towel roll cut to 15cm works) and tie with cord. Bracelets stack around the outside of the tube rather than inside pockets.
10. Pegboard Jewelry Station
Time: 1–2 hours | Cost: Under $15 | Best for: Full jewelry collections
A small wooden pegboard mounted on a wall gives you infinite configuration options. Pegs can be moved to accommodate different jewelry types — hooks for necklaces, small shelves for bracelets, mesh bins for earrings.
What you need: One small pegboard panel (available at hardware stores), wooden or brass pegboard hooks, two wall screws and anchors.
- Mount the pegboard on the wall using two screws with wall anchors.
- Add brass hooks at the top half for necklaces and long chains.
- Add a small shelf peg on one side for a ring dish or bracelet stand.
- Use a small mesh basket peg on the other side for tangled earrings.
This is the only project on this list that requires a hardware store visit, but it is also the most expandable. A 30x30cm pegboard holds an entire jewelry collection organized. Spray paint the board in sage green or matte cream before mounting for an aesthetic finish.
Which DIY Jewelry Holder Should You Make First?
| If you have… | Make this first |
|---|---|
| A thrift store frame at home | #1 Picture Frame Earring Holder |
| Air-dry clay in a drawer | #2 Ring Dish — done in 10 minutes |
| Tangled necklaces specifically | #3 Macramé Cord Hanger or #4 Branch Display |
| A full jewelry collection | #10 Pegboard Station |
| Bangles and cuffs | #7 Terracotta Pot Stand |
| Zero materials at all | #4 Branch Display — free from the garden |
Frequently Asked Questions
What is the easiest DIY jewelry holder for beginners?
The air-dry clay ring dish (#2) is the easiest — it takes 10 minutes of active time, costs under $3, and requires no tools. The terracotta pot bracelet stand (#7) is even simpler if you skip the decorating step: flip a pot, stack your bangles, done.
How do I make a DIY jewelry holder with household items?
Start with what you already have. A picture frame becomes an earring holder with metal mesh. A branch from the garden holds necklaces. A silverware drawer organizer separates rings and bracelets. A ceramic bowl on your dresser is already a ring dish — add a piece of felt inside to prevent scratching.
How do I make a DIY jewelry holder from a picture frame?
Remove the glass and cardboard backing. Cut metal mesh or burlap to size. Stretch it taut over the back of the frame and staple it in place along the inner edges. Add cup hooks to the bottom inside edge for necklaces. Hang with D-ring hardware. Full instructions are in idea #1 and idea #6 above.
How do I stop necklaces from tangling in a DIY holder?
Give each necklace its own individual hook, peg, or stem. A branch display, a macramé cord hanger, or a pegboard with individual hooks all keep necklaces separated. The critical rule: no two necklaces should touch when stored. Even a single shared hook will cause tangling within a week.
What is the best wall-mounted DIY jewelry holder?
The picture frame earring holder with cup hooks (#6) is the best single-piece wall option for a mixed collection. It handles earrings and necklaces in one frame. For larger collections, the pegboard station (#10) is the most expandable wall option available.
Start With the One You Can Make Today
The best jewelry holder is the one you make this afternoon with what you already have. If there is a picture frame in a drawer, a branch in the garden, or a block of clay in the craft cabinet, that is where to start.
Once your jewelry is organised and on display, you will reach for pieces you forgot you owned. For more handmade organiser and decor ideas, the full macramé floating shelf tutorial on this blog shows how to build a wall shelf that pairs perfectly with any of these jewelry displays.

