
By Callum Langham — Founder & Master Craft Creator | Reviewed under our Editorial Policy & Craft Standards.
Most people discover macramé the same way. They spot a textured wall hanging in a photo, or notice a knotted plant hanger draping over someone’s shelf, and think: what is that, and how is it made?
Here is the short answer. Macramé is a textile craft built entirely from knots. No needles. No looms and no machines. Just cord, your hands, and a handful of repeating knot patterns you can learn in an afternoon.
In 2025, macramé has moved well beyond its 1970s reputation. Makers are using it to build room dividers, sculptural wall art, hanging shelves, and functional lampshades — not just the fringed decor your grandparents had. If you have been curious about trying it, this guide covers everything you need: a clear definition, the real history behind the craft, the exact supplies to buy, the four knots every beginner must master, and the most common mistakes (with fixes).
Quick Answer: What Is Macramé?
Macramé is an ancient fiber art that creates decorative and functional objects using hand-tied knots rather than weaving or knitting tools. Originating with 13th-century Arabic weavers, it requires only a few supplies: cotton cord (3mm to 5mm diameter is best for beginners), a wooden dowel or ring, sharp scissors, and a tape measure. By learning four core knots — the Lark’s Head, Square Knot, Double Half Hitch, and Gathering Knot — beginners can make plant hangers, wall hangings, keychains, and home decor items without any prior craft experience. Most beginners complete their first small project within two hours.
What Macramé Actually Is (A Plain Definition)
Macramé is the art of creating fabric, patterns, and functional objects by tying cord into knots. Unlike weaving, which interlaces threads on a loom, or crochet, which loops yarn with a hook, macramé is worked entirely by hand. There are no specialist tools required beyond a sharp pair of scissors.
The core materials are cord, a mounting surface (usually a wooden dowel or metal ring), and whatever your hands can do. The visual texture and structural strength of finished macramé pieces come entirely from the knots: how tightly you tie them, how you space them, and which knot sequences you combine.
That simplicity is the whole appeal. Macramé has one of the lowest barriers to entry of any textile craft. Pick up a bundle of cotton cord today, and you can tie your first proper knot tonight.
The Real History of Macramé
Understanding where macramé came from gives you a genuine appreciation for what you are creating when you sit down with a cord.
13th-Century Origins in North Africa and the Middle East
The word macramé is derived from the Arabic term miqramah, meaning ornamental veil or fringe. Weavers in 13th-century North Africa and the Middle East used decorative knotting along the edges of hand-loomed textiles — towels, shawls, and veils — to secure threads and create intricate fringe patterns. The technique spread westward through trade routes into Turkey, Spain, and eventually across Europe.
Sailors Carried It Around the World
Between the 17th and 19th centuries, sailors became the unexpected ambassadors of macramé. During long voyages, crews used cord knotting to create practical items for ships — hammocks, rigging covers, and rope ladders. When ships docked in ports from the Americas to Asia, sailors traded handmade knotted goods, introducing local communities to the craft. It spread fast because all the materials were already on board.
The 1970s Boom and the Modern Resurgence
Macramé became a household word in the 1970s, symbolising free-spirited interior design. Plant hangers, owl wall hangings, and hammock chairs filled homes. Then, like all trends, it faded.
The current resurgence is different in character. In 2024 and 2025, macramé has shifted from decorative nostalgia into functional design. Makers now build room dividers, sculptural lampshades, hanging shelves, and architectural installations. The craft has matured into a genuine design discipline, not just a hobby phase.
What You Need to Start Macramé
The supplies list for macramé is genuinely short. Here is what to buy for your first project.
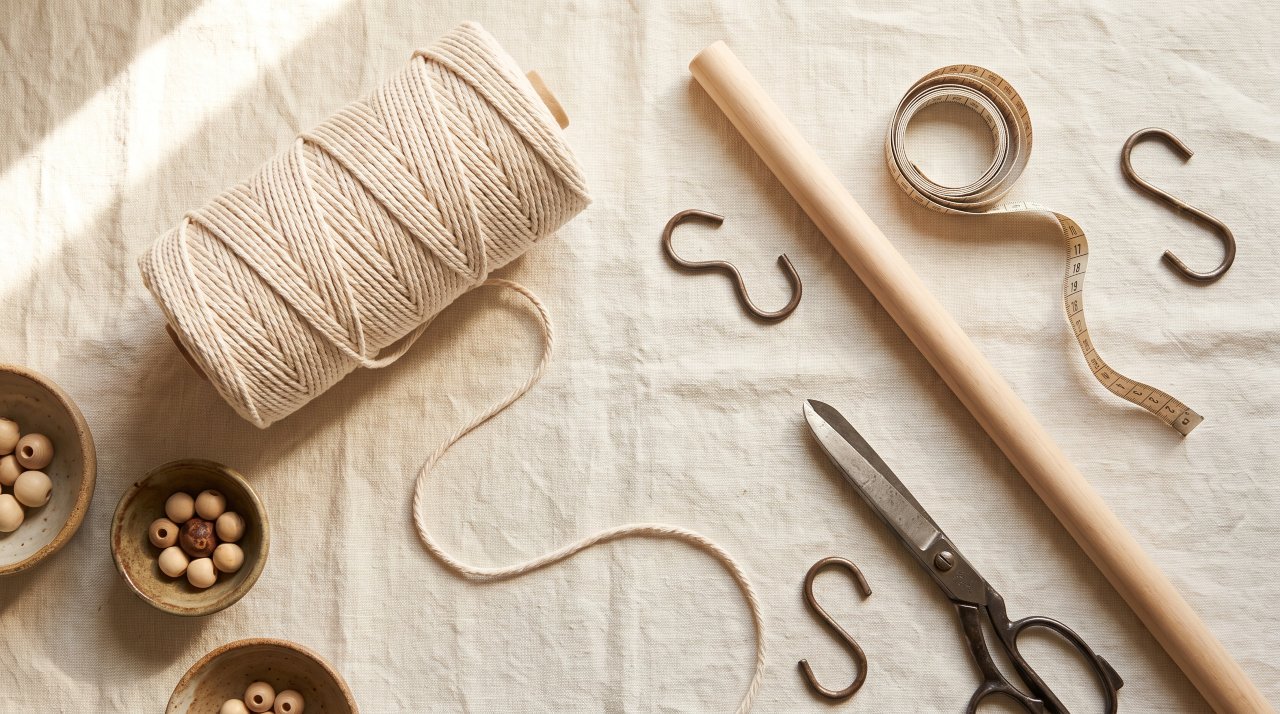
| Supply | What to Look For | Why It Matters |
|---|---|---|
| Cotton cord | 3mm or 4mm, 3-ply twisted | Holds knot shape; unties cleanly when you make mistakes |
| Wooden dowel or ring | 12-inch dowel or 2-inch wood ring | Gives you a firm anchor to mount your working cords |
| Sharp scissors | Fabric or cord shears | Blunt scissors fray the cord ends and make finishing messy |
| Measuring tape | Soft flexible tape | Cords shorten drastically as you knot; you need accurate cuts |
| S-hooks | 2 metal S-hooks | Lets you hang your dowel at eye level for comfortable knotting |
Choosing Your First Cord
Walk into any craft store and you will see cotton cord, jute, hemp, and synthetic rope all marketed for macramé. For your first project, buy 3mm or 4mm 3-ply twisted cotton cord. Here is why.
Single-strand cotton cord (also called string or macramé string) is very soft, gives beautiful brushed fringe, and photographs well. The problem is that it unspools when you loosen a knot to fix a mistake. When you are still learning knot tension, that becomes frustrating fast.
3-ply twisted cotton holds its shape even when you untie and retie a section. You can rework mistakes without the cord becoming tangled. Once you have consistent tension across your projects, switching to single-strand for a fringe effect is simple. A good starting point is a 100m spool of natural cotton macramé cord from any major craft retailer — it covers 3 to 4 small beginner projects comfortably.
The 4 Basic Knots Every Beginner Must Know
Here is the important thing to understand about macramé: you only need to master four knots to make the vast majority of beginner and intermediate projects. Everything builds from these four.
Knot 1: The Lark’s Head Knot
The Lark’s Head Knot is your mounting knot. It is how you attach every working cord to your dowel, ring, or branch before a project begins.
- Fold a length of cord in half to create a loop at the top.
- Place the loop over the front face of your dowel and pull it down behind.
- Thread the two loose cord tails through the loop from front to back.
- Pull both tails downward to tighten the knot snugly against the dowel.
You will repeat this for every cord you mount. On a 12-inch wall hanging, you might mount 10 to 20 cords this way. The most common mistake here: pulling one tail tighter than the other, which causes the mounted cord to sit at an angle. Pull both tails simultaneously and check that the knot sits centered before continuing.
Knot 2: The Square Knot
The Square Knot is the workhorse of macramé. It uses four cords: two static filler cords in the middle and two active working cords on the outside.
- Take the left working cord and cross it over the two middle cords, forming a reversed figure-4 shape.
- Place the right working cord over the left tail, behind the two middle cords, and up through the loop of the figure-4.
- Pull both working cords evenly outward to tighten the first half knot.
- Now repeat from the opposite side: right working cord over the middle, left working cord behind and up through the loop.
- Tighten evenly. That is one complete Square Knot.
When you tie Square Knots continuously without alternating sides, you produce a spiral pattern — called the Spiral Knot or Half Square Knot Spiral. It is one of the most used patterns in plant hanger tutorials.
Knot 3: The Double Half Hitch Knot
The Double Half Hitch creates clean horizontal lines, diagonal bars, and geometric diamond shapes. It is what gives macramé wall hangings that structured, graphic look.
- Hold one anchor cord taut across your working cords at the angle you want your line to run.
- Take the first working cord, loop it over the anchor cord, and pull the tail underneath and back through the loop. Pull it tight. That is one half hitch.
- Repeat the loop with the same working cord on the same anchor cord to complete the Double Half Hitch.
- Move to the next working cord along the line and repeat.
The most common mistake here is loosening your grip on the anchor cord between knots. Keep the anchor cord pulled taut in one hand while tying each knot with the other, or the line will curve instead of staying straight.
Knot 4: The Gathering Knot
The Gathering Knot (also called a Wrapping Knot) bundles multiple cords together into a clean, finished handle or tail. You will use it at the tops and bottoms of plant hangers, to create tassel bases, and to neaten the end of a hanging.
- Gather all your main cords into a parallel bundle.
- Cut a separate 20-inch working cord. Form a long downward U-loop with it against the side of the bundle, with the tail pointing down.
- Use the long tail to wrap tightly around the entire bundle 6 to 8 times, working downward.
- Thread the wrapping tail through the bottom of the U-loop.
- Pull the top cord (the short tail at the top of the U) firmly upward. The loop will slide under the wraps, locking the knot invisibly inside.
- Trim both tails flush with the bottom of the wrapped section.
What You Can Make with Macramé
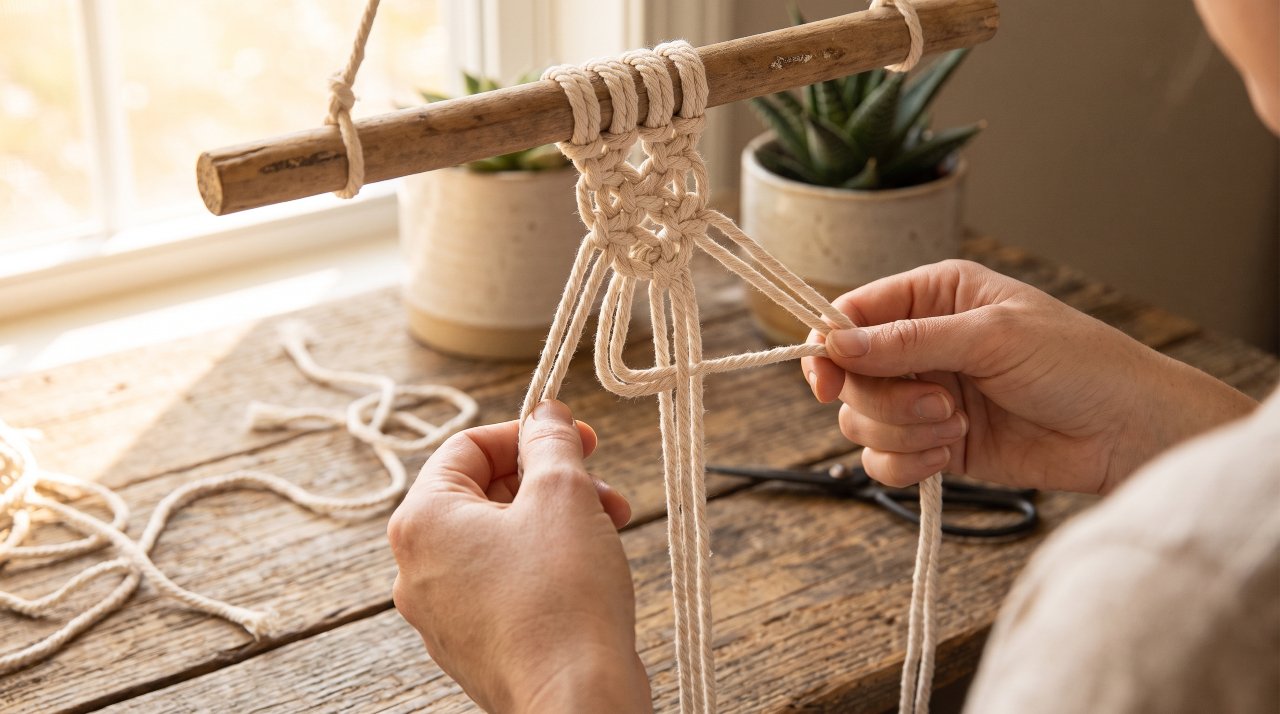
Once you know these four knots, here is a realistic list of what you can create, roughly ordered from beginner to more involved projects.
Beginner (first week):
- Keychains and bag charms
- Simple coasters using Square Knots in a grid
- A basic tassel using a Gathering Knot
Intermediate (first month):
- Macramé plant hangers — a great second project after keychains
- Small wall hangings with fringe tails
- Macramé rainbow wall hangings using bent wire forms
Confident Intermediate:
- Full-scale macramé wall hangings with geometric patterns
- Macramé curtains with vertical panel designs
- Macramé bags and tote handles
If you eventually want to sell your finished pieces, the Etsy Seller Handbook is the most practical free resource for pricing handmade craft work correctly.
Common Mistakes and How to Fix Them
Running Out of Cord Mid-Project
This catches almost every beginner on their first wall hanging. Knots consume cord fast — far faster than you expect from measuring the finished length.
The fix: For any project with dense knotting (Square Knots or Half Hitches worked close together), cut working cords at 6 times the desired finished length. For open, spaced designs with more gaps between knots, 4 times the finished length is usually sufficient.
Tension That Gets Tighter Toward the Bottom
You tie your first few knots carefully and loosely. Then you get into a rhythm and start unconsciously pulling harder. The result is a piece that fans out at the top and pinches tight at the bottom.
The fix: Every 10 knots, step back and look at the full piece from arm’s length. Check the spacing between knots is consistent from top to bottom. If you spot it early, you can untie and rework just the last section.
Working Flat on a Table
Macramé pieces are designed to hang and drape. Tying knots on a flat surface hides how gravity is pulling your cords, which can make your finished hanging look completely different than expected.
The fix: Use two S-hooks on a clothing rail, curtain rod, or even a sturdy door handle. Hang your dowel at comfortable chest height and work standing or seated in front of it. You will immediately see the natural drape of the piece as you work.
Frequently Asked Questions
Is macramé hard to learn from scratch?
No. Most beginners can tie a recognizable Square Knot within 10 minutes of first trying. The challenge with macramé is not learning the knots — it is building consistent tension across a full project, which comes from practice and slowing down. Expect your first project to look slightly uneven. Your second will look noticeably better.
How much cord do I need for a beginner project?
For a small wall hanging (about 12 inches wide and 18 inches long), plan on 20 to 25 cords each cut to 60 inches. That gives you roughly 25 to 30 meters of total cord. Most 100-meter spools comfortably cover 3 to 4 beginner-sized projects.
What is the difference between macramé cord and macramé rope?
Both terms are used interchangeably in most craft shops. In practical terms, “cord” often refers to 3-ply twisted or braided single strands in thinner diameters (1mm to 4mm), while “rope” typically refers to thicker 3-ply twisted bundles (5mm and above). For beginners, either 3mm or 4mm product described as macramé cord or rope works equally well.
Can macramé get wet or be used outdoors?
Natural cotton macramé can handle light moisture but will mold if it stays damp for extended periods. For outdoor plant hangers, choose a cord labeled as UV-resistant or made from polyester or nylon for weather durability. Jute is not suitable for outdoor use as it deteriorates quickly in rain.
How is macramé different from knitting or crochet?
Knitting and crochet both require tools (needles or a hook) and build fabric by interlocking loops of yarn. Macramé requires no tools beyond scissors and builds structure through knots tied directly by hand. The finished look is also different: macramé produces an open, textured, rope-like structure, while knitting and crochet produce a denser, fabric-like surface.
Your First Knot Starts Here
Macramé is one of those crafts that clicks surprisingly fast once cord is in your hands. The definitions and instructions in this guide make sense at a theoretical level — but 20 minutes of actually tying will teach you more than reading ever can.
Start small: a keychain or a single-plant hanger ring tassel is enough to feel the knot sequence, understand cord tension, and build the rhythm that makes every project after it easier. When you are ready for your next challenge, our complete guide to how to make a macramé plant hanger walks you through a full beginner project step by step.
Save this page, pin it for later, and come back when you have your first bundle of cord. You are going to enjoy this.
