
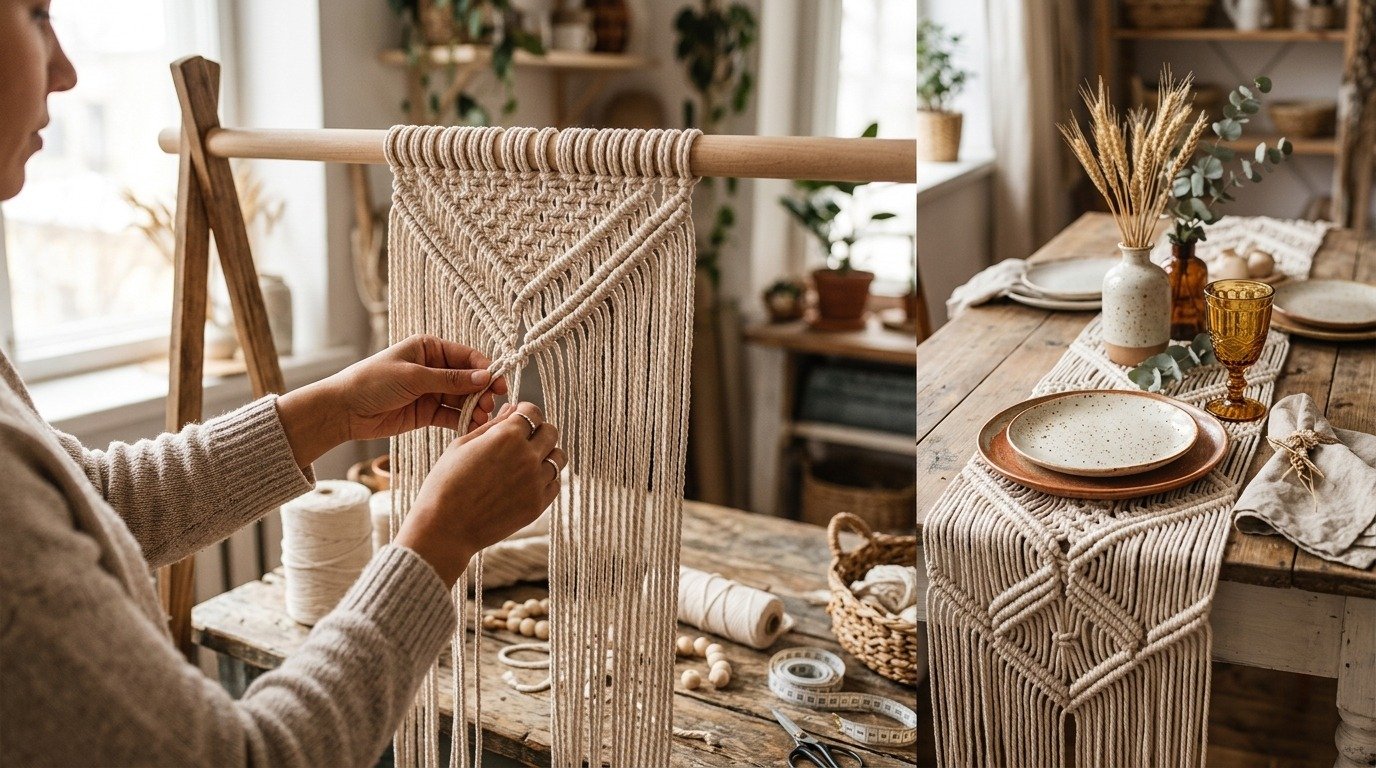
A handcrafted table runner is one of the most rewarding fiber art projects you can undertake for your home. Making your own diy macrame table runner allows you to infuse everyday dining areas and festive holiday tablescapes with rich texture, bohemian warmth, and tailored artisan charm. While mass-produced synthetic runners from retail home stores often look flat, thin, and stiff, hand-knotted natural cotton rope brings organic dimension and bespoke elegance that elevates everything from relaxed Sunday breakfasts to Thanksgiving banquets.
Many crafters feel intimidated by the scale of a table runner, assuming that a project measuring five to seven feet in length requires master-level fiber skills or weeks of complicated knotting. In reality, a classic modern bohemian runner relies on just two foundational knots: the square knot and the double half hitch. Once you establish a rhythmic muscle memory, working through repeating diamond lattices and open mesh sequences becomes deeply relaxing and meditative. This complete guide walks you through the entire process, providing exact cord calculation charts, tension strategies, finishing techniques, and practical care secrets to ensure your finished runner lies beautifully flat on your dining table.
Quick Answer: How to Make a DIY Macrame Table Runner
To make a standard 72-inch DIY macrame table runner (12 inches wide), cut 24 working cords measuring 18 feet each from 4mm single-twist natural cotton cord, plus two 9-foot horizontal anchor cords. Secure the anchor cords to a craft table with painters tape. Mount all 24 working cords using Lark’s Head knots across the upper anchor cord, giving you 48 knotting strands. Work a continuous row of 12 square knots to form the header band, followed by repeating alternating square knot diamond lattices and chevron borders framed by diagonal double half hitches. Tie a final horizontal double half hitch row to lock the body, and trim the bottom fringe to 6 inches with fabric shears.
Essential Materials and Cord Selection
Selecting high-grade raw materials ensures your table runner handles real dining table use (as recommended by Textile Society of America historic textile research), withstands spot cleaning, and lays completely flush without awkward stiff bubbling. Because table runners sit under dinner plates, serving platters, and drinkware, your rope choice directly influences both visual beauty and functional stability.
Choosing the Ideal Cord Diameter and Structure
For most dining tables, 4mm single-twist cotton cord represents the perfect sweet spot. Single-twist string consists of dozens of tiny unspun cotton fibers twisted together in a single bundle. It is soft to touch, gentle on your fingers across hours of knotting, and brushes out into luxurious, feathery fringe tassels at both ends of your runner. As confirmed by natural fiber guides from Cotton Incorporated textile standards, 100 percent natural cotton provides superior knot definition and long-term durability for dining room linens.
If you prefer crisp, defined stitch definition and extra structural durability against pet paws or active family gatherings, 3-ply cotton rope (triple-strand twisted rope) provides firmer knots that hold their shape rigidly. Avoid synthetic polyester or nylon cords, which are excessively slippery to tie, resist steam flattening, and melt if exposed to warm serving dishes. Natural unbleached cotton is heat-tolerant, eco-friendly, and drapes gracefully over table edges.
Complete Supply Checklist
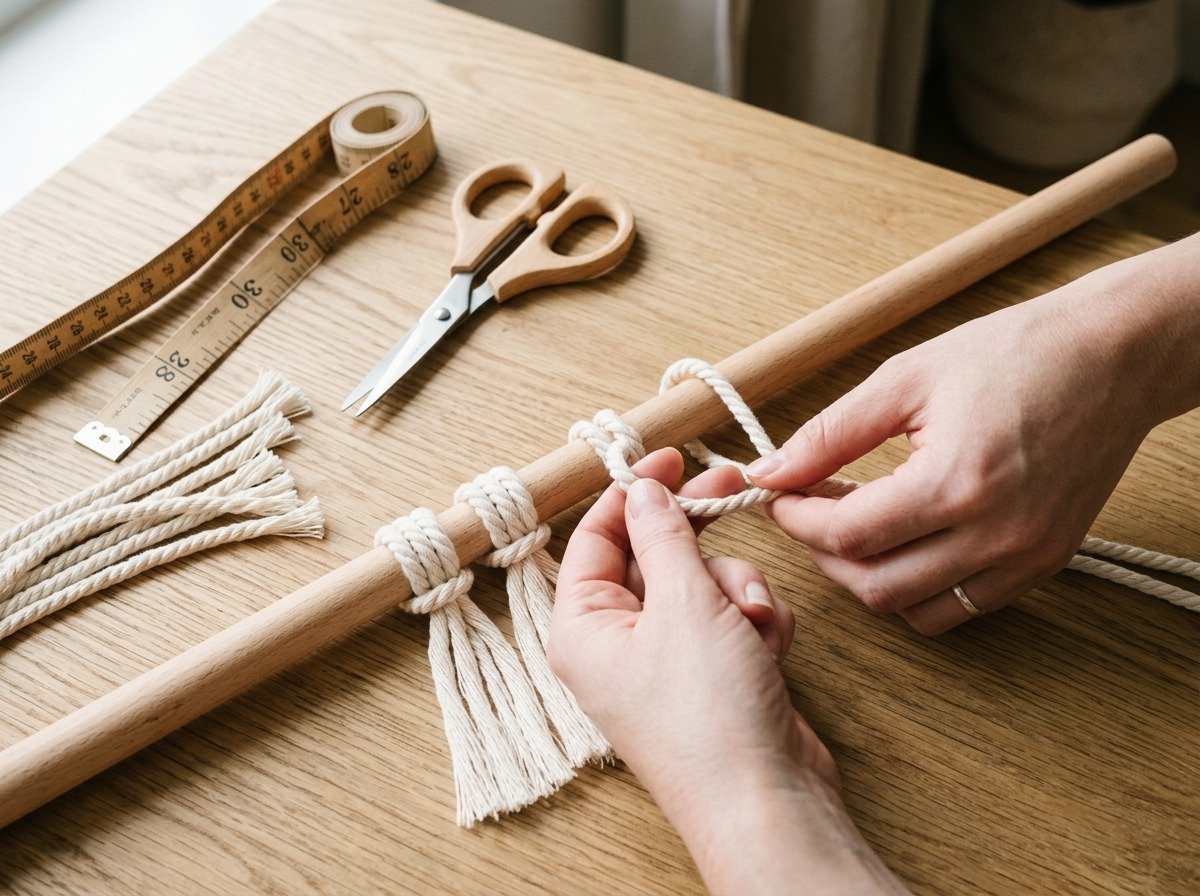
- 4mm Natural Cotton Cord: Approximately 450 to 500 feet (140 to 150 meters) for a standard 6-foot runner. Always purchase a single large 500-meter spool to ensure consistent dye lot tone and fiber thickness throughout your piece.
- Heavy-Duty Fabric Shears: Sharp dressmaker scissors ensure clean, blunt cuts across thick bundles of cotton without frayed scraggly ends.
- Retractable Measuring Tape: A 25-foot metal carpenter tape or fiberglass tailor tape for measuring long cord lengths accurately along the floor.
- Low-Tack Blue Painter Tape or T-Pins: For anchoring your horizontal holding cord securely to your work surface without leaving sticky adhesive residues.
- Smooth Wooden Dowel or Tension Rod (Optional): A 1/2-inch birch dowel measuring 16 inches long can serve as a temporary holding rig while knotting, or you can build a cordless top loop header.
- Metal Wire Pet Slicker Brush: Essential for combing out end fringe into a dense, velvety plush tassel border.
- Household Clothes Steamer or Steam Iron: To relax fiber memory and achieve a perfectly smooth, ripple-free lay once knotting is complete.
Macrame Cord Length Calculation Formula
Running out of cord midway down a 6-foot table runner is every fiber artist’s worst nightmare. Because each square knot consumes between 1.5 to 2 inches of working cord, you need significantly more length than the finished dimensions of your tabletop. If you are customizing dimensions for a non-standard table size, try using our free interactive macrame cord calculator to quickly verify exact yardage requirements.
The standard golden rule for a moderately dense diamond pattern table runner is to multiply your desired finished body length by 4.5 to 5 times, plus add your planned fringe drop allowance at both ends. Because each cord is folded in half when mounted with a Lark’s Head knot, you must double that figure when cutting individual strings from the spool.
| Dining Table Length | Finished Runner Length (Inc. 6″ Drop) | Number of Cords (12″ Width) | Cut Length per Cord | Total Cord Needed |
|---|---|---|---|---|
| 48 inches (Small 4-Seater) | 60 inches | 24 working cords | 15 feet (4.6 m) | 360 feet (110 m) |
| 60 inches (Standard 6-Seater) | 72 inches | 24 working cords | 18 feet (5.5 m) | 432 feet (132 m) |
| 72 inches (Medium 6-8 Seater) | 84 inches | 24 working cords | 21 feet (6.4 m) | 504 feet (154 m) |
| 96 inches (Long 8-10 Seater) | 108 inches | 24 working cords | 26 feet (7.9 m) | 624 feet (190 m) |
Mastering the Core Knots
Before cutting yards of rope, spend ten minutes practicing the two central knot patterns on scrap string. Mastering uniform tension at this stage prevents your finished runner from pulling crooked or developing wavy, buckled edges.
1. The Square Knot and Alternating Square Knot
A square knot requires a grouping of four cords: two passive interior filler cords and two active outer working cords. Cross the left outer cord over the two filler cords and under the right cord, creating a leftward loop. Bring the right cord behind the filler cords and pull it up through the left loop, then pull both outer cords firmly to settle the half knot. Complete the square knot by mirroring the motion: cross the right outer cord over the center, pass the left cord underneath, and pull taut.
To create the alternating square knot mesh, take two cords from an adjacent left knot and two cords from an adjacent right knot to tie a new square knot in the row below. This creates an open, flexible diamond net that gives the runner its classic bohemian texture. For a visual beginner refresher on foundational wraps, explore our detailed tutorial on macrame knots for beginners.
2. The Diagonal Double Half Hitch
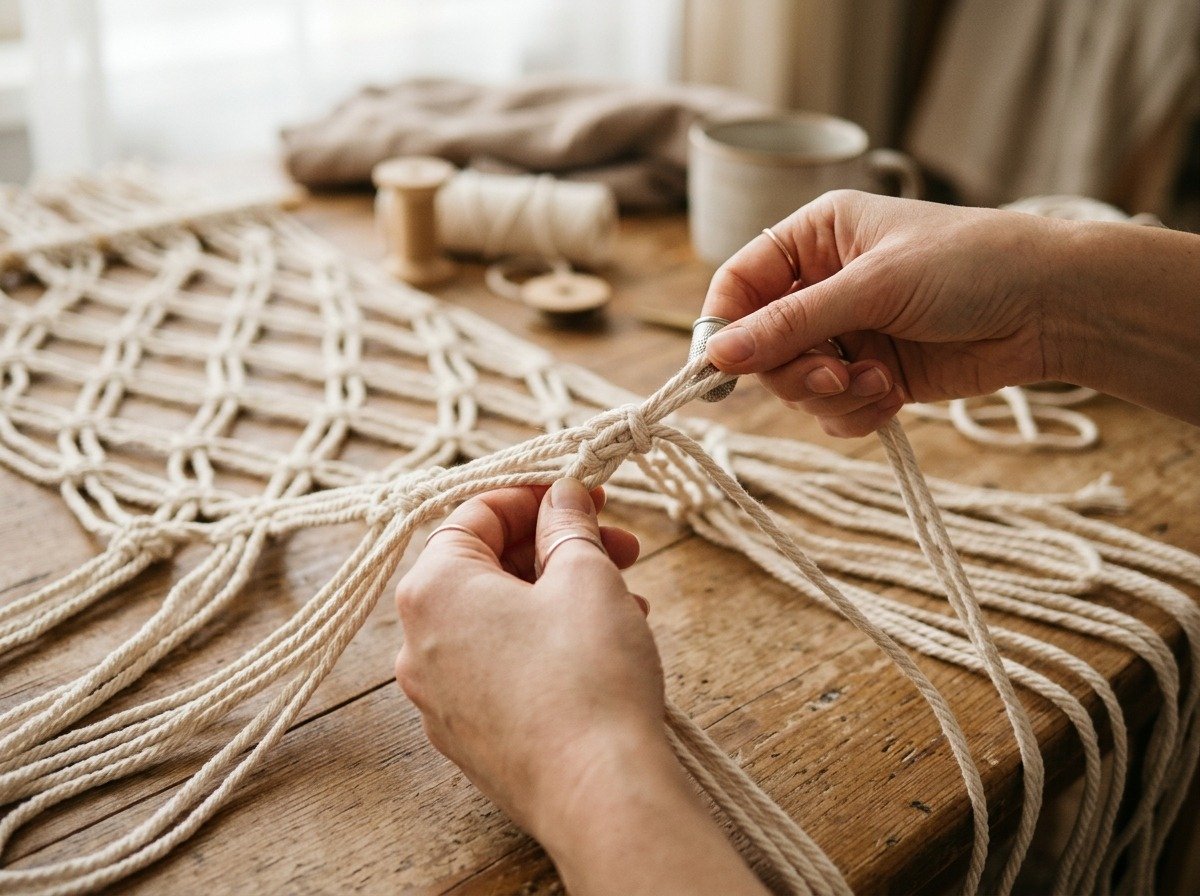
The double half hitch produces crisp, sculptural raised ridges that outline geometric diamonds and form decorative V-shaped chevron borders. Choose one cord to serve as your stationary “guide cord” and angle it diagonally across neighboring strands. Take the adjacent working strand, loop it up and over the guide cord, and pull it down through the resulting loop. Repeat that exact same loop a second time with the same working strand to lock the double half hitch. Continue knotting successive working cords onto that stationary guide cord to build continuous diagonal ridges.
Step-by-Step DIY Macrame Table Runner Pattern
This pattern is designed to yield a finished runner measuring 12 inches wide by 72 inches long, including 6 inches of fringe on each end. We will work directly on a flat dining table or floor surface to keep the long cords organized and prevent stretching.
Step 1: Measuring and Cutting the Working Cords
Unroll your measuring tape across an open floor space. Measure and cut 24 cords at exactly 18 feet (5.5 meters) in length each. Cut two additional horizontal holding cords measuring 9 feet (2.7 meters) each. Bundle each long working cord into a loose “butterfly skein” by wrapping it figure-eight style around your thumb and pinky finger, secured with a small hair elastic. Butterfly skeins keep long strands from tangling into knots while leaving the top working end free to pull as needed.
Step 2: Mounting Cords to the Top Anchor Line
Lay one 9-foot horizontal holding cord horizontally across your craft table or work board. Tape both ends firmly to the tabletop with blue painter tape, pulling it taut. Fold each 18-foot working cord exactly in half to locate the center midpoint loop. Slide the center loop behind the horizontal anchor cord, reach your fingers through the loop, grab the two hanging tails, and pull them through snugly. This forms a clean Lark’s Head knot.
Mount all 24 working cords side by side in neat contact across the central 12 inches of your anchor cord. You will now have 48 active working strands hanging down in a clean vertical sheet.
Step 3: Creating the Upper Header Border
With 48 cords organized in sequence, begin at the far left edge. Take the first four cords (strands 1 through 4) and tie one firm square knot directly below the Lark’s Head mounts. Move to cords 5 through 8 and tie another square knot. Repeat across all strands until you have a straight horizontal row of 12 complete square knots. This first row forms your structured top header and locks cord spacing permanently.
Step 4: Building the Repeating Geometric Diamond Lattice
Now we transition into the primary decorative body. The runner features repeating rows of framed geometric diamond medallions. Each diamond spans 16 working cords (four square knots wide), giving you three large side-by-side diamonds across your 12-inch width.
Opening the Diamond:
Locate the center two cords of your first 16-cord group (cords 8 and 9). Take cord 8 and angle it diagonally downward toward the left as a guide cord. Work seven double half hitches onto it using cords 7 through 1. Next, take cord 9, angle it diagonally downward to the right, and tie seven double half hitches onto it using cords 10 through 16. You now have an inverted V-shape opening the top of your diamond.
Filling the Diamond Center:
Inside the open V-shaped cavity, tie alternating square knots to form a solid textured center. Tie one square knot in the center using the middle four cords, then two alternating knots on the row below, and three on the row below that. This fills the center with a tightly woven lattice.
Closing the Diamond:
To seal the diamond medallion, take the outermost left cord (cord 1) and angle it diagonally downward toward the center. Tie double half hitches onto it with cords 2 through 8. Then take the outermost right cord (cord 16), angle it downward to the center, and tie double half hitches with cords 15 through 9. Where the two guide cords meet in the center, tie one final double half hitch between them to close the diamond point cleanly.
Repeat this sequence across the remaining two 16-cord sections so that all three diamonds align in a balanced horizontal tier. Once row one is complete, tie an intermediate open mesh band of alternating square knots before opening your next tier of diamonds. Continue working down the length of your runner until the knotted body reaches approximately 60 inches.
Step 5: Forming the Pointed Chevron Terminal Border
Instead of ending with a blunt flat cut, finishing with a graceful pointed chevron V-shape gives your table runner an elevated artisan silhouette that drapes elegantly over the table edge. Divide your 48 cords into two equal halves of 24 strands. For the left section, angle the far left cord diagonally downward to the center point, tying 23 double half hitches. Mirror this on the right side by angling the far right cord diagonally inward to meet in the middle. Tie the two guide cords together at the apex.
Work a second concentric diagonal double half hitch row directly underneath the first ridge for added weight and visual definition. This creates a sturdy architectural border that prevents the lower body knots from loosening during laundering or everyday use.
Step 6: Combing and Trimming the Fringe
Untape your runner and lay it completely flat on a large cutting mat or clean hard floor. Smooth all hanging tails straight with your hands. Use your fabric shears to cut the fringe ends roughly 7 inches below the lowest chevron knot ridge.
Take your metal pet slicker brush or fine-tooth comb and gently brush the cord tails, starting at the tips and working upward toward the knot line. Single-twist cotton separates quickly into a dense, velvety plush fringe apron. Once fully brushed out, place a stiff acrylic craft ruler across the fringe following the angled chevron line, and make a crisp, razor-sharp final cut at exactly 6 inches. Repeat the fringe combing and trimming on the top holding cord tails.
Step 7: Steam Blocking for a Perfect Flat Lay
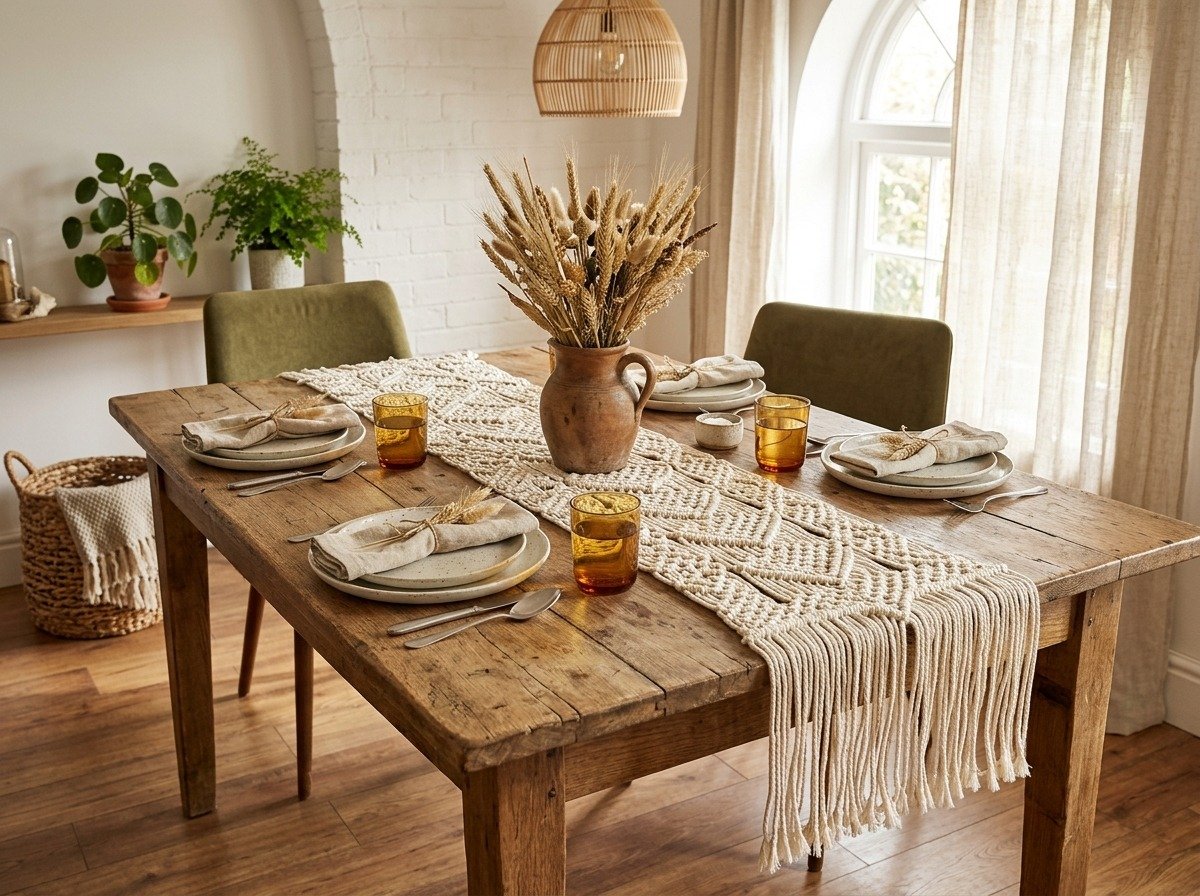
Freshly knotted macrame retains tension kinks and slight fiber curling from your hands. Steam blocking is the professional finishing touch that transforms homemade knotting into a boutique-grade showpiece. Lay a clean white cotton towel over your ironing board or dining table, placing the runner flat on top.
Hover a clothes steamer or steam iron about one inch above the cotton knots, pumping generous bursts of hot steam across the entire piece. Never press a hot iron soleplate directly onto the cotton cord, as this can crush the rounded three-dimensional knot profile or scorch the fibers. While the cotton is warm and damp from steam, gently smooth and stretch the edges outward with your palms. Allow the runner to dry completely flat for two hours. The fibers will lock into place, ensuring it lays completely flat without twisting.
Styling Your Macrame Runner for Every Season
The neutral cream hue of unbleached cotton cord makes a macrame runner remarkably versatile across interior aesthetics and seasonal themes. Here is how to incorporate your handcrafted runner into varied dining presentations:
Cozy Autumn Dining Tablescapes
For harvest celebrations, lay the runner down the center of a dark walnut or reclaimed wood table. Layer warm amber glassware, matte speckled stoneware plates, and neutral linen napkins tied with jute twine. Down the runner’s centerline, arrange miniature heirloom white pumpkins, dried bunny tails, and brass taper candle holders. Pair this with our matching front entryway accent by exploring our tutorial on diy fall wreath ideas to establish cohesive autumn decor across your entire home.
Boho Wedding and Garden Party Tables
Macrame table runners are perennial favorites for outdoor rustic weddings, baby showers, and bridal brunches. Layer the runner over a gauzy raw-silk or terracotta cheesecloth underlay to allow the contrasting color to peek through the open diamond mesh. Weave fresh silver dollar eucalyptus garlands and blush garden roses directly across the knot ridges. Accent with handcrafted table accessories such as our how to make macrame coasters for individual guest place settings.
Everyday Scandinavian Farmhouse Living
You do not need a special occasion to display your fiber art. On everyday tables, place a single minimalist ceramic pitcher filled with fresh olive branches or dried lavender in the center of the runner. Flank it with a pair of salt cellars on a wooden cutting board. For additional adult craft projects that bring handmade charm into your living spaces, browse our curated collection of fall crafts for adults.
Care, Cleaning, and Stain Removal Guide
Because table runners sit in the splash zone of shared family meals, knowing how to clean cotton fiber art without destroying your intricate knotwork is crucial. Natural cotton is resilient, but improper machine washing can agitate knots loose and tangle fringe beyond repair.
Routine Dusting and Maintenance
Between dinners, take your runner outside and gently shake it out to remove bread crumbs and loose dust. You can also run a lint roller or use your vacuum upholstery attachment on low suction, gliding smoothly in the direction of the knot flow. Lightly re-comb the fringe ends with a slicker brush to keep the tassels fluffy and straight.
Spot Cleaning Food and Wine Stains
Treat spills immediately before they soak deep into the core cotton fibers. Blot liquid spills with a clean, dry white microfiber cloth; never scrub aggressively, which rubs the stain deeper into the twist. Mix a few drops of gentle liquid dish soap or Castile soap into lukewarm water. Dip a clean cloth into the suds and gently dab the soiled knotting. Blot with cold water to rinse out the soap residue, then press dry between two thick bath towels.
Hand Washing Deep Soaks
If your runner requires a full refresh after months of use, fill your bathtub or a large basin with cool water and a capful of mild wool wash. Gently submerge the runner, pressing down with your hands to let the water permeate the knots. Let it soak for 20 minutes without wringing or twisting. Drain the tub, rinse with clean cold water, and roll the runner inside clean towels like a jelly roll to press out excess moisture. Lay flat on clean, dry towels to air dry completely away from direct sunlight.
Troubleshooting Common Macrame Mistakes
Knotting a large-scale project often presents minor challenges. Here is how to correct common hurdles without starting over from scratch:
What to Do When a Cord Runs Out Too Early
If an outer working cord becomes unexpectedly short near the bottom, splice in a new cord segment seamlessly. Cut a fresh 4-foot length of cord. Position the new cord behind your existing short tail, aligning them so they overlap by 2 inches inside the next square knot. Tie the square knot around both overlapping strands together. Once you tie two subsequent knots, trim the hidden tail end flush behind the work. The joint will be completely invisible on the front surface.
Preventing Edges from Curving Inward (Hourglass Effect)
Beginners often pull outer border knots tighter than interior mesh knots as they gain speed, causing the runner width to narrow inward over time. To maintain a consistent 12-inch width from top to bottom, place a strip of blue painter’s tape on your table along both edges as a straight guideline. Check your width with a ruler every 10 inches to ensure your edges stay parallel.
Frequently Asked Questions
How much cord do I need for a macrame table runner?
For a standard 12-inch wide by 72-inch long table runner, you need approximately 450 to 500 feet (140 to 150 meters) of 4mm cotton cord. This accounts for 24 working cords cut to 18 feet each, two 9-foot horizontal holding cords, and 6 inches of trimmed fringe at both ends.
What is the best cord size for a macrame runner?
4mm single-twist or 3-ply cotton cord is widely considered the best choice. It provides enough thickness to knot up relatively quickly while maintaining a flat, stable profile suitable for resting dinner plates and glassware securely without wobbling.
Can I make a macrame table runner without a wooden dowel?
Yes, absolutely. You can mount your working cords directly onto a horizontal holding cord taped flat to your table, or work onto a temporary dowel and slide it out when complete. Mounting to a cord allows both ends of the runner to feature matching flowing fringe.
How do you wash a handmade macrame table runner?
Never wash a macrame runner in a standard washing machine. Hand wash it in a bathtub filled with cool water and mild gentle detergent. Press water out between dry bath towels without wringing, then lay it flat to dry completely before re-combing the fringe.
How long does it take to make a DIY macrame table runner?
An average 6-foot macrame table runner takes about 6 to 10 hours of knotting. Beginners can comfortably finish it over a weekend by breaking the project into manageable sessions: cutting and mounting on Friday evening, knotting the main body on Saturday, and finishing the fringe on Sunday.
Bringing Handcrafted Warmth to Your Table
Creating a handcrafted macrame table runner is a deeply fulfilling creative journey that rewards your effort every time you sit down for a meal. The gentle repetition of square knots and geometric diamonds results in an enduring heirloom piece that softens wooden surfaces and brings timeless bohemian warmth to your dining room. Save this step-by-step pattern guide to your Pinterest craft boards, grab a spool of natural cotton rope, and enjoy bringing your custom table runner to life knot by knot.

