
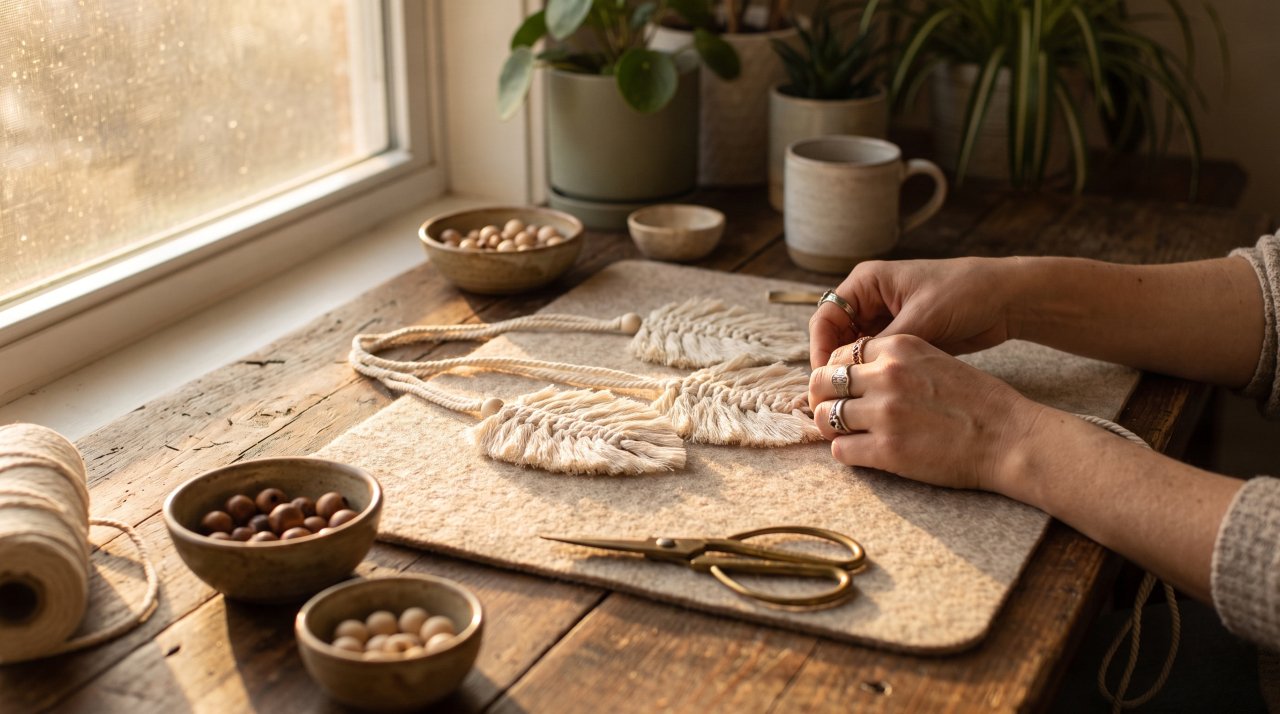
Over 40 percent of craft hobbyists struggle with floppy macrame leaves that curl forward after hanging. Making sturdy macrame leaves comes down to three key details: selecting single-strand cord, tying tight anchor knots, and applying a proper stiffening wash.
When you start learning how to make macrame leaves, choosing the right cord structure makes all the difference. Multi-ply ropes trap twists that resist comb teeth, whereas single-strand cotton brushes out effortlessly into a smooth feather texture.
This complete tutorial breaks down cord math, knotting sequences, fringe shaping, and three proven stiffening methods. You will craft crisp macrame leaves that maintain their shape for years.
What You Need for Macrame Leaves
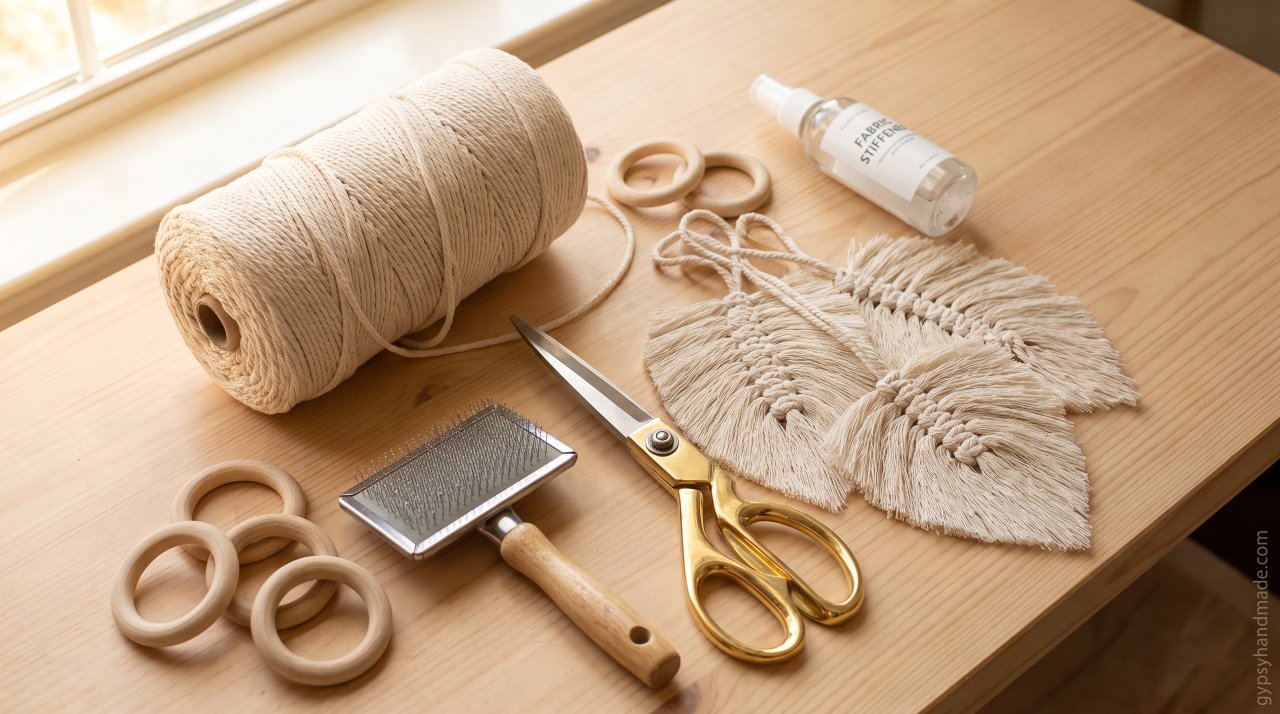
Gather these craft supplies before cutting your cord. Using purpose-made macrame materials ensures clean knots and easy combing.
| Material / Tool | Specifications | Purpose |
|---|---|---|
| Single-Strand Cotton Cord | 4mm thickness, natural cream color | Forms leaf spine and brushed fringe |
| Fabric Shears | Sharp 8-inch dressmaking scissors | Trims dense cotton fringe cleanly |
| Wire Slicker Brush | Fine metal pin brush (pet slicker) | Unlays cord fibers quickly |
| Cardboard Template | 200 GSM cardstock cut to leaf shape | Guides symmetrical edge trimming |
| Fabric Stiffener | Liquid spray or PVA glue water wash | Locks brushed fibers in place |
| Painter’s Tape | 1-inch blue masking tape | Anchors spine cord to your tabletop |
Step-by-Step Macrame Leaf Tutorial
Follow these sequential steps to craft your first leaf. Work on a flat, clean surface free of dust or pet hair.
Step 1: Calculate and Cut Your Cord Lengths
Cut one central spine cord measuring 16 inches long. Fold this spine cord in half to form an 8-inch working center with a small top loop.
Next, cut your fringe cords. For a standard 6-inch leaf, cut 20 pieces of cord, each 7 inches long.
Cutting fringe pieces slightly longer than your target leaf width gives you plenty of margin during the trimming phase. If you are aiming for different sizes, use the cord length guide below.
- Small Leaf (4 inches tall): 12-inch spine cord, 16 fringe cords at 5 inches each.
- Medium Leaf (6 inches tall): 16-inch spine cord, 20 fringe cords at 7 inches each.
- Large Leaf (8 inches tall): 22-inch spine cord, 26 fringe cords at 9 inches each.
Step 2: Set Up the Spine Cord
Lay your folded spine cord vertically on your work surface with the folded loop at the top. Secure the top loop to your table using a strip of painter’s tape or a clipboard clip.
Tape the bottom ends of the spine cord down loosely to maintain vertical tension while knotting.
Proper tension on the center spine keeps your knots aligned and prevents the leaf from twisting sideways.
Step 3: Knot the Fringe Cords onto the Spine
Tie your fringe cords using alternating Reverse Lark’s Head knots (also known as cow hitch pairs).
Take your first 7-inch fringe piece and fold it in half. Place it horizontally under the spine cords with the loop pointing left.
Take a second 7-inch fringe piece, fold it in half, and lay it on top of the spine cords with the loop pointing right.
Pass the ends of the top cord down through the bottom cord’s loop. Pass the ends of the bottom cord up through the top cord’s loop.
Pull all four cord ends outward simultaneously. Slide the knotted block upward toward the top loop of your spine cord until snug.
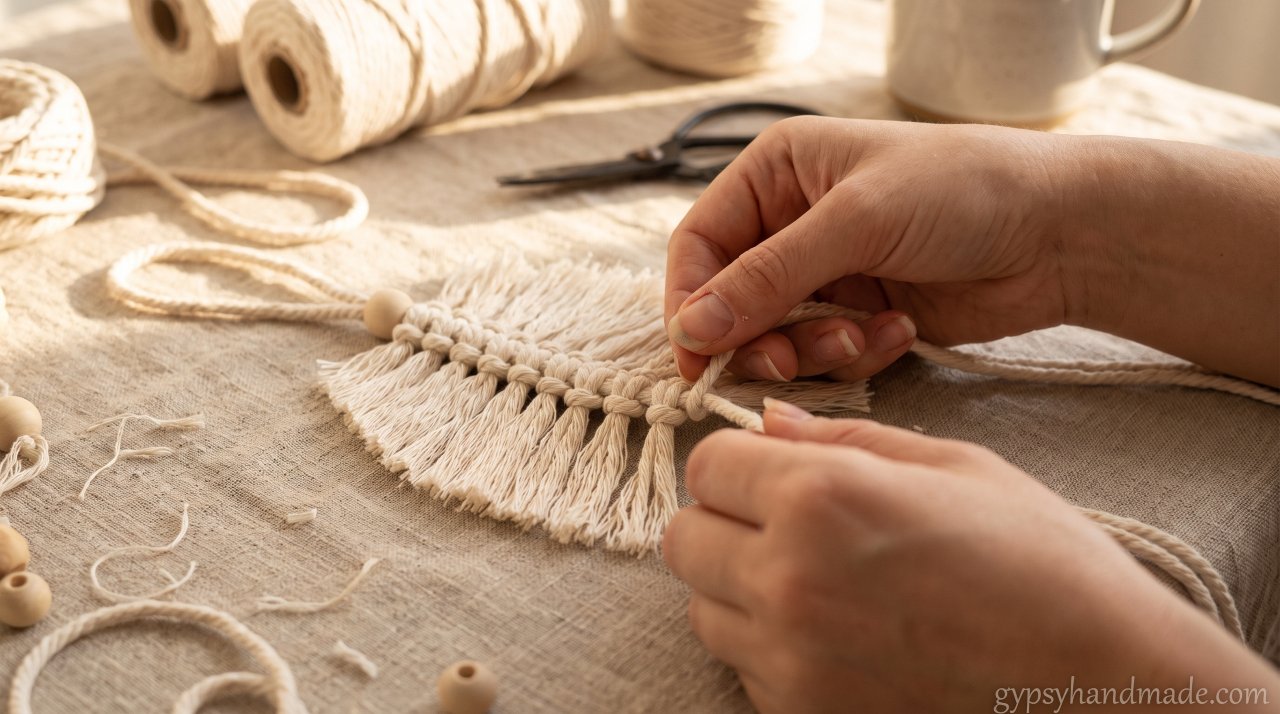
For your next knot pair, reverse the pattern. Lay the bottom folded cord with its loop pointing right and the top cord loop pointing left.
Alternating loop directions for every knot pair creates a straight center spine with identical knot bumps on both sides. Repeat this knotting sequence until all 20 fringe cords are securely mounted.
Step 4: Comb Out the Cotton Fibers
Hold the center spine knot firmly with one hand while combing the fringe outward with your other hand.
Use a wire pet slicker brush starting at the outer ends of the fringe cords. Work gradually inward toward the central spine.
Brushing from the tips inward prevents fiber tangles and keeps you from pulling cords out of their spine knots.
Comb both the front side and back side of the leaf until every cord strand opens into soft, cloud-like cotton fibers.
Step 5: Shape and Trim the Leaf Fringe
Smooth the combed fibers flat against your cutting mat using the palm of your hand.
Place a cardboard leaf template on top of the combed fibers, aligning the template center ridge with your knotted spine.
Use sharp fabric shears to cut along the outer contour of the cardboard template. Hold the scissors at a 45-degree angle pointing downward toward the tip.
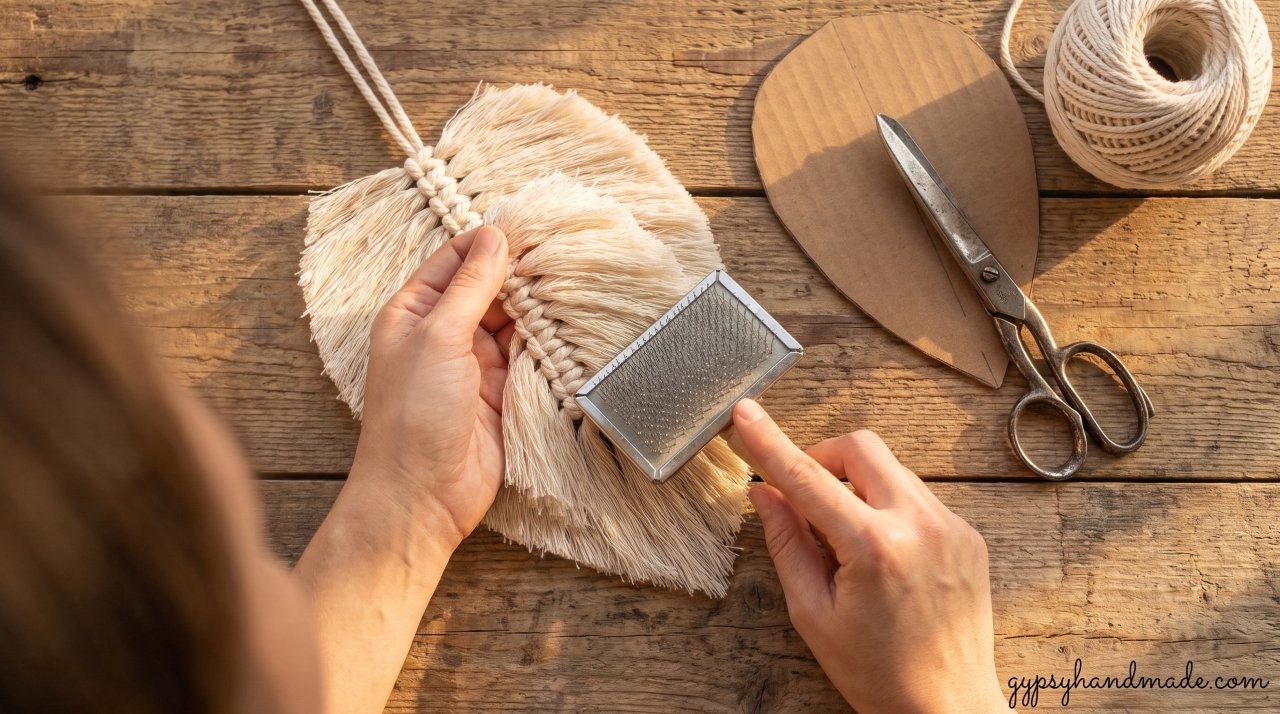
Trim in short, controlled snips rather than long chops. Once trimmed, comb the leaf once more and trim away any stray stray fibers for a crisp outline.
Step 6: Stiffen and Flatten Your Macrame Leaves
Unstiffened cotton fibers absorb room humidity, causing leaves to droop over time. Applying a stiffener locks the shape into place.
Lay your trimmed leaf on a sheet of parchment paper or wax paper. Spray fabric stiffener evenly across the front surface until the cotton feels damp but not dripping wet.
Use a fine comb to gently realign any fibers shifted by the spray mist. Allow the leaf to dry completely for two hours.
Flip the leaf over, spray the back surface, and let it dry for another two hours.
For maximum firmness, place a clean tea towel over the dried leaf and press it with a warm clothing iron set on low heat (no steam) for 10 seconds.
Common Mistakes (and How to Fix Them)
Even experienced knotters encounter fiber issues when making macrame leaves. Here is how to fix common problems quickly.
- Problem: Leaf fringe curls forward after drying.
- Fix: Your cotton fibers absorbed uneven moisture during stiffening. Re-dampen the leaf slightly with water mist, sandwich it between two sheets of parchment paper, and place a heavy hardcover book on top overnight.
- Problem: Gaps appear along the center spine.
- Fix: Knots slipped downward during brushing. After tying every three knot pairs, press the knots tightly upward against the top loop. You can also review basic knot tension in our macrame wall hanging for beginners guide.
- Problem: Leaf edges look frayed and jagged.
- Fix: Dull scissors push soft cotton strands instead of slicing them clean. Sharpen your fabric shears or use a 45mm rotary cutter along an acrylic ruler edge.
Frequently Asked Questions
What is the best glue for macrame leaves?
Clear craft PVA glue mixed with warm water makes an excellent homemade stiffener. Mix 2 parts water with 1 part PVA glue in a spray bottle. Shake well before applying. It dries clear without leaving yellow residue on natural cream cotton cords.
How do you make macrame leaves stiff without spray?
You can stiffen macrame leaves using cornstarch syrup or laundry starch spray. Dissolve 1 tablespoon of cornstarch in 1 cup of boiling water, let it cool completely, and brush it onto the fibers with a soft foam brush before drying flat.
Can you make macrame leaves with 3-ply cord?
Yes, but 3-ply twisted cord requires significantly more combing time. You must untwist each cord strand by hand before brushing with a wire slicker brush. Single-strand cord is much faster and produces a softer feather texture.
How much cord do I need for a macrame leaf wall hanging?
A standard 5-leaf wall hanging requires approximately 65 feet of 4mm single-strand cotton cord. Learn more about knot variations and cord calculations in our macrame feathers tutorial. If you plan on selling finished wall hangings online, review our detailed guide on how to price handmade crafts.
Why are my macrame leaves curling forward on the wall?
Leaves curl when only one side is sprayed with stiffener. Natural cotton shrinks slightly as liquid dries. Spraying both sides equally balances surface tension so the leaf lays flat against your wall.
Next Steps for Your Macrame Leaf Projects
Now that your first leaf is combed, trimmed, and stiffened, try creating a set of three leaves in complementary sizes. Grouping different leaf lengths on a piece of driftwood creates an organic wall hanging for living rooms or nurseries.
Save this tutorial to your Pinterest macrame board so you can reference cord lengths for future craft projects. Happy knotting!
