
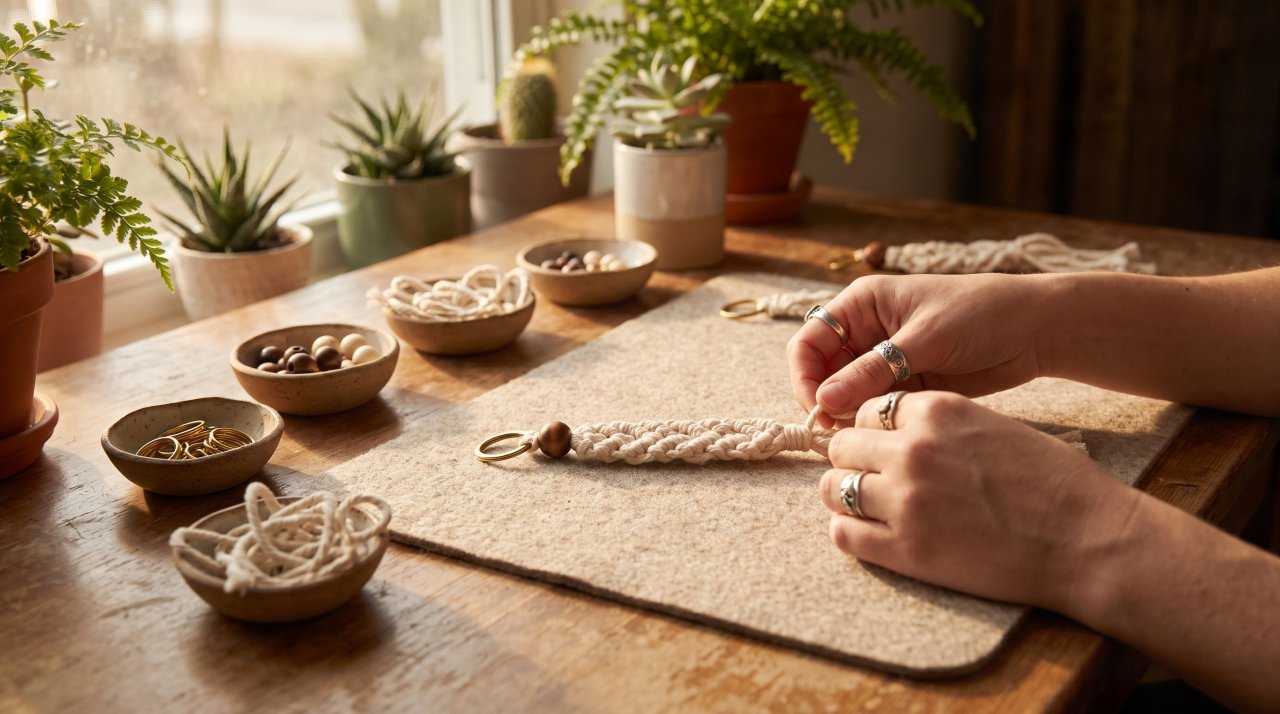
Most craft projects demand hours of focused concentration and an entire tabletop of supplies. A macramé keychain requires less than 3 meters of cord, 15 minutes of quiet knotting, and a single metal keyring. According to Etsy seller trends, keychains remain among the top five most gifted handmade fiber accessories. Yet many beginners end up with lopsided knots or frayed ends that pull apart after two weeks in a handbag.
The secret to a long-lasting DIY macramé keychain lies in how you anchor your filler cords and seal your final gathering knot. In this guide, you will learn the exact cord measurements, the two foundational knots, and the simple trim trick that keeps your fringe neat. If you have leftover cord scraps from making a macramé wall hanging, this project uses them up without any waste.
What You Need
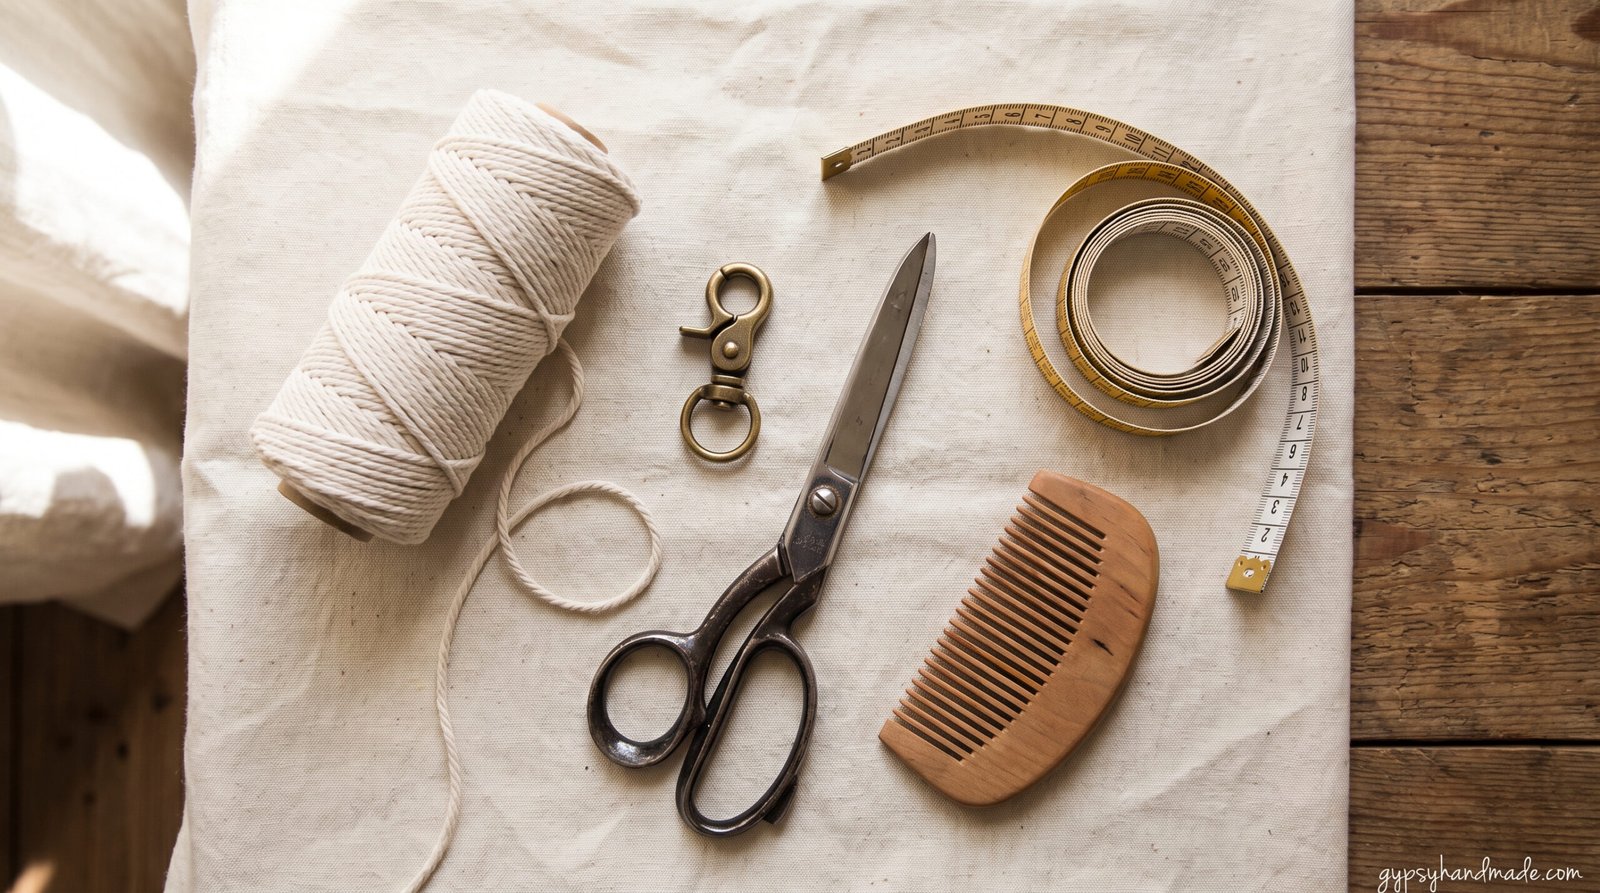
Before cutting your cord, gather your tools on a flat, well-lit table. Working over a clipboard or a cork pinning board helps maintain tension while you knot.
| Material / Tool | Specification | Purpose |
|---|---|---|
| Macramé cord | 3mm or 4mm single-strand cotton | Main body and tassel fringe |
| Keyring or clasp | 25mm split ring or lobster swivel clasp | Hardware anchor point |
| Scissors | Sharp fabric shears | Clean cord cuts without fraying |
| Fine comb | Pet slicker brush or fine-tooth comb | Brushing out the tassel ends |
| Tape measure | Standard flexible tape | Accurate cord measurement |
| Craft glue | Clear fabric glue (optional) | Securing final knot tails |
1: Measure and Cut Your Cords
Cutting your cord to the correct length prevents frustrating shortages halfway down your pattern. For a classic 15cm wristlet or keychain, prepare three separate cord pieces:
- 2 Working Cords: Cut 2 lengths at 120cm each.
- 1 Gathering Cord: Cut 1 length at 50cm.
Folding the two main cords in half gives you four active strands hanging from your hardware. The two outer cords act as working cords, while the two middle cords serve as stationary core fillers.
If you plan to make a longer wrist strap, add 30cm to each working cord. Crafters following beginner guides on Good Housekeeping’s craft section often recommend adding 10 percent extra cord to account for variation in knotting tension.
2: Attach Cords to the Keyring (Lark’s Head Knot)
Holding your split ring or lobster clasp firmly, attach your two 120cm cords using a lark’s head knot.
- Fold one 120cm cord in half to find its exact center point.
- Push the folded loop through the center of your keyring from front to back.
- Fold the loop down over the top bar of the keyring.
- Pull the two loose cord tails through the loop and tug downward until the knot sits snug.
- Repeat this process with the second 120cm cord right next to the first one.
You now have four parallel cord strands hanging straight down from your clasp. The two middle strands are your filler cords, and the two outer strands are your working cords.
3: Knot the Main Pattern (Square Knots)
The square knot forms the sturdy spine of your macramé keychain pattern. You will work a vertical column of 6 to 8 square knots.
- Take the far-left cord and cross it over the two middle filler cords, forming a shape like the number 4.
- Place the far-right cord over the tail of the left cord.
- Pass the far-right cord under the two middle filler cords and bring it up through the loop on the left side.
- Pull both outer cords evenly to tighten the half-knot up against the keyring.
- Repeat the process in reverse: cross the far-right cord over the middle fillers, place the left cord over it, pass the left cord under the fillers, and pull up through the right loop.
Completing both sides forms one square knot. Repeat this sequence until your knotted section reaches roughly 8cm in length. If you enjoy learning new knot patterns, our guide on macramé feathers tutorial covers additional fringe and knotting tricks.
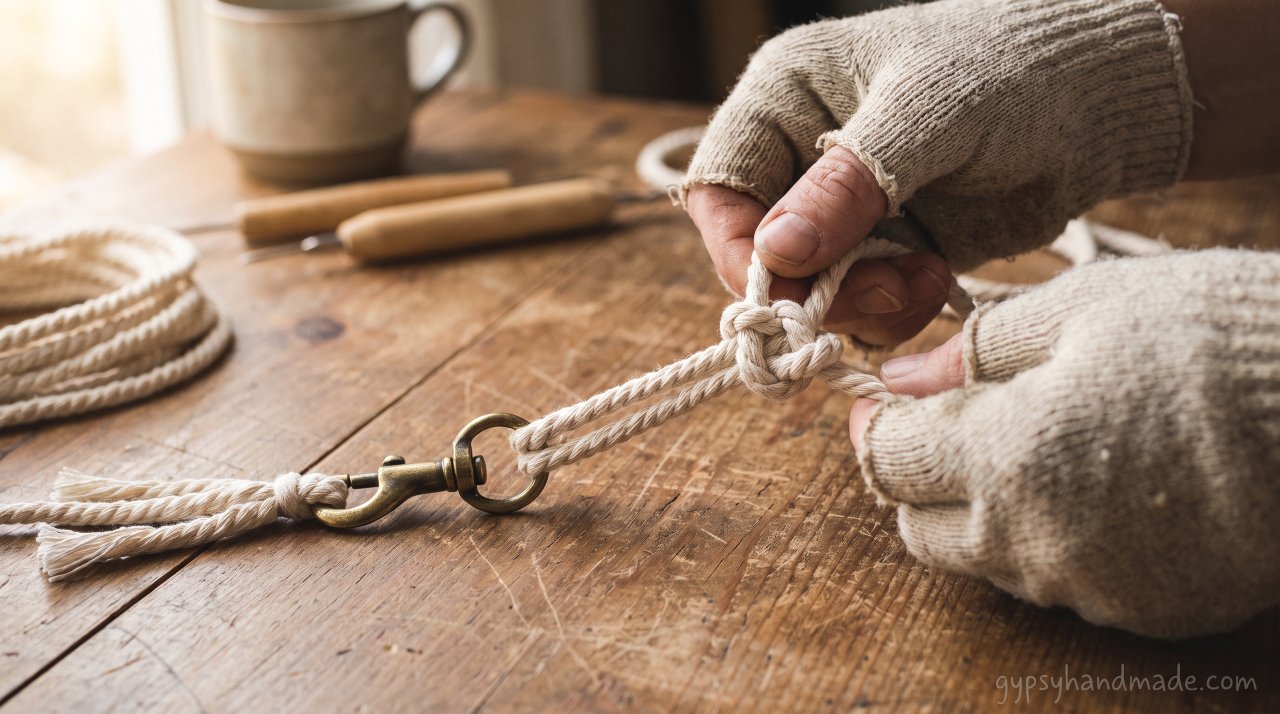
4: Secure the Base with a Gathering Knot
Once your square knot column reaches your desired length, bundle all four cords together. A gathering knot wraps tightly around the base to lock the structure in place.
- Take your reserved 50cm cord piece.
- Form a downward-pointing U-shaped loop against the front of your cord bundle, leaving a short tail pointing upward at the top.
- Wrap the long tail of the 50cm cord tightly around the bundle, moving downward over the U-loop.
- Make 4 to 5 tight, neat wraps around all four cords.
- Thread the working tail through the bottom loop.
- Pull the top short tail upward until the loop pulls halfway under the wraps, locking it securely inside.
- Trim both excess cord ends flush against the top and bottom of the wraps.
5: Trim and Fray the Tassel Fringe
The final step turns your raw cord ends into a soft, boho tassel.
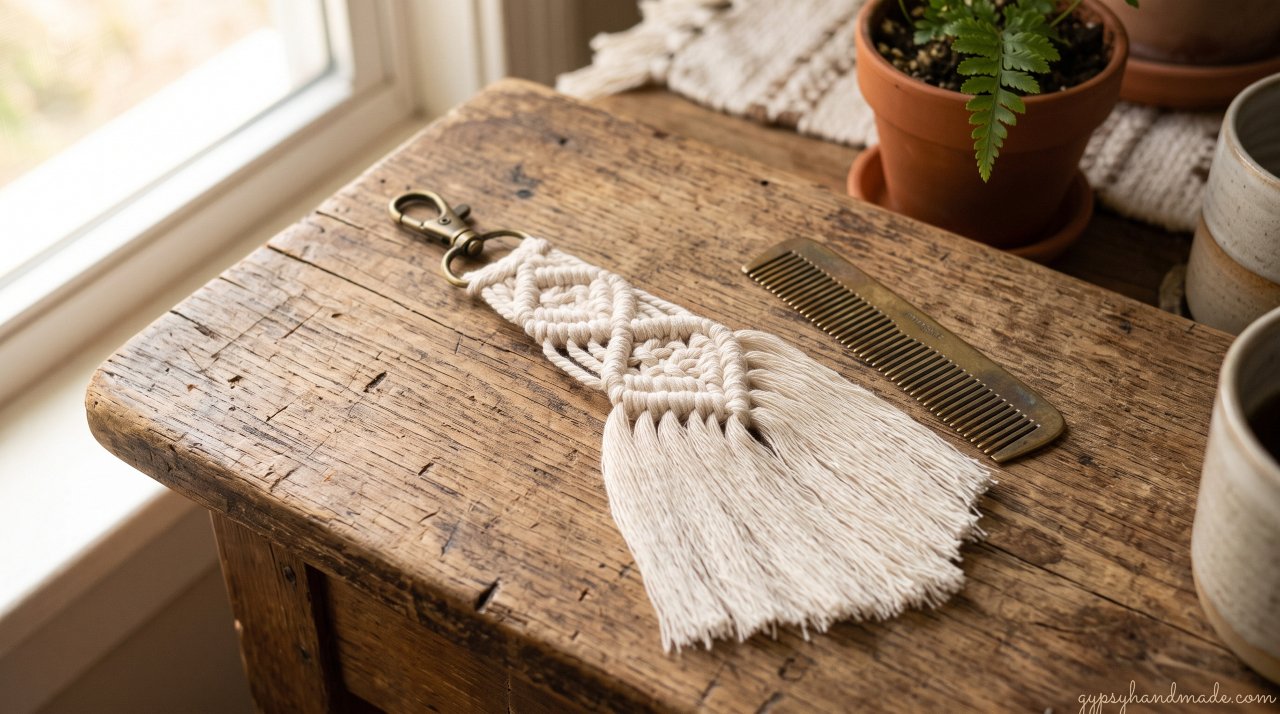
- Use sharp fabric shears to trim the hanging cord ends straight across, leaving about 4cm to 5cm of fringe below your gathering knot.
- Separate the twisted plies of the cotton cord using your fingers.
- Brush through the fringe gently with a fine-tooth comb or pet slicker brush until the fibers flatten into a smooth fringe.
- Give the tassel one final trim with your scissors to smooth out any stray threads.
3 Popular Macramé Keychain Pattern Variations
Once you master the basic square knot keychain, try these simple variations to expand your collection:
- The Spiral Twist Keychain: Tie consecutive half square knots repeatedly without alternating sides. The cord naturally twists into a spiral motif as you work down.
- The Chevron Wristlet: Use four folded cords (eight strands total) and tie alternating diagonal clove hitch knots from the outer edges toward the center.
- The Beaded Boho Key Ring: Thread 8mm wooden beads onto your middle filler cords between every third square knot for added texture.
Common Mistakes (and How to Fix Them)
| Issue | Root Cause | Easy Fix |
|---|---|---|
| Keychain twists unwantedly | Repeating the same side instead of alternating | Check that you alternate left and right knot loops on every step. |
| Loose gathering knot | Not pulling the hidden loop far enough inside | Pull the top tail firmly until the knot sits hidden beneath the middle wrap. |
| Frayed fringe looks uneven | Scissors pushing cord while cutting | Use ultra-sharp fabric shears and cut while holding fringe flat against a card. |
| Keyring slips loose | Lark’s head knot tied loosely at start | Push the initial loop firm against the metal bar before knotting down. |
Frequently Asked Questions
What is the best cord size for a macramé keychain?
A 3mm or 4mm single-strand cotton cord works best for keychains. Single-strand cord knots cleanly, feels soft in your pocket, and brushes out easily into a smooth tassel fringe.
How much cord do I need for one DIY macramé keychain?
You need roughly 3 meters of total cord for a standard keychain. Cut two 120cm pieces for the main knots and one 50cm piece for the gathering knot.
Can I use leftover cord scraps for keychains?
Yes, keychains are the ultimate scrap-busting craft project. Any cord piece over 100cm can be saved for your working cords, while shorter 40cm pieces work for gathering knots.
How do I stop the tassel fringe from curling over time?
Dip the brushed fringe lightly in water, lay it flat on a towel, and press it gently with a lukewarm iron. Once dry, mist it with a light coat of hairspray or fabric stiffener.
Can I sell handmade macramé keychains online?
Yes, macramé keychains sell exceptionally well at craft fairs, market stalls, and online shops. Check our guide on pricing handmade crafts to calculate your material costs and labor time fairly. Useful business advice can also be found in the Etsy Seller Handbook.
Your Next Craft Project
Making a macramé keychain takes minimal time and gives you instant creative satisfaction. Once you complete your first one, you can make a dozen in an evening to give as gifts, stocking stuffers, or party favors.
If you enjoyed this project, share a photo of your finished keychain on Pinterest or save this tutorial to your favorite board for your next craft night.
