
Sterling silver starts tarnishing within weeks of regular wear. That dark, grimy layer you see on your favorite necklace or ring is not dirt in the traditional sense. It is a chemical reaction called oxidation, and it happens to every piece of silver that exists, no matter how well you take care of it.
The good news is that you do not need a professional jeweler or expensive cleaning products to fix it. Most of the best methods use things already sitting in your kitchen. This article walks you through five proven ways to clean silver jewelry at home, explains which method works best for different situations, and tells you what to avoid so you do not accidentally damage the pieces you love most.
By the time you finish reading this, you will know exactly what to do with that dull, blackened bracelet sitting on your dresser.
Who Gets the Most Out of This Article
This is written for someone who owns silver jewelry they wear regularly — a sterling silver ring, a favorite necklace, or a set of earrings — and has noticed the pieces starting to look dark, dull, or just not right.
You are probably not a professional jeweler. You are someone who spent real money on a piece that matters to you, and now it looks worse than when you bought it. You want a fix that is safe, simple, and does not require a trip to a store. You may have already tried wiping the piece with a cloth and found it did not do much.
This article is also useful if you have inherited older silver pieces or found silver jewelry at a thrift store and want to bring it back to life without risking damage.
Why Silver Tarnishes (And Why That Matters for Cleaning It)
Silver reacts with sulfur compounds in the air, on your skin, and in certain fabrics. When sulfur touches silver, it creates silver sulfide, which is that dark brownish-black coating you see on tarnished pieces. This reaction happens faster in humid environments, near rubber bands, in wood jewelry boxes, and when silver sits against your skin all day.
Sterling silver is 92.5% silver mixed with other metals, usually copper. That copper content is what makes sterling silver more durable than pure silver, but it also makes it tarnish faster. Pure silver tarnishes slowly. Sterling silver tarnishes much more quickly because copper is very reactive.
Knowing this matters because it shapes how you clean your jewelry. Harsh scrubbing or abrasive products can scratch the surface permanently. Certain chemicals can strip away intentional oxidation that gives some silver pieces their dark, antique look. And some cleaning methods that work fine on plain silver bands are a bad idea if your jewelry has gemstones set in it.
Understanding the difference between light tarnish and heavy oxidation also helps you pick the right method. Light tarnish looks like a dull haze. Heavy tarnish looks black or almost brown. Both are fixable at home, but they need different approaches.
(For a deeper look at how silver tarnish forms chemically, see this reference on how silver tarnish forms chemically.)
5 Methods That Actually Work
1: Dish Soap and Warm Water
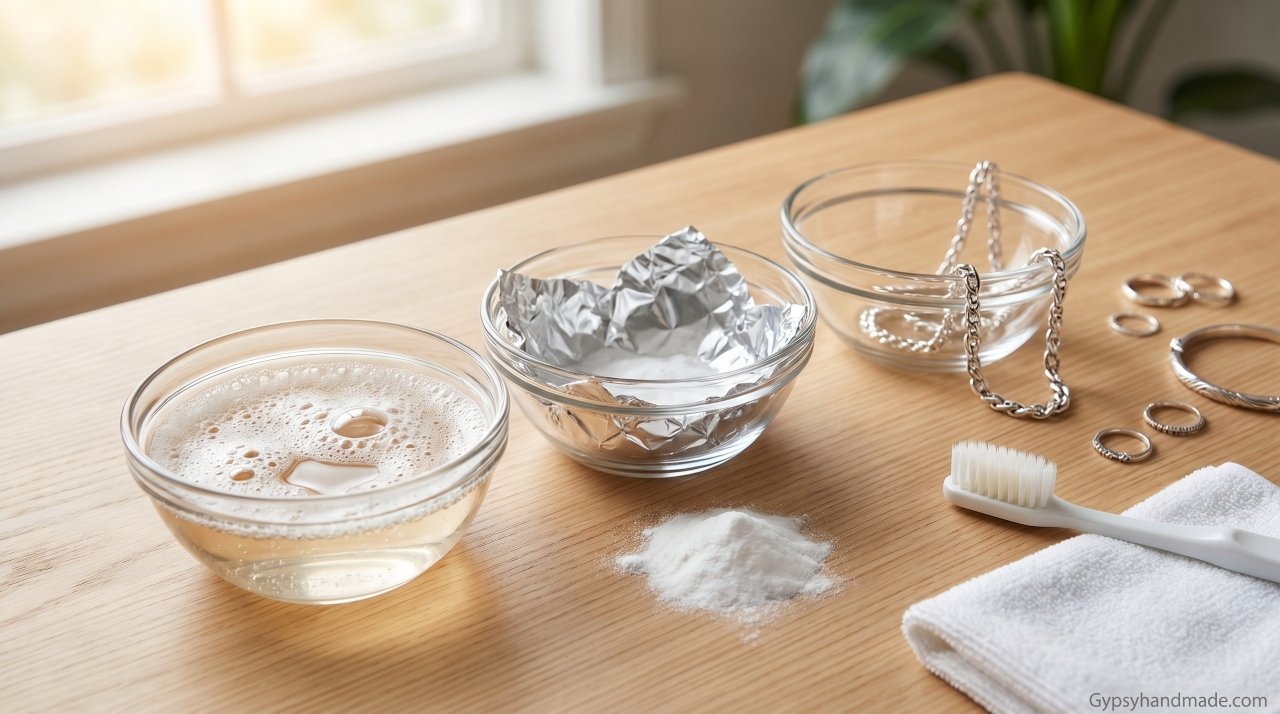
This is where you should always start. It sounds too simple, but it handles light tarnish and surface grime very well. Fill a small bowl with warm water and add a few drops of mild dish soap. Place your jewelry in the bowl and let it soak for 5 to 10 minutes.
After soaking, use a soft toothbrush to gently scrub around settings, chains, and engraved areas. Rinse under cool running water and dry completely with a soft cloth. Do not let silver air dry, because water spots can form and leave residue that looks like new tarnish.
This method is safe for almost all sterling silver, including pieces with most gemstones. It is the one to use first before trying anything stronger.
2: Baking Soda Paste
Baking soda is a mild abrasive that lifts tarnish without scratching silver if used correctly. Mix two parts baking soda with one part water to form a thick paste. Apply it gently to your silver piece with your fingertips or a soft cloth. Rub in small circular motions, then rinse thoroughly and dry.
Do not press hard. The paste does the work, not the pressure. Scrubbing aggressively can leave fine scratches in the metal that catch light and look worse over time.
Avoid this method on silver with soft gemstones like pearls, opals, or turquoise. Baking soda is gentle on metal but can dull or damage certain stones. Stick to plain silver bands, chains, and solid pieces.
3: Aluminum Foil and Baking Soda Bath
This method feels almost like a trick, but the chemistry behind it is real. It works by reversing the oxidation reaction rather than scrubbing the tarnish off. That makes it especially useful for heavily tarnished pieces or for detailed jewelry with small crevices that are hard to scrub.
Line a glass bowl or baking dish with aluminum foil, shiny side up. Bring water to a boil and pour it into the bowl. Add one tablespoon of baking soda per cup of water. Place your silver jewelry in the bowl so it touches the foil. Wait 5 to 10 minutes and you will see the tarnish lift almost entirely on its own.
Remove the jewelry with tongs (the water is hot), rinse well, and dry completely. The tarnish transfers from the silver to the foil through an electrochemical reaction. It is not magic. It is just basic chemistry working in your favor.
4: White Toothpaste (Non-Gel Only)
Plain white toothpaste works as a mild polishing agent for silver. Apply a small amount to a soft cloth or toothbrush and rub gently over the tarnished surface. Rinse thoroughly and dry.
Use only plain white paste, never gel formulas or anything labeled “whitening” or “charcoal.” Those versions contain stronger abrasives or chemicals that can scratch or discolor silver. This method is best for spot cleaning or for pieces with stubborn dark patches after you have tried gentler options.
This is not the most elegant method, and some jewelers advise against it because even plain toothpaste can be slightly more abrasive than ideal. Use it sparingly and only when other methods have not done the job.
5: Commercial Silver Polish or Polishing Cloth
If your jewelry has significant tarnish or sentimental value and home methods are not giving you the result you want, a silver polishing cloth or a product like Hagerty Silver Polish or Wright’s Silver Cream is a reliable option. These products are made specifically for sterling silver and have been formulated to clean without damaging the metal.
Follow the product instructions exactly. Most polishing cloths are pre-treated and require no liquid at all. Wipe the piece gently, and you will often see the tarnish come off on the cloth immediately.
For gemstone-set pieces, check the label or the GIA’s gemstone care guidelines before using any commercial cleaner. Some solutions are not safe for porous stones like pearls, emeralds, or coral.
Here is a quick comparison to help you pick:
| Method | Best For | Avoid If |
|---|---|---|
| Dish soap + warm water | Light tarnish, everyday cleaning | Never avoid — always safe to try first |
| Baking soda paste | Moderate tarnish, solid silver | Piece has soft gemstones |
| Foil + baking soda bath | Heavy tarnish, detailed pieces | Piece has delicate or glued settings |
| White toothpaste | Spot treatment | Piece is very delicate or antique |
| Commercial silver polish | Stubborn tarnish, keepsakes | Piece has pearls, opals, or turquoise |
What Most Silver Cleaning Articles Get Wrong
Almost every article on this topic tells you to use hydrogen peroxide to clean silver jewelry. Some even say to mix it with baking soda. Here is the honest truth: hydrogen peroxide can actually make tarnish worse on sterling silver, and repeated use may cause discoloration over time.
Hydrogen peroxide is an oxidizer. Silver tarnishes because of oxidation. Putting an oxidizing agent on already-tarnished silver does not help and can accelerate the reaction in some conditions. It is safe for other metals like gold, but sterling silver behaves differently.
The other thing most articles skip is intentional patina. Some silver jewelry is designed to look dark. Oxidized silver has intentional blackening added by the jeweler to create contrast and texture. If you aggressively clean oxidized silver, you strip away that detail and the piece loses what made it visually interesting. Before you clean any piece, look closely at the design. If the darkness is only in the recessed areas and the raised parts are bright, that is probably intentional. Clean carefully and only target the surface buildup, not the dark contrast in the design.
How to Take Action Today
Start with the dish soap method. It handles most light to moderate tarnish and carries zero risk of damage. Fill a small bowl, add a drop of dish soap, soak the piece for 10 minutes, scrub lightly with a toothbrush, rinse, and dry fully with a soft cloth.
If that does not get the result you want after one try, move to the aluminum foil and baking soda bath. That method handles heavy tarnish and requires almost no effort. After cleaning, let the piece air dry for a few seconds and then buff it with a microfiber cloth.
Once the piece is clean, slow down future tarnishing by storing silver in an airtight plastic bag or a jewelry box with an anti-tarnish strip. Keep it away from rubber, wood, and humid spaces like bathrooms. That one storage habit will cut down how often you need to clean it significantly.
The Simplest Takeaway
Silver tarnishes because of chemistry, not neglect. Cleaning it does not require special tools or expensive products. The dish soap method and the foil bath will handle almost every case you are likely to encounter at home.
Pick one method based on how tarnished your piece is, follow the steps, and take five minutes to dry it completely when you are done. That last step matters more than people realize.
If you have a piece with gemstones and are unsure whether any cleaning method is safe for it, take it to a local jeweler for a free assessment before trying anything at home. Most will clean a simple piece for free or very low cost, and the advice you get is worth it for anything valuable or sentimental.

