
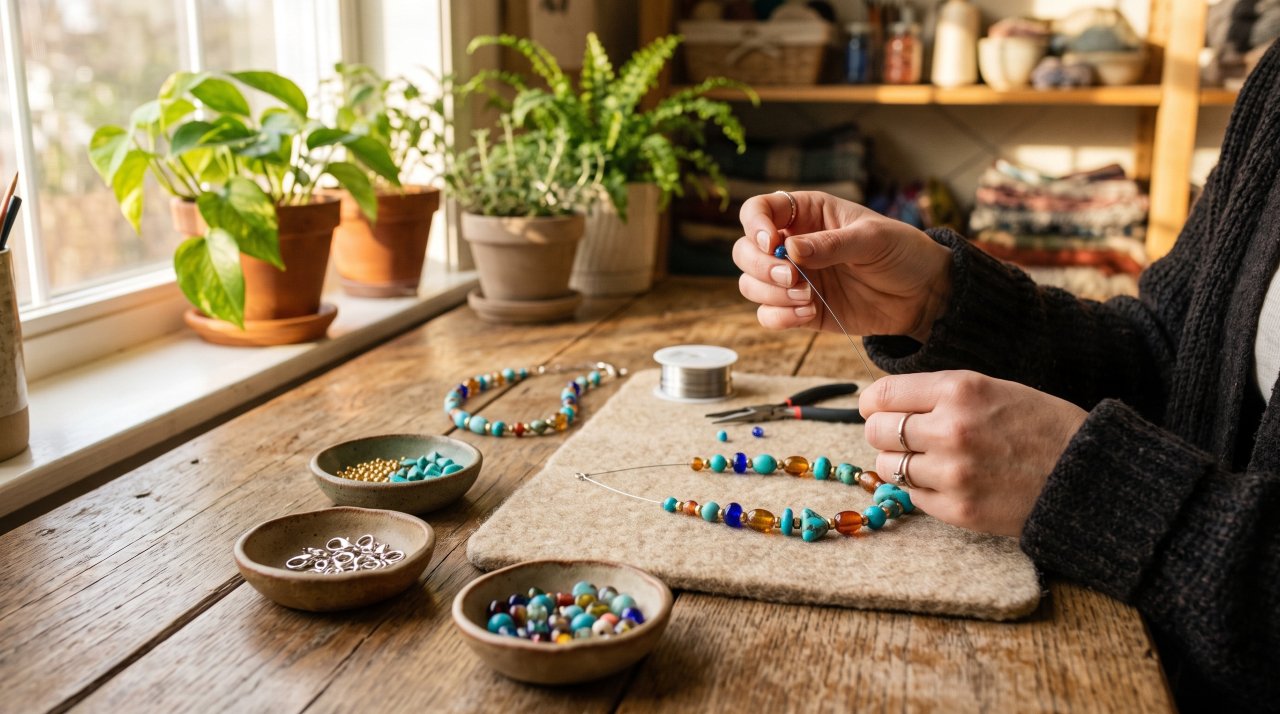
Walk into any craft store and you will face a wall of tiny plastic baggies and glittering components. It is incredibly easy to feel overwhelmed by the sheer volume of choices. Many beginners fall into the trap of purchasing massive, cheap starter kits. Unfortunately, these kits often contain weak metals and pliers that do not actually grip. You end up with broken pieces, sore hands, and wasted budget.
Making jewelry should bring joy, not frustration. You do not need a massive workbench or hundreds of specialized tools to start. In fact, a few select supplies for necklace making will let you create durable, gorgeous designs. By focusing on quality over quantity, you will save money and avoid the headaches of snapped wires and failed clasps.
This guide will show you exactly how to build a reliable starter kit. We will break down the essential tools, stringing materials, and metal findings. You will learn what details to look for, what common pitfalls to avoid, and how to verify quality. Let us build a setup that helps you design pieces that last.
What You Need
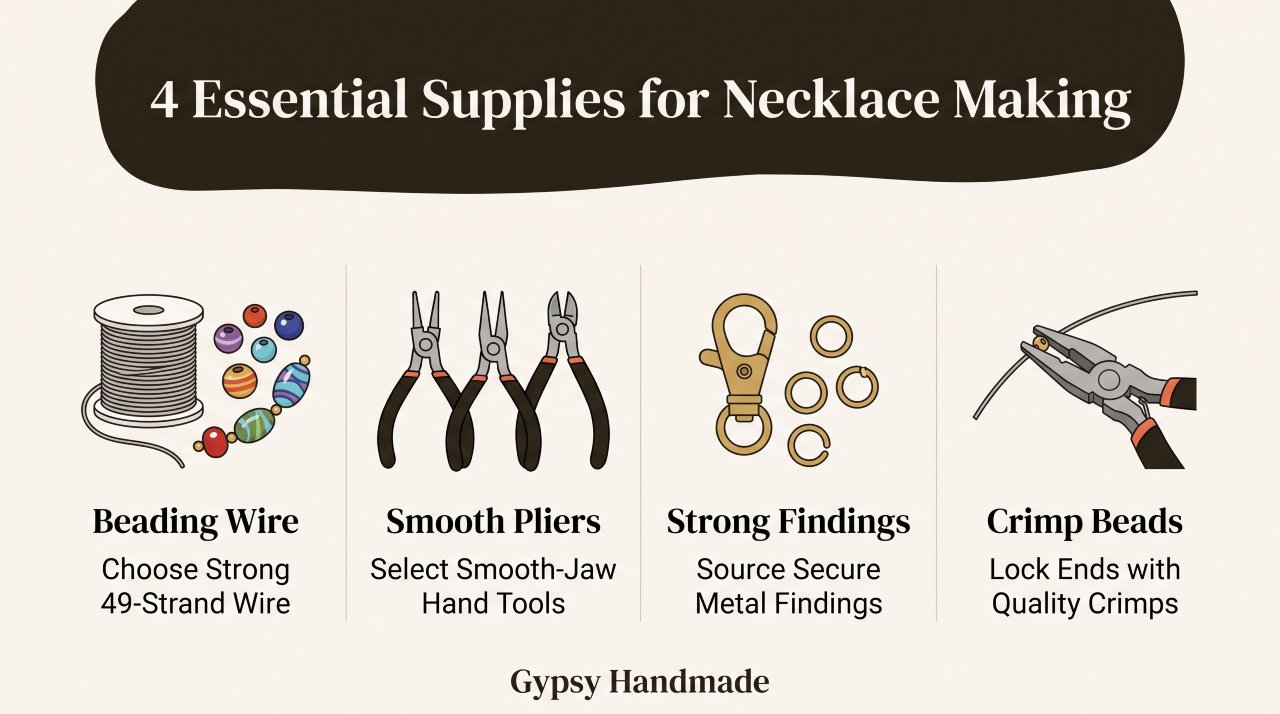
Before purchasing anything, it helps to see the core elements of a jewelry-making setup. You can complete almost any beginner design with these items.
- Round nose pliers: Used for bending wire loops.
- Chain nose pliers: Used for gripping and opening jump rings.
- Flush cutters: Used for making clean, flat wire cuts.
- Beading wire: Nylon-coated stainless steel wire, preferably 49-strand.
- Crimp beads: Tiny metal tubes used to secure the ends of the wire.
- Lobster claw clasps: Standard, reliable closures for security.
- Jump rings: Open metal rings to connect findings.
- Bead mat: A soft fabric surface that keeps beads from rolling away.
Step 1: Choose the Right Stringing Material
Your stringing material is the backbone of your entire project. If you choose the wrong thread, your heavy beads will quickly cause a disaster. Many beginners reach for sewing thread or cheap elastic cord, which snap under minimal tension.
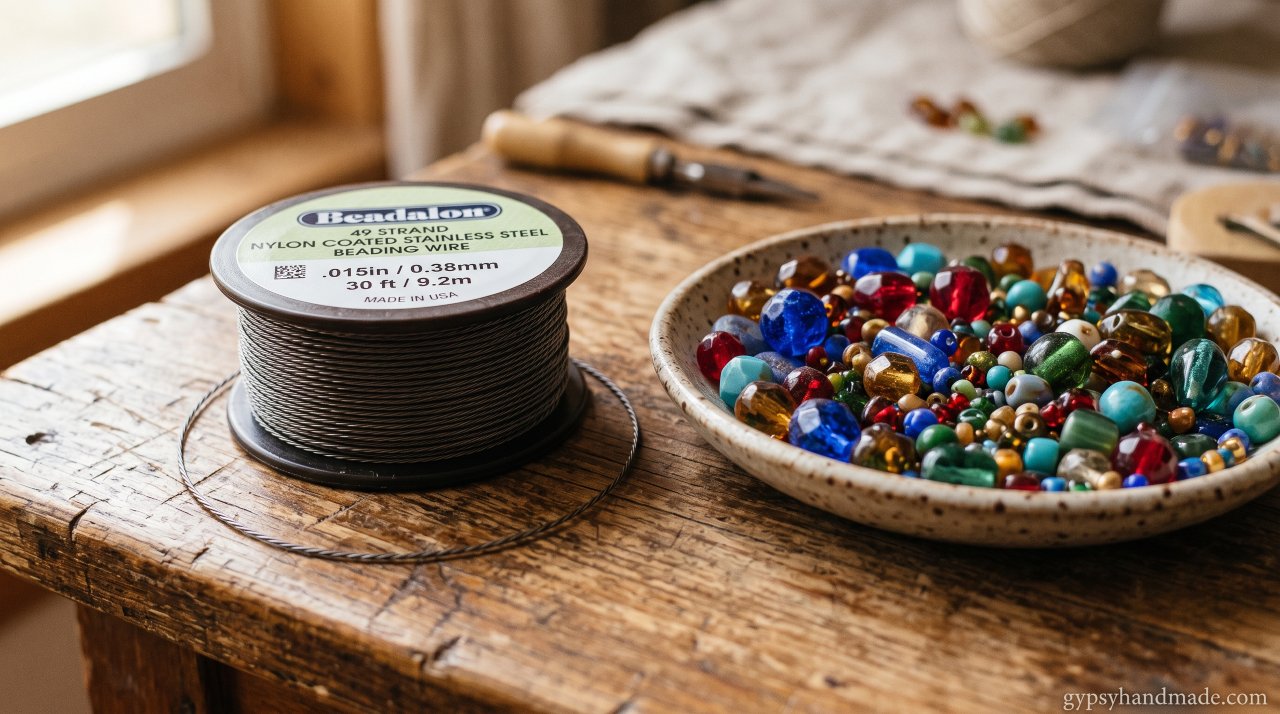
For bead-stringing projects, nylon-coated stainless steel wire is the industry standard. It offers incredible strength while remaining flexible enough to drape naturally around your collarbone. This material consists of multiple micro-wires spun together and coated in a protective plastic layer.
When shopping, look at the strand count on the spool. You will typically see 7-strand, 19-strand, or 49-strand options. While 7-strand wire is budget-friendly, it feels stiff and kinks easily. We recommend 49-strand wire for a supple, professional feel that resists bending.
To determine thickness, check your bead holes. A diameter of 0.015 to 0.018 inches works for most medium glass and gemstone beads. If you want to make bohemian-style beaded bracelets, a slightly thicker wire can prevent future snapping. Always match the weight of your beads to the strength of your wire.
Step 2: Select Your Essential Pliers
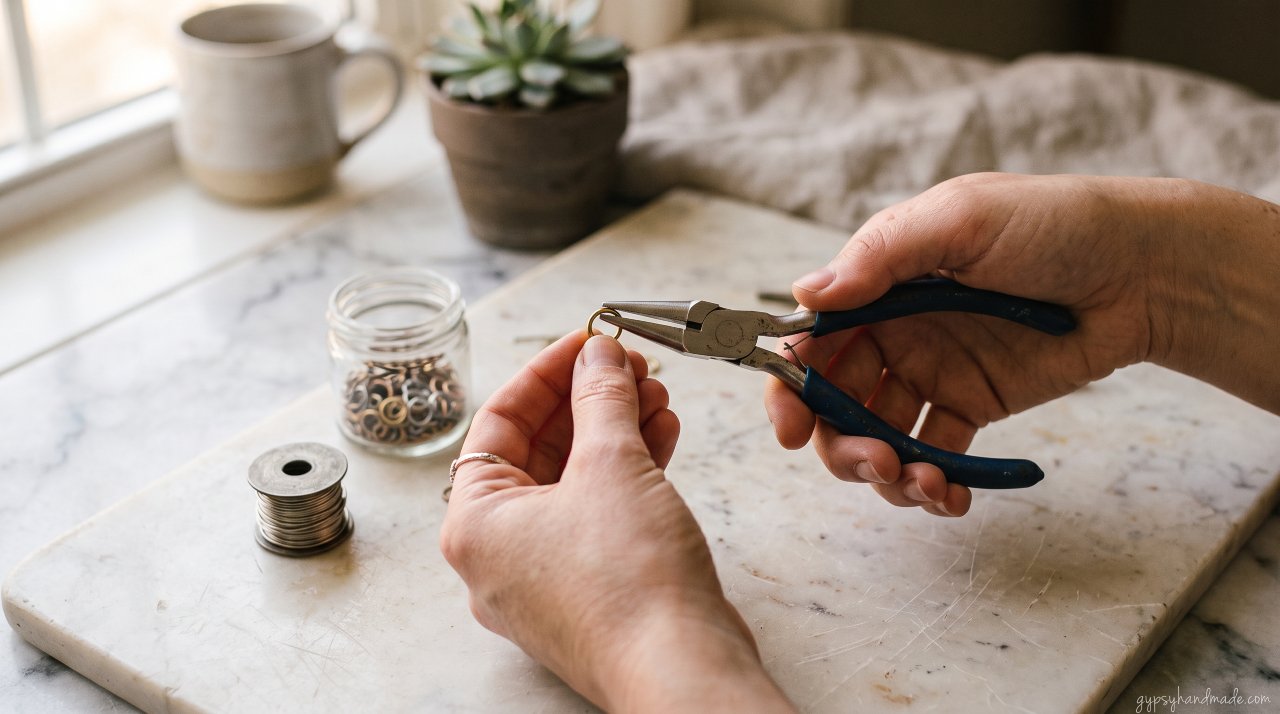
You cannot make jewelry without proper hand tools. While household pliers from your garage might seem convenient, their serrated jaws will mar and scratch soft metal findings. Jewelry pliers feature smooth jaws that protect your materials.
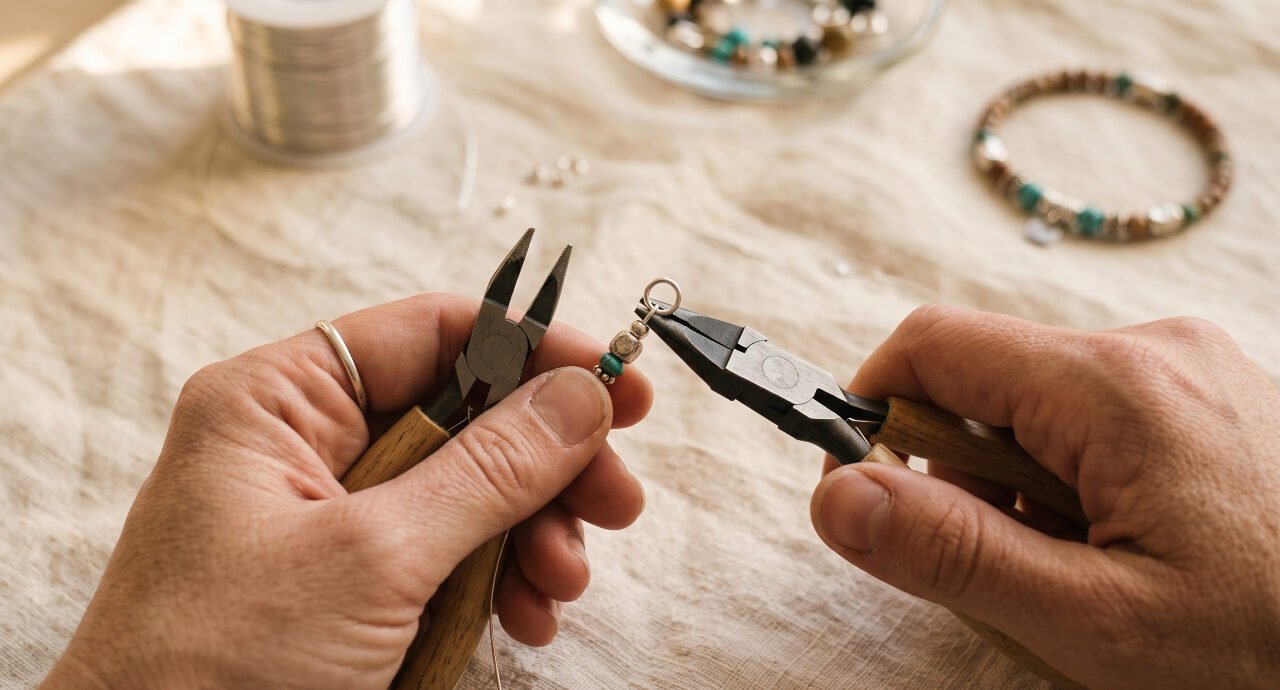
A standard kit needs three basic hand tools to start. First, round nose pliers feature smooth, conical jaws that taper to a fine point. These allow you to shape wire into even loops and wraps without creating sharp corners.
Second, chain nose pliers have flat interior jaws that taper to a narrow point. They are your primary tool for gripping, pulling wire, and opening jump rings. The flat surface provides a secure hold without leaving unsightly marks.
Finally, invest in a pair of flush cutters. Unlike hardware cutters that leave a pinched, sharp edge, flush cutters produce a completely flat cut. This flat edge prevents scratches on your skin and sits neatly inside crimp beads. Keep these tools clean and stored in a dry place to prevent rust.
Step 3: Source Quality Findings
Findings are the metal joints and closures that turn loose beads into wearable art. Using cheap, brittle findings is a guaranteed recipe for broken necklaces. You want metals that hold their shape under daily wear.
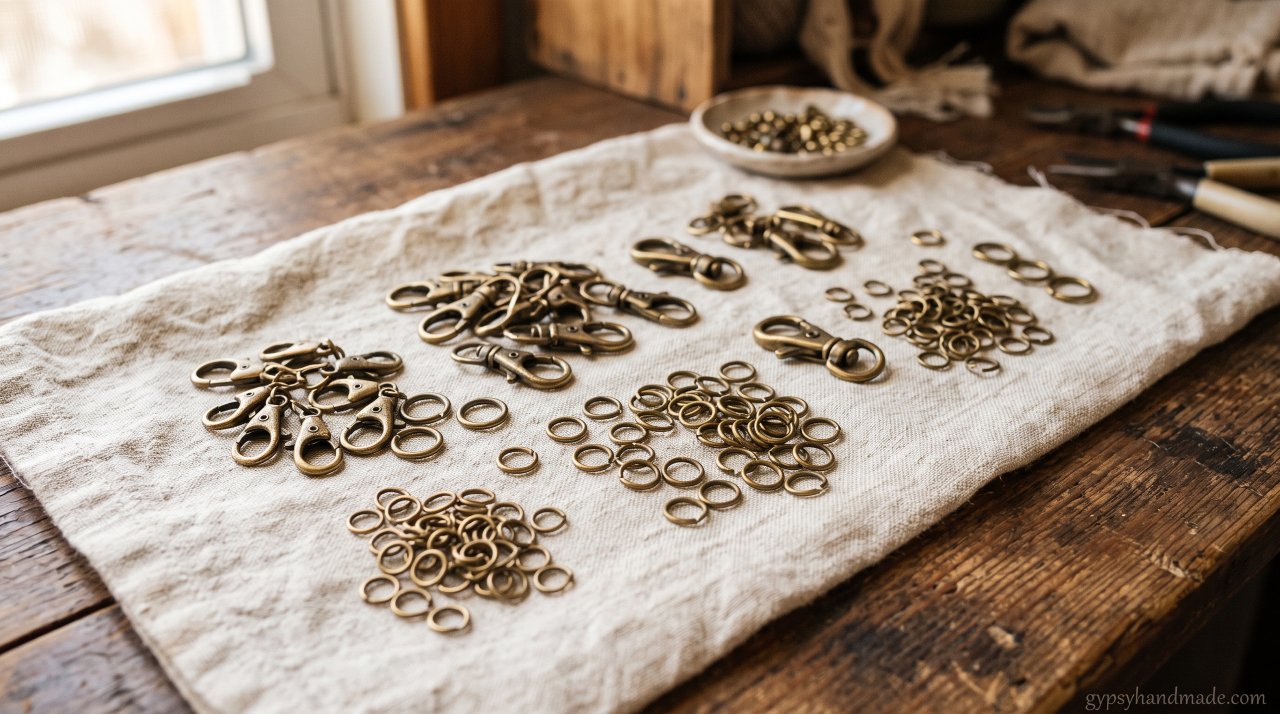
Jump rings are small metal circles with a tiny slit. You use them to connect your beaded wire to clasps and pendants. Look for solid brass or sterling silver jump rings, and avoid thin, soft aluminum options.
When choosing closures, lobster claw clasps are the most reliable option for beginners. They feature a spring-loaded gate that stays securely closed throughout the day. Toggle clasps are also popular, though they require a bit of slack in the necklace to close.
Verify the metal composition to prevent allergic reactions. If you plan on pricing handmade crafts for an online store, listing hypoallergenic metals is a massive selling point. Solid brass or gold-filled options offer durability without the steep cost of solid gold. For high-end designs, learning how to tell if jewelry is real gold will protect you from fake supplier claims.
Step 4: Add Crimps and Connectors for Security
Crimp beads are the unsung heroes of professional bead stringing. These tiny, soft metal tubes sit at the ends of your wire to secure your clasps. If you do not crimp properly, your entire necklace will fall apart.
Standard crimp beads are made of soft metals like sterling silver, copper, or gold-fill. When squeezed, they grip the steel beading wire and create a permanent anchor point. Avoid base metal crimps, as they tend to split when compressed.
To use them, slide a crimp bead onto your wire, loop the wire through a clasp, and pass it back through the crimp. You then compress the tube to lock everything in place. While you can use chain nose pliers, crimping pliers are highly recommended.
Crimping pliers feature two specialized notches in the jaws. The first notch folds the crimp tube into a crescent shape, keeping the two wires separated. The second notch rolls the folded tube into a neat, round bead. This double-action process creates a secure, professional finish that will not slip.
Common Mistakes (and How to Fix Them)
Even with the correct tools, beginner jewelry makers encounter standard errors. Recognizing these mistakes early will save you time and materials.
- Crushing crimps flat: Squeezing crimp beads flat with standard pliers creates sharp edges that slice through your wire. Use specialized crimping pliers to fold the bead instead.
- Stringing too tightly: Pulling your wire too tight makes the necklace stiff and prevents it from bending. Leave about a millimeter of slack near the clasps so the beads can move freely.
- Using open jump rings for clasps: Thin wire can slip through the tiny gap of an open jump ring. Always use soldered jump rings or heavy-gauge split rings for your main connections.
- Using low-quality wire: Buying budget wire with fewer strands will lead to kinks that cannot be straightened. Invest in 49-strand wire for projects that you want to wear repeatedly.
Frequently Asked Questions
What is the best wire for a beginner necklace?
A nylon-coated, 49-strand stainless steel wire in a 0.015-inch or 0.018-inch diameter is the best choice. This material provides the best balance of strength, flexibility, and durability for standard beads.
Can I use sewing thread to make necklaces?
No, standard sewing thread lacks the tensile strength to hold heavy beads. The sharp edges of glass or stone bead holes will quickly slice through cotton or polyester thread, causing your necklace to break.
Why do my crimp beads keep breaking?
Crimp beads made of cheap base metals often split when compressed. Choose crimps made of sterling silver or copper, which are softer and bend without cracking under pressure.
What pliers are required to start?
You need three basic pliers: round nose pliers for loops, chain nose pliers for gripping, and flush cutters for clean cuts. You can add crimping pliers later as you progress.
How do I know what size jump rings to buy?
For main clasp connections, look for jump rings with an outer diameter of 5mm to 6mm and a wire thickness of 18 or 20 gauge. This size provides a sturdy connection that will not pull open under pressure.
Ready to Start Creating?
Building a reliable kit of supplies for necklace making is the first step toward crafting personalized, durable jewelry. By skipping cheap bulk kits and selecting quality tools, you give yourself the best possible start. Focus on smooth-jawed pliers, strong 49-strand wire, and soft metal crimp beads.
Take your time selecting your materials, and practice your crimping technique on scrap wire first. Your patience will show in the finished pieces. For further reading on crafting techniques and sourcing materials, check out the Etsy Seller Handbook or the in-depth tutorials on Beadaholique.
If you found this guide helpful, pin it to your jewelry-making board on Pinterest so you can reference it later!

