
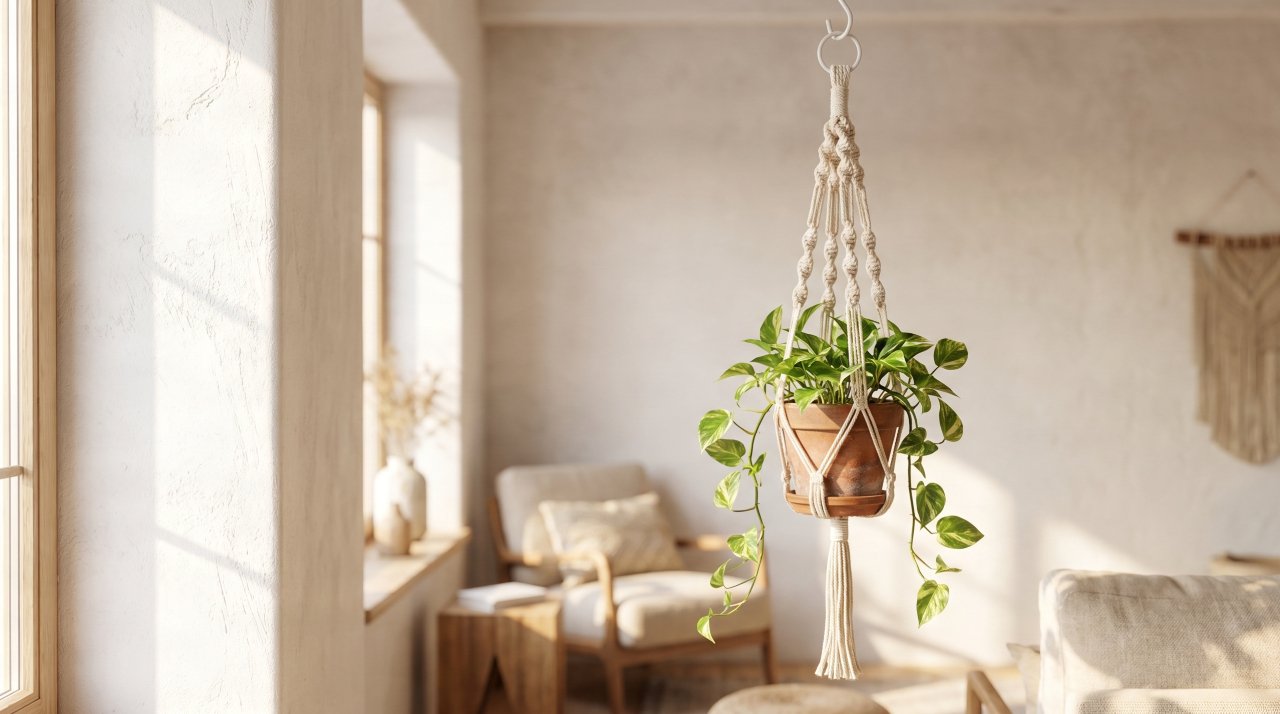
Did you know you can make a macrame plant hanger for less than $3 in materials? That’s not a typo. One of the most popular boho home decor pieces you’ll find on Etsy — selling for $25 to $60 — costs almost nothing to make yourself, and you don’t need any crafting experience to pull it off.
If you’ve been eyeing macrame plant hangers but feel like knotting looks complicated, you’re not alone. Most beginners assume there’s a steep learning curve. There isn’t. You only need three knots to make a beautiful hanging planter, and once you’ve tied each one a handful of times, the rest is just satisfying repetition.
By the end of this tutorial, you’ll know exactly what to buy, how much cord to cut, which knots to use, and — crucially — what mistakes to avoid so you don’t have to untie half your work and start over. Let’s get into it.
What You’ll Need
You don’t need a lot to get started with your first DIY macrame plant hanger. Here’s the full supply list:
- Cotton macrame cord, 4mm — about 100 feet per hanger (a single spool covers 4–5 hangers)
- Scissors
- A wooden or metal ring, 1.5″–2″ diameter (optional but helpful)
- A small hook or doorknob to hang your work while knotting
- A plant pot, 4″–6″ diameter for your first project
That’s genuinely it. You won’t need a loom, a frame, or any special tools. Macrame cord from craft stores like Michaels or JoAnn runs about $8–$12 for a 100-yard spool — enough for multiple hangers. A beginner kit with cord and rings costs around $15 at most craft retailers.
Total cost per hanger: under $3. A comparable ready-made hanger on Etsy averages $28–$45. Making your own saves you real money, especially once you have leftover cord for future projects.

The 3 Knots You Actually Need
Every macrame plant hanger — no matter how fancy it looks — is built from the same small set of knots. Master these three and you can make virtually any hanging planter pattern you find.
The Square Knot This is the workhorse of macrame. You’ll use it more than any other knot. Work with four cords: the two outer cords do all the tying, while the two center cords just sit there as anchors. Take the left cord over the center two, under the right cord. Then bring the right cord under the center two and up through the loop on the left. Pull both outer cords gently and evenly. That’s half a square knot. Repeat the mirror image to complete the full knot.
The Spiral Knot (Half Square Knot) A spiral knot is just the first half of a square knot, repeated over and over without switching sides. As you keep going, the cords naturally twist into a beautiful spiral pattern. It looks impressive and it’s actually easier than the full square knot.
The Gathering Knot (Wrap Knot) You’ll use this at the top and bottom of your hanger to bundle all the cords together neatly. Lay a separate short cord alongside your bundle, loop it around everything multiple times, then thread the tail through the last loop and pull tight. Trim the end close to the knot.
That’s your full toolkit. The Craft Yarn Council’s guide to basic fiber knots is a reliable reference if you want to see diagrams before you start.

How to Make a Macrame Plant Hanger
Time: 1.5 to 2 hours for your first one Difficulty: Beginner — no experience needed Finished length: approximately 30–36 inches including fringe
Cut Your Cord
Start with 8 cords. Each cord should be about 10 feet long (120 inches). Fold each cord in half when you attach it to the ring, so you’ll end up with 16 working cords at roughly 5 feet each.
The cord-length formula: Measure your finished project height, then multiply by 4. Add 12 extra inches for the gathering knots and fringe. That’s your cut length per cord. For a 30-inch hanger, cut each cord to 132 inches (11 feet) to be safe.
Attach the Cords to Your Ring
Fold all 8 cords in half. Push the folded loop of each cord through your ring from front to back, then pull the two tail ends through the loop. This creates a lark’s head knot — a clean, secure attachment that every macrame project starts with.
Once all 8 cords are attached, you’ll have 16 working strands hanging from the ring. Separate them into 4 groups of 4 cords each.
Tie the First Round of Square Knots
Take your first group of 4 cords. The two outer cords are your working cords; the two center ones are your anchor cords. Tie a square knot about 4 inches down from the ring. Repeat with each of the other three groups. You now have 4 square knots sitting at the same level — this is your first row.
Create the Net
This is the section that holds your pot. Drop down about 3 inches from your first row of knots. Now split your groups: take the 2 right cords from one group and the 2 left cords from the group next to it. Tie a square knot with those 4 combined cords. Work your way around all four sides. You’ll end up with 4 new knots offset from the first row, forming a net shape.
Drop down another 3 inches and repeat this alternating pattern one more time. You now have two rows of offset knots forming the cradle that holds your pot.
Gather the Base
Bring all 16 cords together underneath where your pot will sit. Tie a firm gathering knot about 2 inches below the lowest row of net knots. Pull it as tight as you can — this is the base that supports the pot’s weight, so it needs to hold.
Add the Fringe
Trim all the cord ends to your preferred fringe length — 4 to 6 inches looks clean. For a boho brushed effect, untwist the cord ends and comb them out with a fine-tooth comb or a stiff bristle brush. This turns twisted cord into soft, fluffy fringe that looks really beautiful.
Slide your pot in from the top, hang the ring from a ceiling hook, and you’re done.
Mistakes to Avoid
This is the part most tutorials skip, and it’s the most useful thing you’ll read today.
1: Cutting your cord too short. It’s far better to cut long and trim later. Beginners consistently underestimate how much cord the knots consume. When in doubt, add an extra foot per cord. You can always cut excess; you can’t add length once it’s gone.
2: Tying knots too loosely, then trimming. Always check your knot tightness before cutting the fringe. Loose knots look uneven, and if you tighten them after trimming you’ll end up with cords that are too short. Hang the hanger up, look at it from a distance, and adjust any knots before you commit to the final trim.
3: Uneven groups. If your net knots look lopsided, it’s almost always because your cord groups got shuffled during the alternating rounds. Count your cords carefully before each new row. You want exactly 4 cords per knot, every time.
4: Using the wrong cord. Stiff or rough cord (like jute or hemp) is harder on your hands and produces less elegant results for indoor hangers. Soft 4mm twisted cotton cord is the standard recommendation for a reason — it’s easy to knot, easy to fray for fringe, and holds its shape beautifully.
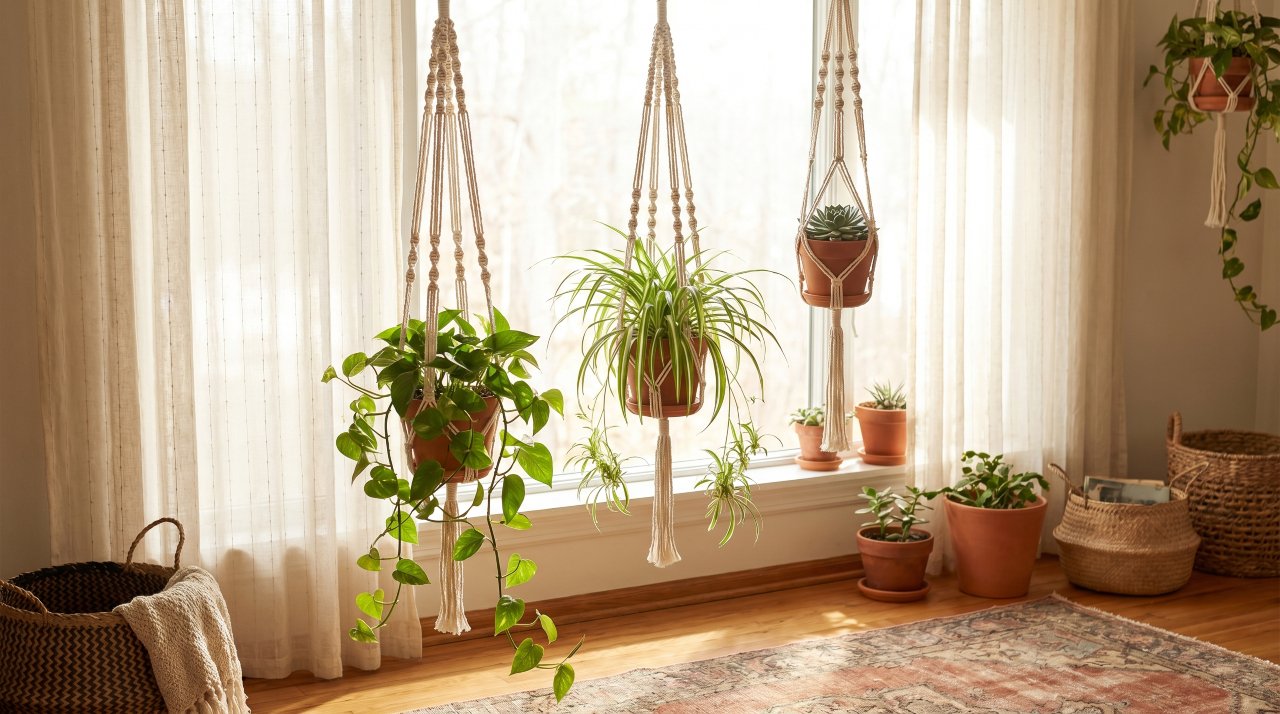
Which Plants Work Best in a Macrame Hanger
Most beginner tutorials skip this, but plant choice matters a lot. Heavy pots can stress the knots. Plants that need frequent watering are harder to manage in a hanger.
The best plants for a macrame plant hanger are:
- Pothos — lightweight, trailing, drought-tolerant, and looks stunning cascading out of a hanger
- Spider plant — tough, forgiving, and produces pretty baby plantlets that hang down naturally
- Air plants (Tillandsia) — no soil, no pot, extremely light; you can place one directly in the net
- Small succulents — low water needs mean you won’t be hauling them down to water every few days
- String of pearls — trails beautifully and stays lightweight enough to be safe in a hanger
Avoid plants in very large, heavy pots for your first hanger. A pot no wider than 6 inches and no heavier than 3–4 pounds is the sweet spot while you’re building confidence with the knots.
How to Hang It Safely
A macrame plant hanger with a plant in it can weigh 3–8 pounds, depending on the pot and soil. Don’t hang it from a thumbtack or a lightweight adhesive hook.
Use a ceiling hook that screws directly into a joist, or a heavy-duty adhesive hook rated for at least 10 pounds. The International Association of Certified Home Inspectors recommends locating ceiling joists before drilling for any overhead load. A stud finder makes this a 2-minute job. For renters, a tension rod across a window frame is a popular zero-damage solution that works perfectly for lightweight hangers.
FAQs
How do you make a macrame plant hanger?
Cut 8 cords of 4mm cotton cord to about 10–11 feet each. Fold them in half and attach them to a small ring using lark’s head knots. Separate the 16 cords into 4 groups of 4 and tie square knots down each group. Create an alternating net of square knots to hold the pot, then gather all cords at the base with a gathering knot. Trim and fray the ends for fringe.
What cord do you use for a macrame plant hanger?
The most widely recommended cord is 4mm twisted or braided cotton macrame cord. It’s soft, easy on your hands, knots cleanly, and frays beautifully for the finished look. Avoid thin twine (too flimsy for a pot’s weight) and stiff jute or hemp for indoor projects — they’re rougher to work with and harder on hands for a beginner.
How much cord do I need for a macrame plant hanger?
A standard 30-inch hanger needs about 80–100 feet of cord total across all 8 pieces. A 100-yard (300-foot) spool gives you enough for 3 to 4 hangers, which is why the per-hanger cost is so low. When calculating, multiply your desired finished length by 4, then add 12 inches for knots and fringe.
Is macrame hard to learn for beginners?
It’s genuinely one of the easier fiber crafts to pick up. Most beginners feel comfortable with the square knot within 10–15 minutes of practice. The first hanger typically takes 1.5 to 2 hours. By your second or third project, you’ll work noticeably faster — and the repetitive knotting becomes quite relaxing.
What plants are good for macrame hangers?
Pothos, spider plants, air plants, small succulents, and string of pearls all work beautifully. Look for lightweight pots (under 4 pounds with soil) and plants that don’t need watering more than once a week. Trailing plants look especially good because their vines spill out of the hanger and add movement to the display.
How do you hang a macrame plant hanger from the ceiling?
Screw a ceiling hook directly into a ceiling joist for the most secure hold. Use a stud finder to locate the joist first. If you’re renting, a heavy-duty adhesive hook rated for 10+ pounds works for lighter hangers, or stretch a tension curtain rod across a window frame as a no-drill alternative.
Your Next Step
The hardest part of making a macrame plant hanger is convincing yourself it’s not too hard. It isn’t. Two knots do most of the work, the cord costs a few dollars, and the whole thing comes together in an afternoon.
Pick up a spool of 4mm cotton cord and a small ring at your local craft store this week. Cut your first 8 cords, attach them to the ring, and tie your first square knot. That’s the only starting point you need — everything else follows naturally from there.
Once you’ve made one, you won’t stop. Fair warning.