
Quick Craft Summary
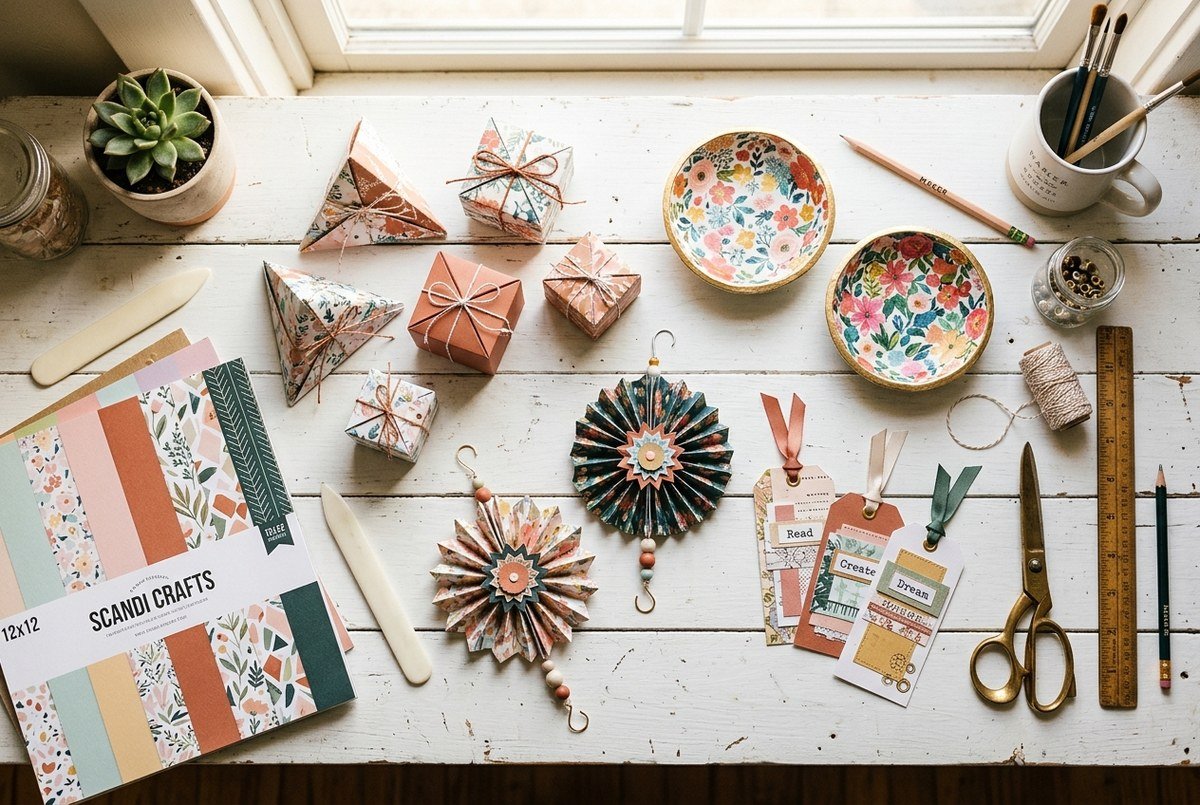
Crafts with scrapbooking paper are versatile, budget-friendly DIY projects made from patterned 12×12 inch cardstock sheets and paper scraps. Projects range from self-closing origami gift boxes and decoupage wooden trinket trays to 3D star garlands and framed wall mosaics. Because scrapbooking paper is acid-free and heavy-weight (typically 65 lb to 80 lb cover), these 15 beginner projects take under 30 minutes each, cost less than $1.00 per craft, and turn leftover paper stashes into boutique home decor and gifts.
The beauty of decorative scrapbooking paper lies in its dual strength and design variety. High-quality scrapbooking cardstock features rich double-sided patterns, matte linen textures, metallic foil accents, and archival durability. In this complete guide, you will discover 15 creative crafts with scrapbooking paper that breathe new life into your paper stash.
Essential Tools for Precision Paper Crafting
While scissors and glue are a good start, having these four inexpensive tools in your workshop ensures crisp fold lines, bubble-free adhesion, and razor-sharp cuts:
| Tool | Recommended Spec | Estimated Cost | Craft Purpose |
|---|---|---|---|
| Bone Folder | Natural bone or Teflon scoring tool | $4.50 | Creates crisp, professional creases without cracking paper fibers |
| Rotary Paper Trimmer | 12-inch guillotine or rotary grid trimmer | $12.00 | Perfect 90-degree cuts and parallel strip trimming |
| Mod Podge Matte | Water-based decoupage sealer & finish | $5.00 | Seals paper onto wood, glass, and ceramic surfaces |
| Double-Sided Tape Roller | Permanent acid-free adhesive runner | $3.50 | Instant dry bonding for boxes and cards with zero wrinkling |
15 Creative Scrapbooking Paper Crafts (Step-by-Step)
1. Self-Closing Origami Geometric Gift Boxes
Using a single 12×12 sheet of heavy cardstock, you can fold an elegant two-piece nesting gift box with zero glue. Perfect for packaging jewelry, friendship bracelets, or artisanal treats.
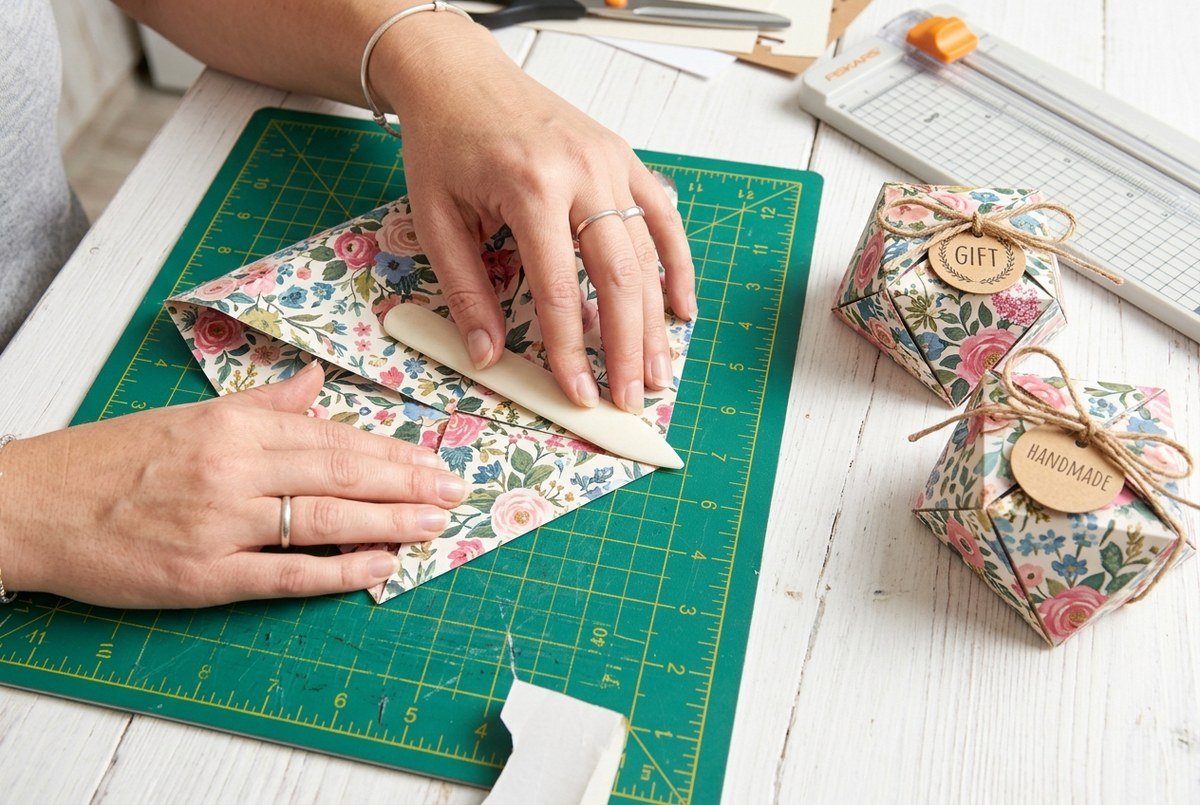
- Time: 15 minutes | Cost: ~$0.50
- Step 1: Trim one sheet to 10×10 inches for the bottom base, and a second sheet to 10.25×10.25 inches for the top lid.
- Step 2: Fold both sheets diagonally corner-to-corner in both directions, creasing sharply with a bone folder.
- Step 3: Fold all four corners into the center intersection point (blintz fold).
- Step 4: Fold the left and right outer edges into the center line, unfold, and repeat with top and bottom edges to create a 16-square grid.
- Step 5: Make four outer relief cuts, fold the walls inward, and lock the tabs to form a rigid boutique box.
2. 3D Folded Paper Star Medallion Garland
Accordion-folded paper rosettes and dimensional Moravian stars add festive dimension to fireplace mantles, nursery walls, and party photo backdrops.
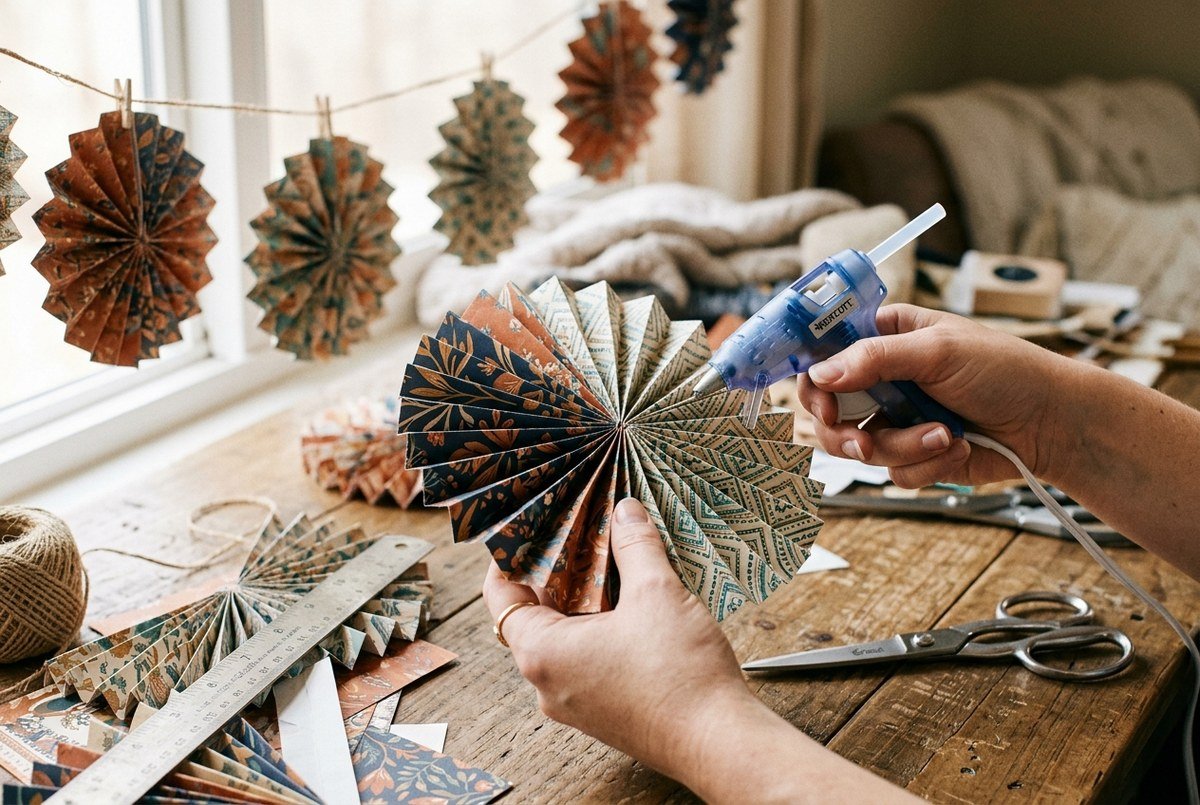
- Time: 20 minutes | Cost: ~$1.00 (garland of 5 stars)
- Step 1: Cut 3 strips of 4×12 inch patterned paper for each medallion.
- Step 2: Accordion-fold each strip at 0.5-inch intervals like a fan.
- Step 3: Glue the ends of the three pleated strips together to form a continuous circle.
- Step 4: Press the center flat and hot-glue a 1.5-inch circle of matching cardstock over the center to lock the rosette in place.
- Step 5: String medallions onto jute twine and hang with our DIY room decor ideas for small spaces.
3. Decoupage Wooden Jewelry & Trinket Dishes
Line the interior of plain wooden bowls or thrifted plates with botanical scrapbook paper sealed under glossy Mod Podge to create bespoke vanity organizers.
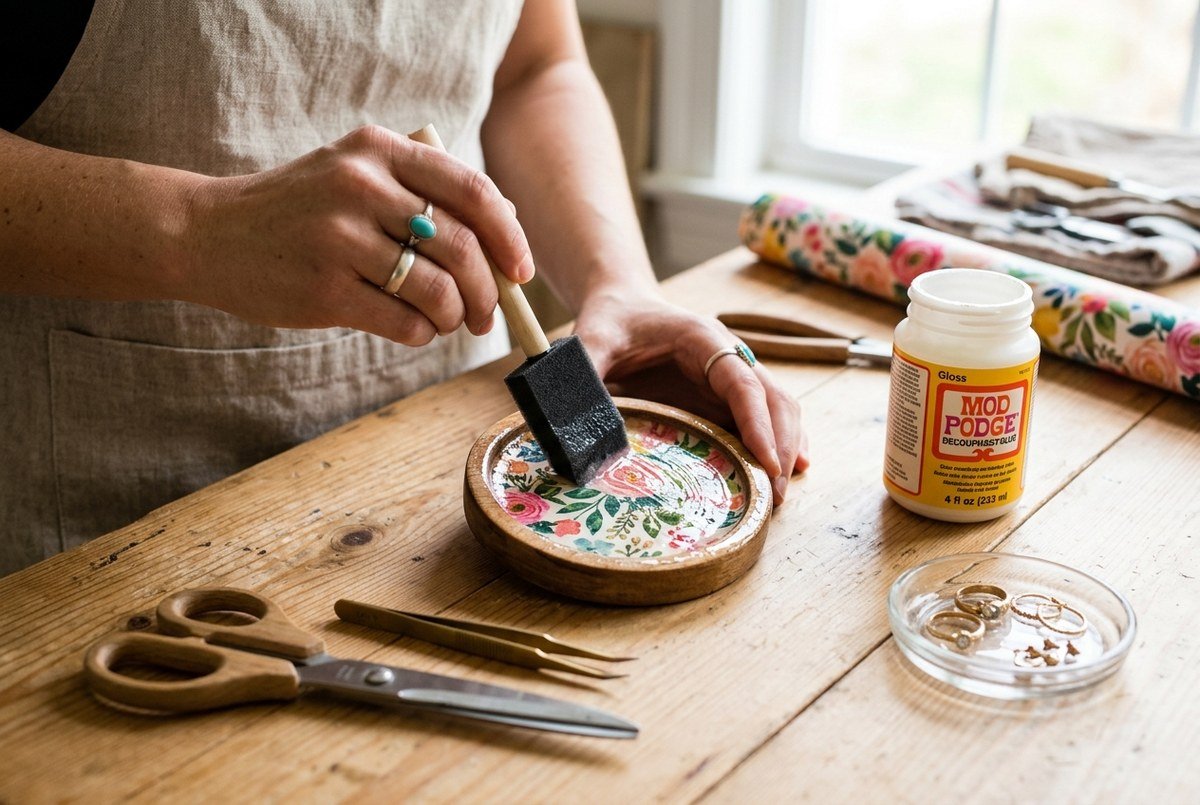
- Time: 25 minutes | Cost: ~$2.00
- Step 1: Trace the bottom interior of a small wooden tray onto your patterned paper and cut out precisely.
- Step 2: Apply a generous coat of Mod Podge to the wood surface.
- Step 3: Smooth the paper into place from the center outward, pressing out any air bubbles with a brayer or bone folder.
- Step 4: Apply two top coats of water-resistant sealant to protect against everyday jewelry wear. Explore more ideas in our handmade gift ideas for friends.
4. Hexagon Mosaic Framed Wall Art
Punch dozens of 1.5-inch hexagons from coordinated paper scraps and arrange them in a modern honeycomb mosaic inside an IKEA shadowbox frame.
5. Patterned Bookmark Envelopes with Brass Eyelets
Fold 3×6 inch cardstock rectangles into corner bookmarks or slim pocket tags tied with velvet ribbon and stamped with inspirational quotes.
6. Decoupage Light Switch & Outlet Covers
Cover bland plastic light switch plates with wallpaper-style floral or geometric scrapbooking paper for an instant custom room accent.
7. Custom Notebook & Bullet Journal Dust Jackets
Wrap inexpensive plain composition books in textured linen-finish cardstock, complete with corner protectors and ribbon page markers.
8. Dimensional Butterfly Wall Murals
Cut symmetrical butterflies in three graduated sizes, crease the wings upward at 45 degrees, and mount in an ascending flight path on bedroom walls.
9. Magnetic Decorative Clothespin Clips
Glue 0.35-inch paper strips onto wooden clothespins, distress edges with ink, and attach strong neodymium magnets to display photos on refrigerators.
10. Paper Strip Woven Coaster Tiles
Weave 0.5-inch laminated paper strips in a traditional basketweave pattern and seal onto 4×4 inch cork squares for heat-resistant coffee coasters.
11. Layered 3D Paper Dahlia Wreath
Roll 50 paper squares into cones and glue in concentric circles over an 8-inch cardboard base to create a breathtaking paper dahlia flower wreath.
12. Seed Packet Gift Envelopes
Fold botanical cardstock into self-sealing vintage seed envelopes for wedding favors, wildflower seeds, or gift card holders.
13. Dimensional Folded Paper Pinecone Ornaments
Layer folded petal triangles over a foam egg base to create realistic rustic pinecones for autumn and holiday decorating.
14. Scrapbook Paper Lined Serving Trays
Line thrifted wooden breakfast trays with patterned cardstock and pour a protective layer of clear epoxy resin for a spill-proof finish.
15. Kids Paper Craft Station (Holiday Themes)
Use paper scraps for seasonal activities like our popular paper plate Halloween crafts and seasonal garlands.
Pro Tips: Understanding Paper Weight & Grain Direction
Callum’s Paper Crafting Secrets:
- Check the Paper Weight: Text-weight paper (24 lb to 32 lb) is ideal for intricate origami folding. Heavy cardstock (65 lb to 80 lb) is best for rigid gift boxes, trays, and wall art.
- Find the Grain Direction: Gently bend the paper in both directions. The direction with the least resistance is with the grain. Always score and fold along the grain to avoid cracking patterned surface fibers.
- Archival Preservation: High-quality scrapbooking cardstock is acid-free and lignin-free. To learn more about archival paper longevity standards, visit the Library of Congress Preservation Directorate.

