
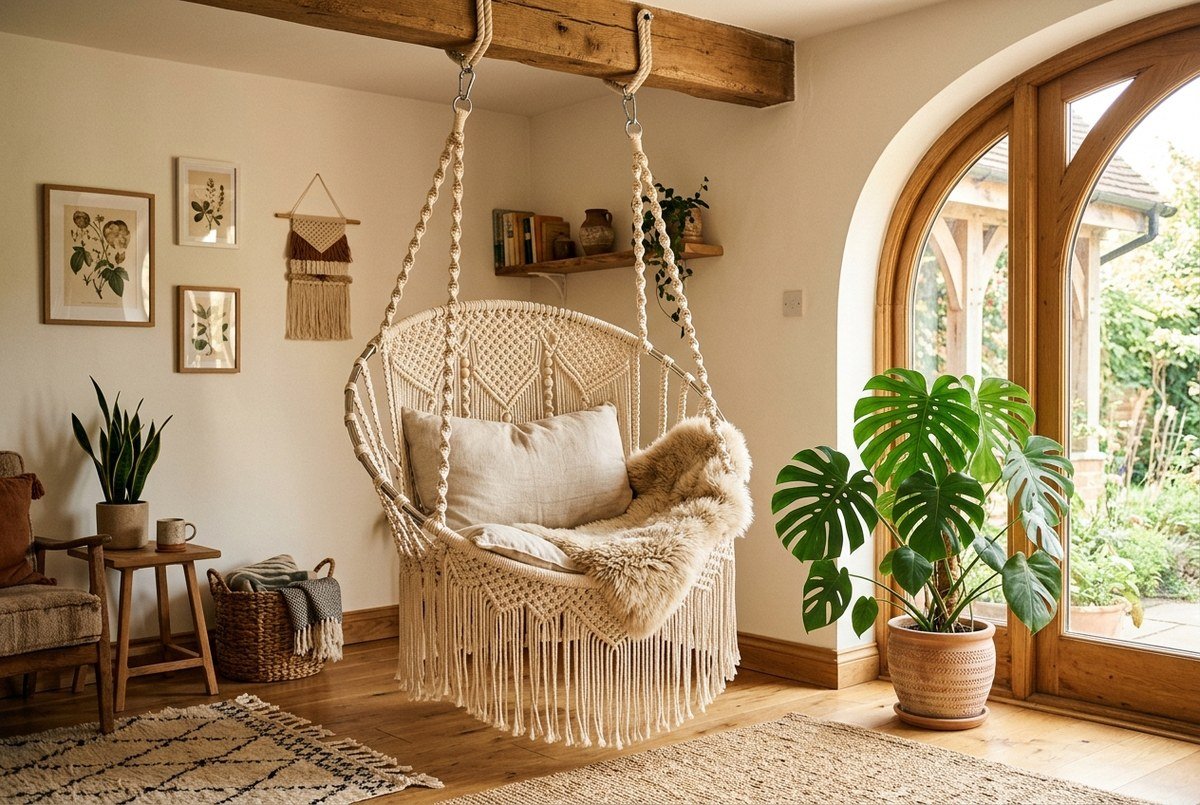
Quick Project Summary
A macrame hanging chair is a suspended bohemian hammock swing constructed using heavy-duty 5mm or 6mm braided cotton cord knotted around two reinforced steel hoop frames (typically a 24-inch seat base and a 32-inch backrest hoop). Requiring approximately 650 to 800 feet of cord, this intermediate-level DIY project takes 6 to 9 hours to complete and costs between $45 to $75 in raw materials—saving over $200 compared to retail artisan chairs. When anchored into a solid ceiling joist with weight-tested hardware, it supports up to 275–300 lbs safely.
While store-bought macramé chairs often retail upwards of $250 to $400, building your own allows you to customize the dimensions, cord color, and backrest pattern while ensuring superior structural safety. In this comprehensive step-by-step guide, you will learn how to build a durable, weight-tested macrame hanging chair DIY from scratch.
Materials, Tools & Hardware Checklist
Because this project supports human body weight, material quality and tensile strength are paramount. Never substitute lightweight craft string or hollow plastic hoops. Always adhere to these structural specifications:
| Component | Recommended Specification | Quantity / Length | Function |
|---|---|---|---|
| Macramé Cord | 6mm (or 5mm) 3-ply braided unbleached cotton | 750 feet (230 meters) | Seat mesh, backrest weave & suspension ropes |
| Large Outer Hoop | 32-inch (80 cm) welded steel ring (0.5″ tube thickness) | 1 hoop | Upper backrest & armrest frame |
| Small Inner Hoop | 24-inch (60 cm) welded steel ring (0.5″ tube thickness) | 1 hoop | Base seat platform |
| Heavy-Duty Eye Bolt | 1/2″ × 4.5″ forged steel eye lag bolt (350+ lb rating) | 1 unit | Ceiling joist anchor |
| Locking Carabiner | Heavy-duty 316 stainless steel screw-lock carabiner | 2 units | Connects chair loop to anchor |
Before cutting your cord bundle, use our free macramé cord calculator to determine exact cord cutting lengths based on your ceiling height.
Step-by-Step Construction Guide
Phase 1: Wrapping the Steel Hoops for Grip and Padding
Direct contact between bare metal and cotton cord causes friction and slippage over time. Wrapping both hoops creates a tactile, non-slip base for all subsequent knots.
- Step 1: Cut two 45-foot lengths of 6mm cord.
- Step 2: Secure one end to the 24-inch hoop with a tight half-hitch knot.
- Step 3: Wrap the cord continuously and tightly around the entire metal circumference, pushing the coils tightly together every 10 wraps to ensure zero exposed metal.
- Step 4: Tie off with a double half-hitch knot, apply a dab of fabric glue to the knot core, and repeat for the 32-inch upper hoop.
Phase 2: Weaving the Heavy-Duty Seat Base Platform
The seat base must support 100% of your body weight without sagging excessively. We construct an interlocking grid of tight alternating square knots.
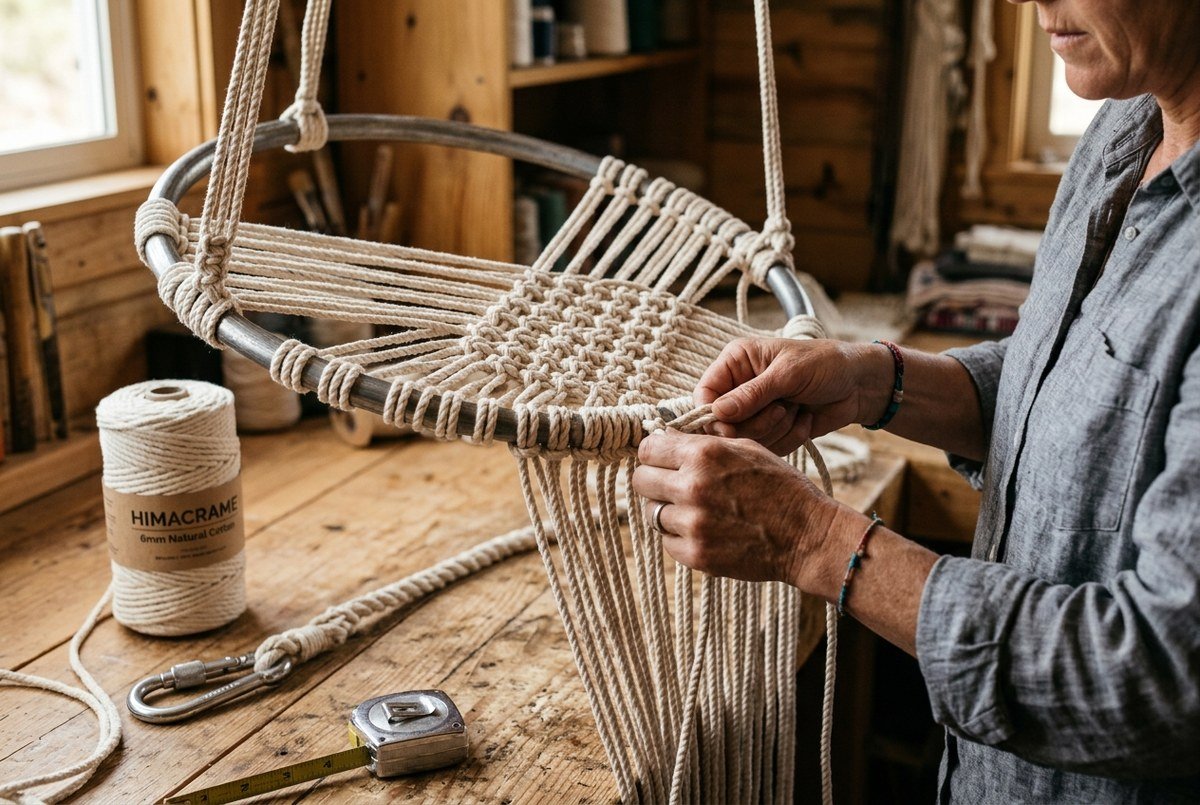
- Step 1: Cut 16 strands of 6mm cord, each measuring 16 feet long.
- Step 2: Fold each strand in half and attach them across the top edge of the 24-inch wrapped hoop using Lark’s Head knots, spaced evenly 1.25 inches apart (yielding 32 working cords).
- Step 3: Beginning at the center, tie rows of Alternating Square Knots across the hoop interior. Keep knots firmly tensioned with 0.5-inch spacing between rows to create a dense, supportive web.
- Step 4: Once the knotting covers the circular diameter, anchor every loose cord tail onto the opposite bottom rim of the hoop using two secure Double Half-Hitch knots. Leave the tails long to form part of your bottom fringe.
Phase 3: Joining the Frame & Building the Backrest
Join the 24-inch seat hoop and 32-inch backrest hoop at the back, allowing the backrest hoop to tilt upward at a comfortable 45-degree angle.
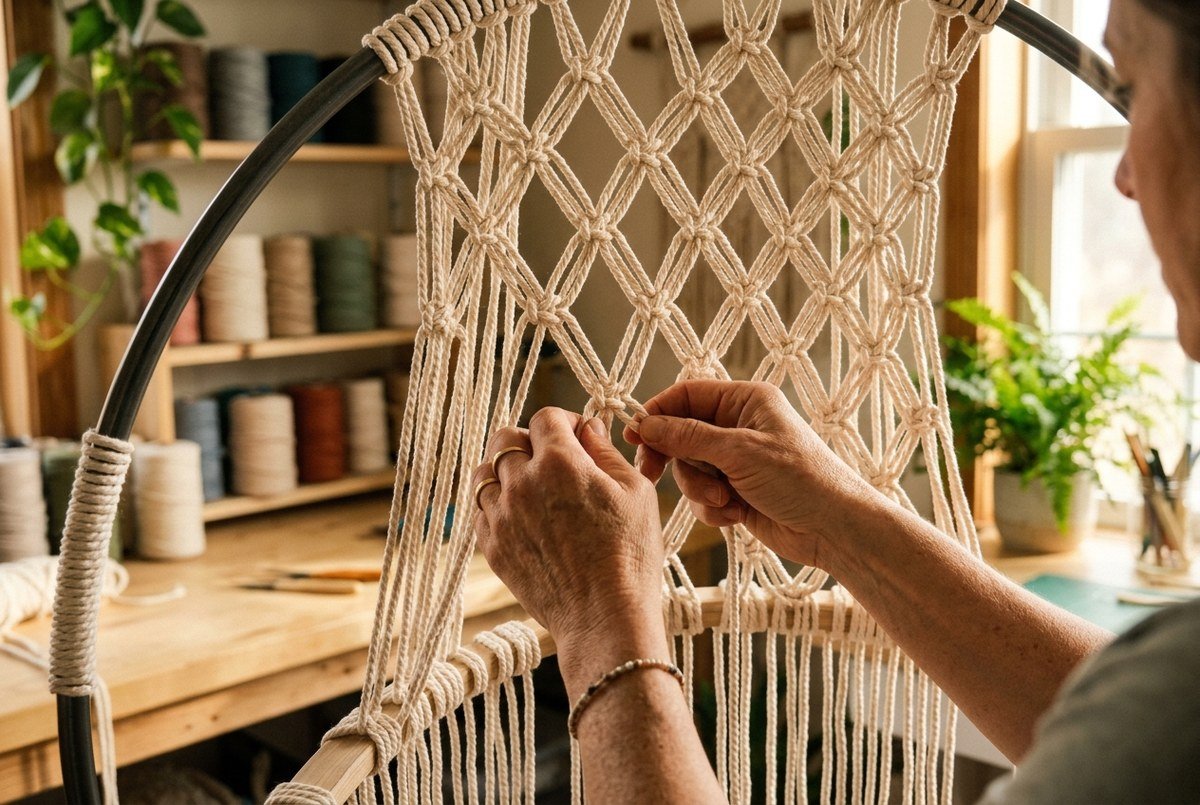
- Step 1: Overlap the back 6 inches of the 24-inch and 32-inch hoops. Lash them tightly together using a 10-foot cord wrapped with 20 continuous square knots.
- Step 2: Suspend the chair frame at standing height using temporary anchor ropes so you can work comfortably at eye level.
- Step 3: Cut 24 strands of 6mm cord, each measuring 14 feet long. Fold in half and mount them along the upper arc of the 32-inch hoop with Lark’s Head knots.
- Step 4: Weave a decorative diamond lattice or chevron pattern down the back, working downward toward the 24-inch seat ring.
- Step 5: Fasten each working cord securely onto the seat hoop rim with double half-hitches.
Phase 4: Creating the 4 Suspension Ropes & Gathering Knot
Four load-bearing suspension ropes (two front, two rear) converge at an overhead heavy-duty stainless steel ring.
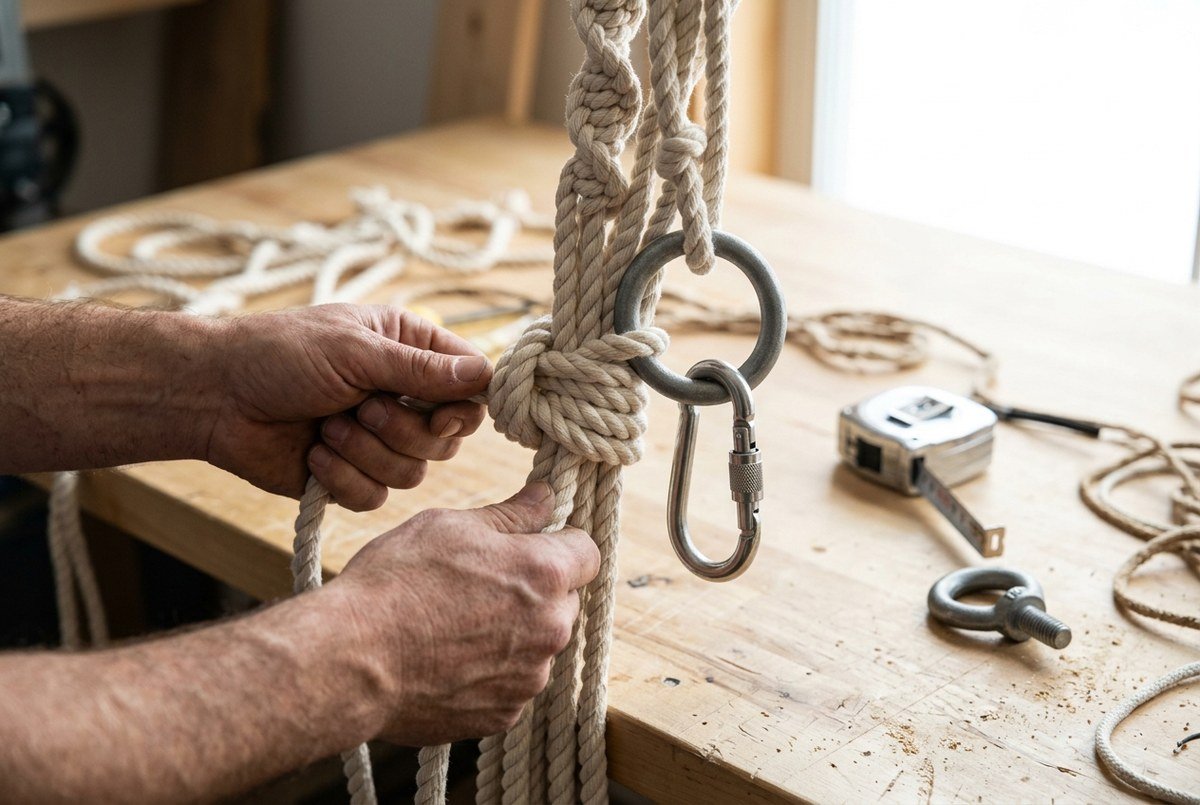
- Step 1: Cut 8 heavy suspension cords (each 28 feet long). Pass them through a 3-inch forged steel rigging ring so the ring sits at the exact midpoint.
- Step 2: Tie a 6-inch tight Gathering Knot (Wrapping Knot) directly underneath the steel ring using a separate 10-foot cord.
- Step 3: Divide the 16 hanging cords into 4 groups of 4 cords each (Front-Left, Front-Right, Back-Left, Back-Right).
- Step 4: Knot continuous Spiral Half-Knots down all 4 ropes for 36 inches to create strong, twisted architectural hanging ropes.
- Step 5: Tie the front ropes to the front edge of the 32-inch hoop and the rear ropes to the rear junction, ensuring the seat tilts slightly backward for ergonomic comfort.
Safe Ceiling Rigging & Installation Guidelines
Critical Structural Safety Rules:
- Locate Solid Wood Joists: Never mount a hanging chair into drywall or plasterboard using toggle bolts. Always anchor into the center of a solid wood ceiling joist (minimum 2×6 timber beam) using a stud finder. Review certified safety guidelines from OSHA structural rigging standards.
- Pre-Drill Pilot Holes: Pre-drill a pilot hole with a 3/8″ drill bit slightly smaller than your 1/2″ eye lag bolt to prevent splitting the structural wooden joist.
- Use Marine-Grade Hardware: Connect your chair’s top steel ring to the eye bolt using a rated screw-lock carabiner tested to 500+ lbs breaking strength.
- Gradual Weight Testing: Before sitting fully, place 100 lbs of heavy books or kettlebells in the chair for 30 minutes to settle the fiber tension, then gradually increase weight while observing ceiling deflection.
Boho Styling & Care Instructions
Once your chair is suspended, style it with cozy textures to create an inviting focal point. Place a 24-inch round tufted velvet cushion or washed linen pillow in the seat base, drape a soft sheepskin pelt over the backrest, and pair with our DIY room decor ideas for small spaces. For seasonal gift inspiration, browse our 12 handmade gift ideas collection.
To keep natural unbleached cotton cord clean, vacuum regularly with a soft brush attachment. For outdoor covered porch use, spray with a water-repellent fabric protector and bring the chair indoors during heavy winter rains to prevent mildew.

