
Quick Craft Summary
Crafts using tissue paper are vibrant, budget-friendly DIY paper art projects that transform inexpensive tissue sheets into stunning home decor, party accessories, and artistic wall hangings. Popular techniques include bleeding tissue watercolor transfers on canvas, giant fluffy paper peonies, faux stained glass suncatchers, decoupage trinket dishes, and dip-dyed tassel garlands. Costing under $5.00 in supplies and taking 15 to 45 minutes per project, tissue paper crafts offer versatile creative outlets for both adults and kids.
Whether you are looking for relaxing weekend DIY projects, kid-friendly seasonal crafts, or high-end boho room styling accents, tissue paper provides endless possibilities. In this complete crafting master guide, you will discover 15 creative, budget-friendly crafts using tissue paper with detailed step-by-step instructions, paper grading guides, and finishing secrets.
Bleeding vs. Non-Bleeding Tissue Paper: The Critical Difference
Before beginning your paper craft projects, understanding the chemistry and dye formulation of your tissue paper is essential. Choosing the wrong paper type can ruin a watercolor transfer or bleed unexpectedly on a decoupage piece:
| Paper Type | Dye Formulation | Best Project Uses | Craft Behavior |
|---|---|---|---|
| Bleeding Tissue Paper | Water-soluble, non-fixed organic dyes (e.g., Spectra Deluxe) | Canvas watercolor art, silk dyeing, watercolor bookmarks | Releases vibrant liquid pigment immediately upon water contact |
| Non-Bleeding Tissue Paper | Color-fast, chemically set pigments (standard gift wrap tissue) | Giant flowers, pom poms, stained glass, decoupage, pinatas | Retains its color and crisp boundaries even when glued with Mod Podge |
| Waxed / Glassine Tissue | Moisture-resistant, semi-translucent paraffin-coated sheets | Botanical window transparencies, luminaries, origami folding | Provides translucent frosted light diffusion and water resistance |
For non-toxic dye standards and safety specifications for art materials, consult guidelines from the ASTM D4236 Standard Practice for Labeling Art Materials. For more creative paper inspiration, explore our popular guides on 15 crafts with scrapbooking paper and easy paper plate crafts.
15 Creative Crafts Using Tissue Paper
1. Bleeding Tissue Paper Watercolor Canvas Art
Create stunning abstract watercolor paintings on stretched canvas without paintbrushes using the magic of bleeding tissue paper dye transfer.
- Step 1: Cut bleeding tissue paper sheets into geometric triangles, hexagons, and organic teardrops in complementary color families (e.g., magenta, coral, and deep navy).
- Step 2: Lightly mist a primed white canvas with clean water using a fine spray bottle.
- Step 3: Arrange the tissue paper shapes across the wet canvas, overlapping edges to create rich secondary blend colors.
- Step 4: Spray a final generous mist of water over the paper until completely saturated and press flat with a foam brush.
- Step 5: Let the canvas dry completely for 2 hours, then peel off the dried paper to reveal an ethereal, permanent watercolor masterpiece. Coordinate with our small apartment wall art styling.
2. Fluffy Giant Tissue Paper Peonies & Pom Poms
Oversized 12-inch tissue paper peonies make breathtaking party backdrops, nursery ceiling mobiles, and floral table centerpieces.
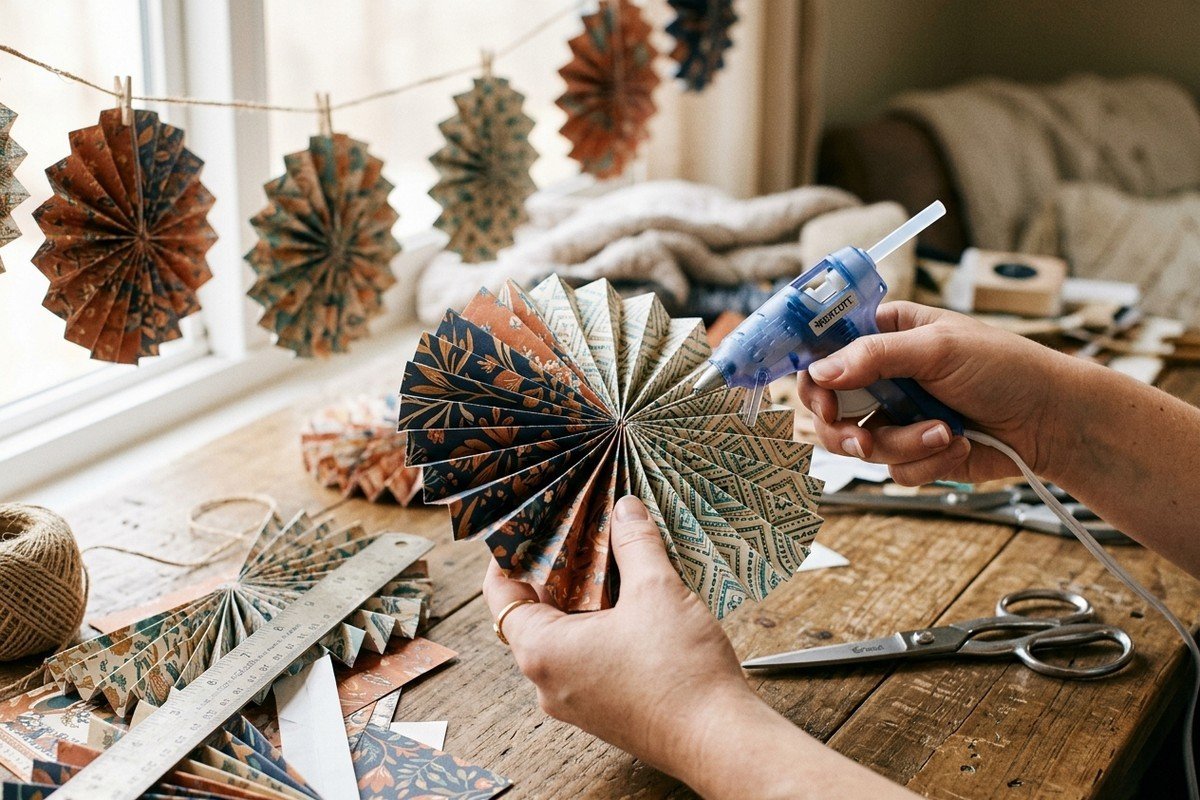
- Step 1: Stack 8 to 10 sheets of non-bleeding tissue paper measuring 15×20 inches.
- Step 2: Accordion-fold the entire stack in 1.5-inch pleats from bottom to top.
- Step 3: Secure the center of the folded strip with a 24-gauge floral wire or chenille pipe cleaner.
- Step 4: Trim both ends into rounded scallop curves using sharp craft shears for peony petals (or sharp points for dahlia blooms).
- Step 5: Gently fan out the accordion pleats and carefully pull each delicate layer of tissue paper up toward the center one by one to fluff into a full 3D botanical sphere.
3. Faux Stained Glass Geometric Suncatchers
Catch radiant afternoon sunlight by creating mosaic stained glass transparencies that look like authentic leaded cathedral glass.
- Step 1: Cut a black cardstock frame into a geometric mandala, butterfly, or arch silhouette with 0.25-inch inner border channels.
- Step 2: Place the black frame sticky-side-up onto a sheet of clear self-adhesive contact paper.
- Step 3: Fill the open windows with small 1-inch squares of jewel-toned tissue paper (emerald green, amber, cobalt blue, ruby red).
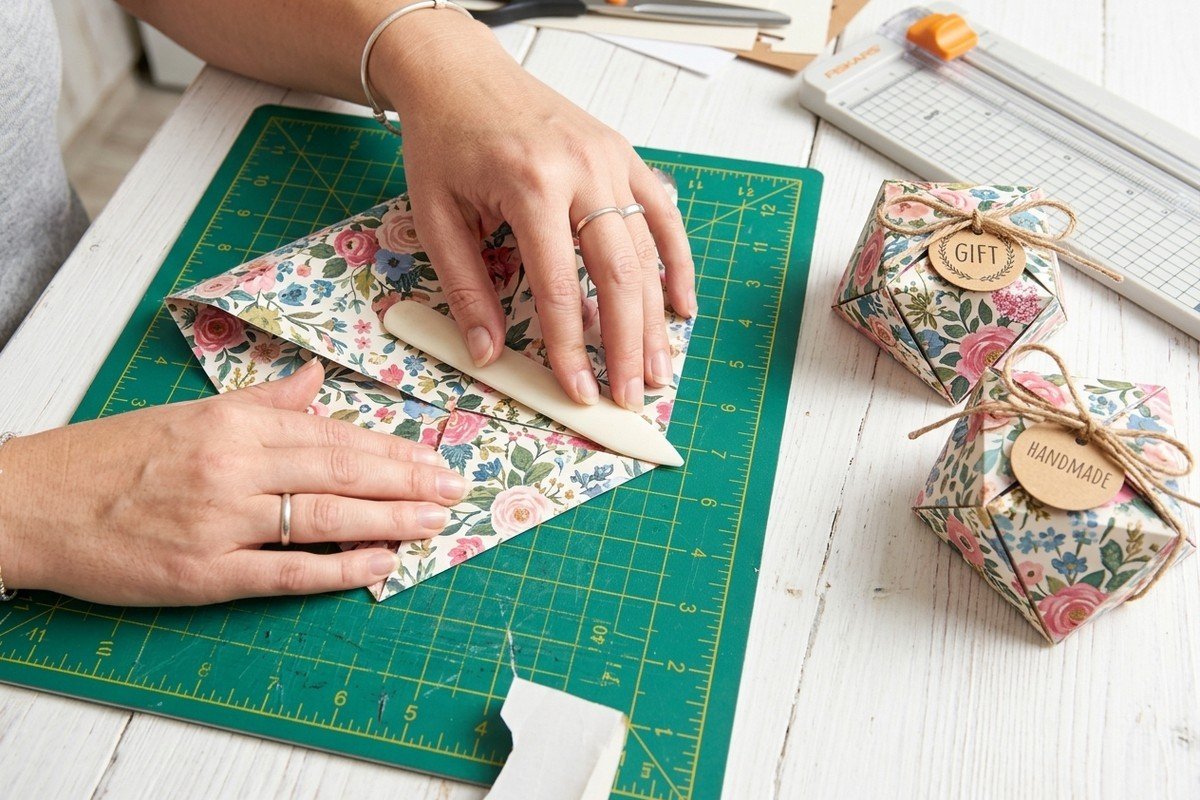
- Step 4: Seal the back with a second sheet of clear contact paper, smooth out air bubbles with a bone folder, and trim along the outer cardstock edge.
- Step 5: Punch a small top hole, loop baker’s twine, and hang in a south-facing window to cast dazzling kaleidoscopic light across your room.
4. Decoupage Floral Porcelain Trinket Trays
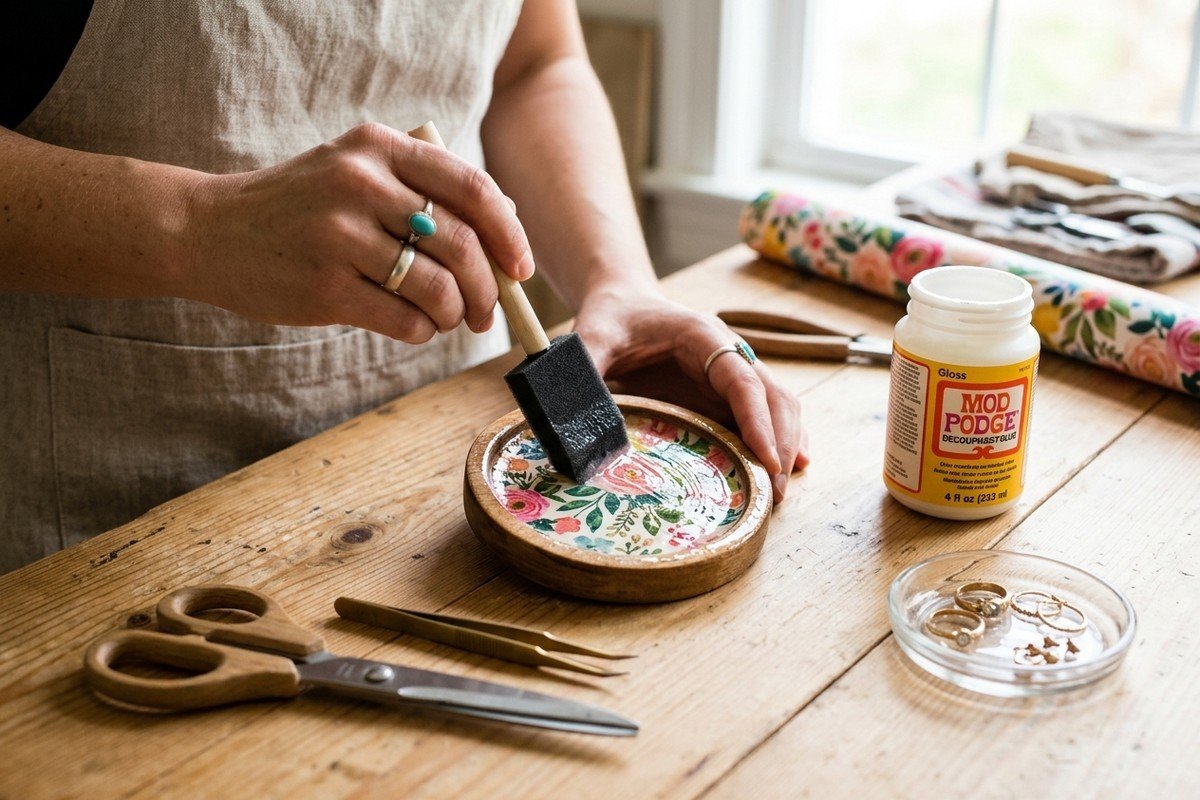
Tear botanical floral motifs from decorative tissue paper and adhere to ceramic saucers or wooden trinket dishes using Mod Podge Gloss. Seal with two topcoats and line the rim with gold leaf paint for an elegant jewelry catchall.
5. Honeycomb Paper Party Lanterns
Glue alternating glue-dot patterns across 30 sheets of circular tissue paper to build expandable geometric honeycomb globes that collapse flat for easy storage.
6. Dip-Dyed Tissue Paper Tassel Garlands
Cut long 0.5-inch fringe along unbleached white tissue sheets, dip the bottom tips into diluted food coloring or fabric dye for an ombre effect, twist the center into a hanging loop, and string across jute twine.
7. Pressed Botanical Window Transparencies
Sandwich real dried pressed ferns, pansies, and baby’s breath between layers of sheer white tissue paper brushed with watered-down PVA glue for delicate minimalist window art.
8. Colorful Mosaic Mason Jar Luminaries
Brush Mod Podge onto clean glass mason jars, press torn tissue paper tiles all over the exterior in overlapping scales, and place a flickering battery-operated LED tea light inside for magical evening porch glow.
9. Traditional Cempasúchil Paper Marigold Garlands
Layer circular scalloped orange and golden yellow tissue disks, staple the center, and scrunch individual layers tightly to form fragrant, everlasting marigold garland strings for autumnal celebrations.
10. Festive Handmade Party Poppers & Crackers
Wrap recycled cardboard toilet paper tubes in vibrant tissue paper, fill with homemade confetti and small treats, and tie both ends with satin curling ribbon.
11. Bleeding Tissue Watercolor Bookmarks
Transfer bleeding tissue pigments onto 140lb heavy watercolor paper tags, hand-letter inspiring quotes in calligraphy ink, laminate for durability, and finish with a silk tassel.
12. Textured Tissue Paper Wall Collage Art
Scrunch, twist, and crumple tissue paper into organic dimensional ridges glued onto canvas boards with gesso to create sculptural modern wall reliefs.
13. Fringe Mini Piñata Party Favors
Cut 1-inch wide tissue paper strips with fine fringe scissors and wrap in overlapping tiers around small cardboard geometric shapes for festive party place settings.
14. Faux Stained Glass Candle Votives
Wrap glass cylinder votives in black cardstock lattice patterns backed with warm amber and magenta tissue paper to diffuse relaxing candlelight across dining tables.
15. Layered 3D Butterfly Wall Art Mobile
Punch out multi-sized butterfly silhouettes from pastel tissue sheets, fold the wings upward, and suspend from an embroidery hoop with invisible nylon thread for a whimsical nursery mobile.
Detailed Instructions for Projects 4 through 15
4. Decoupage Floral Porcelain Trinket Trays
Tear delicate botanical motifs from printed decorative tissue paper or patterned paper napkins. Apply a thin, even coat of Mod Podge Gloss to a clean ceramic saucer or wooden jewelry tray. Lay the tissue motif gently onto the wet glue, smooth from the center outward with a soft damp foam brush to eliminate micro-creases, and apply two protective sealant topcoats. Accentuate the outer rim with metallic gold liquid leaf for a boutique finish.
5. Honeycomb Paper Party Lanterns
Stack 30 circular cutouts of 20gsm tissue paper. Using a glue stick or double-sided tape runner, apply alternating glue stripes (lines at 1″, 3″, and 5″ on Sheet A; lines at 2″ and 4″ on Sheet B). Paste two semi-circular cardstock backings onto the ends. When pulled open 360 degrees, the sheets expand into an intricate honeycomb sphere that folds flat for reuse.
6. Dip-Dyed Tissue Paper Tassel Garlands
Cut long 0.5-inch fringe strips along a folded sheet of unbleached white tissue paper, leaving a 2-inch solid band in the center. Dip the bottom 2 inches of fringe into diluted food dye or watercolor ink for an ombre gradient. Let dry on parchment paper for 1 hour, roll the solid center tightly into a cord, twist into a hanging loop, and string across natural jute twine for festive celebration banners.
7. Pressed Botanical Window Transparencies
Press delicate garden ferns, pansies, and baby’s breath between heavy book pages for one week. Arrange the dried botanicals between two sheets of sheer white tissue paper brushed with watered-down PVA craft glue. Once dry, the translucent fibers become semi-transparent when held to the light, creating organic botanical art for window sills.
8. Colorful Mosaic Mason Jar Luminaries
Tear vibrant tissue paper into 1-inch organic mosaic fragments. Brush water-based decoupage medium over clean glass mason jars and press the colored tiles onto the glass in overlapping fish-scale tiers. Insert a flickering battery-operated LED tea light inside to diffuse stained-glass warmth across evening patio tables and mantels.
9. Traditional Cempasúchil Paper Marigold Garlands
Stack 6 scalloped circles of vibrant orange and golden yellow tissue paper. Staple the center with two crossed staples. Cut fine 0.25-inch fringe snips around the perimeter, then scrunch and fluff each individual layer upward toward the center to produce fluffy, everlasting marigold flowers for seasonal wreaths and garlands.
10. Festive Handmade Party Poppers & Crackers
Wrap recycled cardboard craft cylinders in colorful patterned tissue paper, extending 3 inches past each end. Fill with homemade paper confetti, small handwritten messages, and trinkets. Twist both ends tightly and secure with metallic curling ribbon for custom birthday and holiday table crackers.
11. Bleeding Tissue Watercolor Bookmarks
Lay geometric scraps of bleeding tissue paper onto wet 140lb cold-press watercolor paper tags. Allow the pigments to bleed and blend naturally. Once dry, peel away the paper scraps, letter inspirational literary quotes in black archival ink, punch a top hole, and finish with a matching silk cord tassel.
12. Textured Tissue Paper Wall Collage Art
Twist, braid, and pleat neutral ivory and cream tissue paper into tactile ropes and ridges. Glue onto stretched canvas boards with heavy gesso medium to create dimensional monochromatic organic wall reliefs that add acoustic warmth to minimalist rooms.
13. Fringe Mini Piñata Party Favors
Cut 1-inch wide tissue paper strips with fine fringe scissors. Wrap cardboard letters or geometric geometric boxes with double-sided tape, applying overlapping fringe tiers from bottom to top for festive party table centerpieces.
14. Faux Stained Glass Candle Votives
Cut silhouette botanical branches from black cardstock, paste onto clear glass votive cups, and back with glowing amber, ruby, and violet tissue paper to project intricate botanical shadows when candles are illuminated.
15. Layered 3D Butterfly Wall Art Mobile
Die-cut butterfly silhouettes from gradient pastel tissue sheets. Fold the wings upward at 45-degree angles and suspend at staggered lengths from a wooden embroidery hoop with transparent monofilament thread for a whimsical nursery or bedroom mobile.
Frequently Asked Questions (FAQ)
Q: How can I tell if my tissue paper is bleeding or non-bleeding before starting a craft?
A: Perform a quick water drop test: Place a 1-inch scrap of your tissue paper on a white paper towel and add two drops of water. If the color immediately bleeds onto the paper towel, it is bleeding tissue paper (ideal for watercolor transfers). If the water sits or dries without staining the paper towel, it is color-fast non-bleeding paper (ideal for decoupage and flowers).
Q: What is the best glue to use on tissue paper without tearing or wrinkling it?
A: Mod Podge Matte or Gloss applied with a soft foam brush is the industry standard. Always apply the glue to the surface base first, gently lay the delicate tissue paper on top, and lightly tap with your fingertips from the center outward. Applying heavy liquid school glue directly to dry tissue paper will cause immediate tears and soggy wrinkling.
Q: How do you make giant tissue paper flowers stay fluffy without drooping?
A: Use at least 8 to 10 stacked sheets of 18gsm to 20gsm tissue paper. When pulling the layers apart, pull each sheet all the way to a 90-degree angle from the wire center, creating dense support beneath subsequent outer layers. Store the finished blooms away from humid bathrooms or damp basements to prevent environmental moisture from flattening the paper fibers.

