
Quick Project Summary
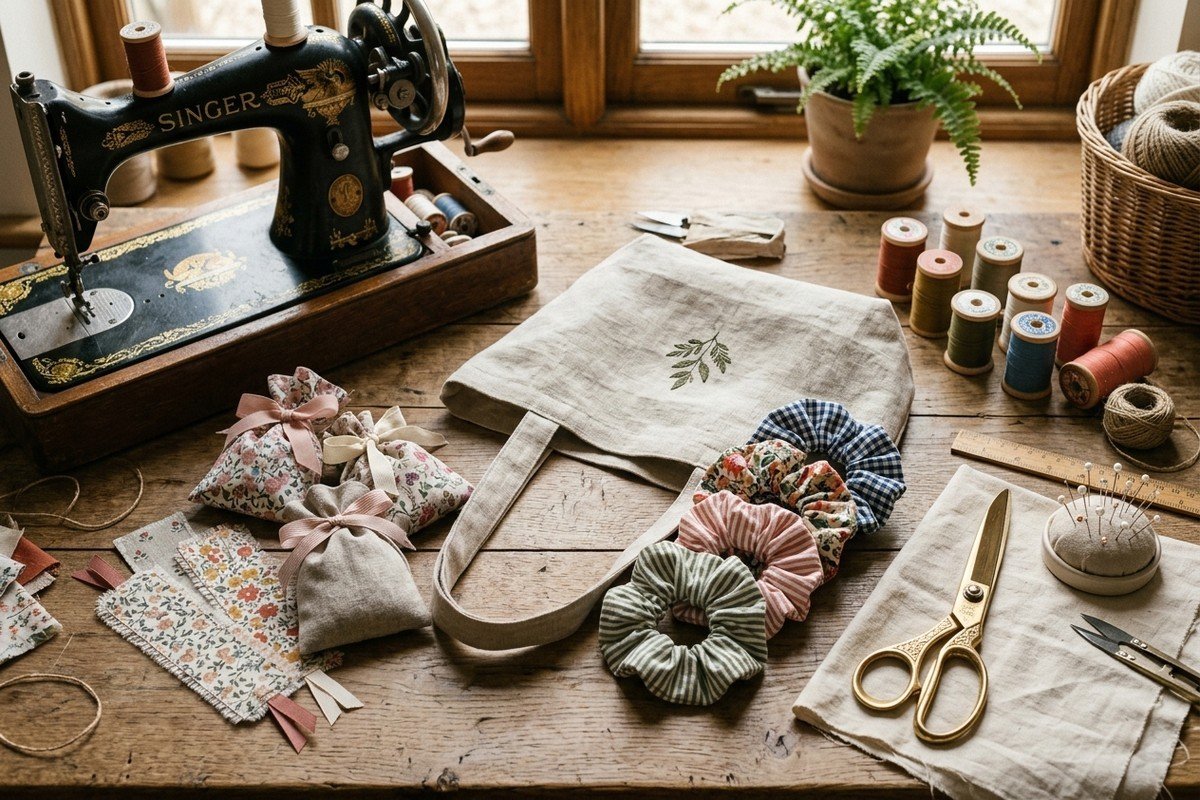
Sewing crafts for beginners are simple, high-reward DIY fabric projects that utilize straight-line sewing machine stitches and scrap cotton fabrics. Ideal starter projects include linen tote bags, elastic hair scrunchies, lavender sachets, envelope pillowcases, and fabric bookmarks. Taking 10 to 30 minutes each and requiring minimal fabric yardage, these 15 beginner sewing tutorials teach essential sewing techniques—such as seam allowances, pressing seams, corner clipping, and elastic casing—without frustrating complexity.
Small sewing crafts allow you to repurpose fabric fat quarters, thrifted linens, and scrap textiles into boutique-quality gifts and home decor in under half an hour. In this comprehensive beginner guide, you will master essential sewing machine setup, fabric-cutting tools, and step-by-step instructions for 15 easy sewing crafts for beginners.
Essential Beginner Sewing Kit & Stitch Settings
You do not need an industrial sewing studio to make gorgeous fabric crafts. A basic sewing machine and this essential starter toolkit are all you need:
| Tool / Supply | Recommended Specification | Approximate Cost | Sewing Function |
|---|---|---|---|
| Cotton / Linen Fabrics | 100% medium-weight woven cotton, linen, or canvas | $2.00–$6.00 / yard | Stable, non-stretchy base fabric for easy machine feeding |
| All-Purpose Thread | 100% polyester Gütermann or Coats & Clark thread | $2.50 / spool | Strong, lint-free core for durable seams |
| Fabric Shears | 8-inch heavy-duty stainless steel bent shears | $12.00 | Cuts crisp, clean fabric edges without snagging threads |
| Glass Head Pins & Clips | Heat-resistant glass head pins + Wonder sewing clips | $6.00 / box | Holds fabric layers securely in place during stitching |
For sewing machine maintenance standards and educational resources, explore the Sewing & Craft Alliance. For more budget craft ideas, check out our popular guides on handmade gift ideas for friends and crafts using tissue paper.
15 Easy Beginner Sewing Projects
1. Everyday Natural Linen Market Tote Bag
A classic reusable linen tote bag is the ultimate beginner project—teaching you straight seams, boxed corner bottoms, and reinforced handle attachment.
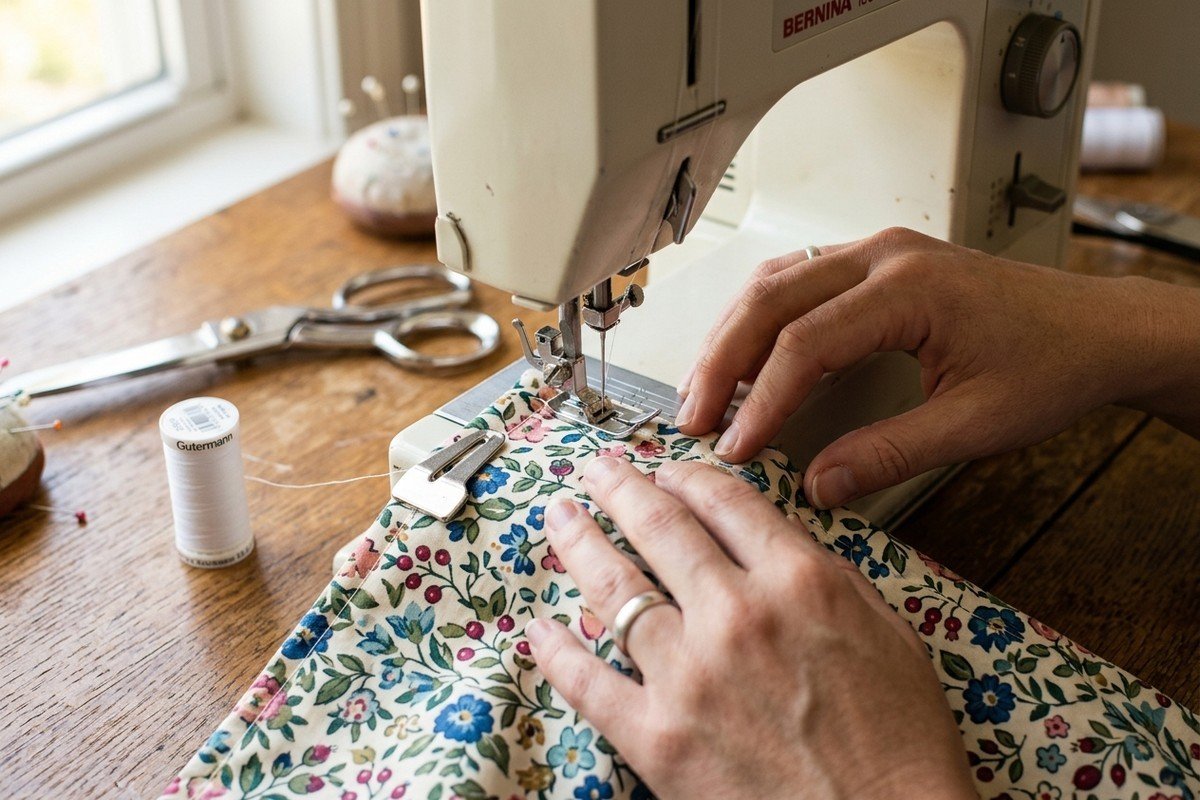
- Cut Fabric: Cut two 16×18 inch rectangles from natural linen for the main body, and two 4×24 inch strips for handles.
- Assemble Handles: Fold handle strips lengthwise in half, press with iron, fold raw edges inward to meet the center crease, and topstitch down both long sides.
- Sew Side & Bottom Seams: Place main body panels right sides facing together. Pin sides and bottom, and sew with a 1/2-inch seam allowance. Finish raw edges with a zigzag stitch.
- Box the Corners: Pinch bottom corner seams flat to form a triangle, mark 2 inches from the point, stitch across, and trim excess to create a 4-inch flat tote bottom.
- Hem & Attach Handles: Press the top opening down 1 inch twice. Insert handle ends beneath the fold and secure with reinforced square-and-cross stitches.
2. DIY Elastic Floral Cotton Scrunchies
Scrunchies are perfect for using up small scrap fabric strips and take just 10 minutes to sew.
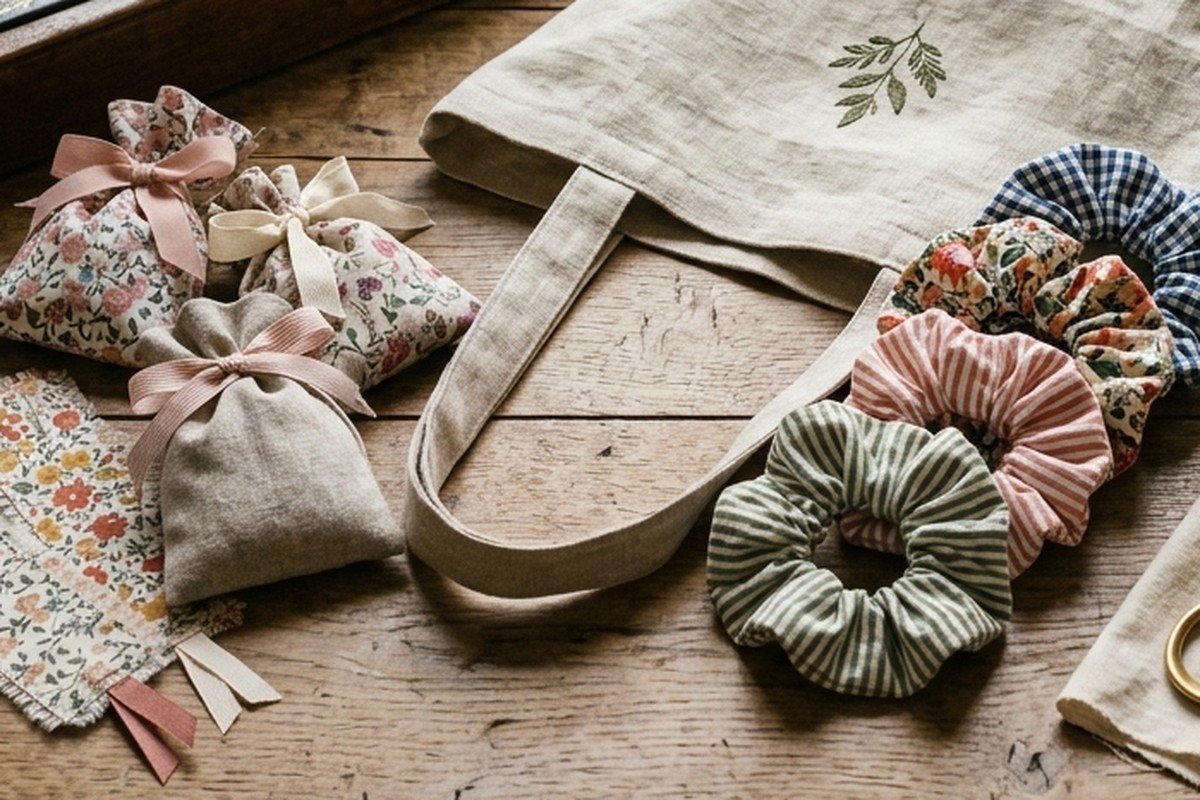
- Cut Fabric: Cut a 4×20-inch strip of floral cotton fabric and an 8-inch piece of 1/4-inch braided elastic.
- Sew the Tube: Fold the fabric strip in half lengthwise with right sides facing together. Stitch down the long raw edge with a 1/4-inch seam allowance to create a hollow tube.
- Turn Right Side Out: Attach a safety pin to one end of the tube and guide it through the inside to turn the fabric right side out. Press flat.
- Insert Elastic: Pin one end of the 8-inch elastic to the outside of the tube, and use a safety pin on the other end to thread through the casing. Tie the elastic ends into a tight square knot or stitch securely with a zigzag stitch.
- Close the Gap: Fold one raw fabric tube opening inward 1/2 inch, tuck the opposite raw end inside by 1/2 inch, and topstitch across the overlap to close.
3. Calming Dried Lavender Sachet Pouches
Fill small linen drawstring pouches with dried French lavender buds to place in closets, dresser drawers, or car cup holders for natural aromatherapy.
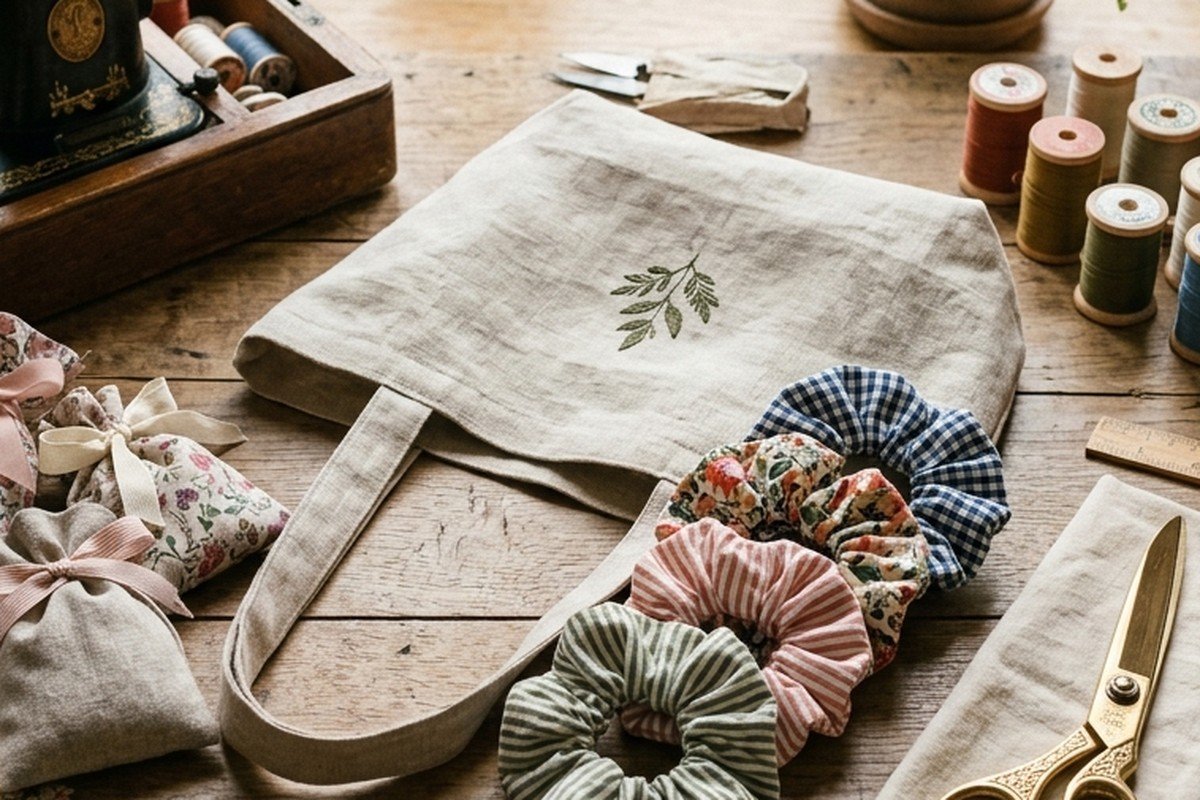
- Cut Fabric: Cut two 4×6 inch rectangles from linen or breathable cotton calico.
- Hem the Top: Press the top edge of each rectangle down by 1/4 inch, then again by 1/2 inch, and topstitch to create a clean finished opening.
- Sew Side & Bottom: Place the pieces right sides together, pin, and stitch the sides and bottom with a 3/8-inch seam allowance. Clip corners and turn right side out.
- Fill & Tie: Fill the pouch 3/4 full with dried organic lavender flowers (or rice infused with 5 drops of essential oil). Tie closed with 12 inches of blush pink or ivory satin ribbon.
4. Quilted Fabric Bookmark Corners
Sew small triangular fabric slip-on bookmarks backed with fusible fleece that fit snugly over book page corners.
5. Easy Envelope Flap Throw Pillowcase
Make a 18×18 inch decorative throw pillow cover with an overlapping envelope back opening—requiring zero zipper installation! Coordinate with our small apartment room decor styling.
6. Reversible Quilted Fabric Mug Rugs
Layer two 6×8 inch cotton fabric rectangles with insulated batting in between, and quilt diagonal grid lines to create washable mini coasters for mugs and snacks.
7. Drawstring Fabric Gift Bags
Replace disposable wrapping paper with reusable cotton drawstring gift pouches closed with natural twill tape.
8. Padded Fabric Sunglass & Eyeglass Case
Line a fabric sleeve with soft fleece or cotton flannel to protect prescription glasses and sunglasses from bag scratches.
9. Reusable Cotton Makeup Remover Rounds
Stitch double-sided 3-inch circles combining patterned cotton with bamboo terry cloth for sustainable, zero-waste skincare cleansing.
10. Fabric Key Fob Wristlets
Enforce cotton webbing with patterned fabric strips and crimp metal key fob hardware onto the ends for hands-free keychain carrying.
11. Insulated Coffee Cup Sleeves
Create curved fabric wraps lined with Insul-Bright thermal fleece and velcro closures to protect fingers from hot takeout coffee cups.
12. Hanging Fabric Wall Pocket Organizer
Stitch tiered patch pockets onto a heavy canvas backing mounted on a wooden dowel for mail, craft scissors, and sunglasses storage.
13. Over-the-Collar Dog Bandanas
Sew double-sided triangular bandanas with a top collar channel that slides directly over your pet’s standard collar.
14. Padded E-Reader / Tablet Sleeve
Construct a foam-interfaced protective sleeve with an elastic cord and vintage button-loop closure.
15. Vintage Mason Jar Pin Cushion Topper
Stuff a fabric puff with fiberfill, glue onto a mason jar canning lid ring, and store spare buttons inside the glass jar below.
Detailed Instructions for Projects 4 through 15
4. Quilted Fabric Bookmark Corners
Cut three 3.5×3.5 inch fabric squares. Fold one square diagonally in half with wrong sides together to create a triangle, press with an iron, and fuse lightweight interfacing inside. Sandwich this folded triangle between the remaining two right-side-facing fabric squares, stitch around all four edges leaving a 1.5-inch turning gap, clip corners, turn right side out, and topstitch 1/8 inch from the edge to close the gap.
5. Easy Envelope Flap Throw Pillowcase
To fit a standard 18×18 inch pillow form, cut one front square measuring 18×18 inches and two back panels measuring 18×13 inches each. Hem one long edge of each back panel by folding 1/2 inch twice. Place the front panel right side up, layer both back panels right side down so they overlap in the middle by 4 inches, pin around all four outer edges, and sew with a 1/2-inch seam allowance. Turn right side out for a zipper-free decorative cushion.
6. Reversible Quilted Fabric Mug Rugs
Layer two 6×9 inch cotton prints right sides facing together on top of a 6×9 inch rectangle of natural cotton quilt batting. Pin all layers securely, stitch around the perimeter with a 1/4-inch seam, leaving a 2-inch gap, turn right side out, and press with a steam iron. Quilt parallel diagonal lines 1 inch apart across the surface with contrasting thread to create a washable tabletop mug rug.
7. Drawstring Fabric Gift Bags
Cut two 8×10 inch cotton rectangles. Hem the top 2 inches down to create a 1-inch hollow casing. Stitch the side and bottom seams together, stopping just below the casing openings. Thread 24 inches of cotton twill tape or satin ribbon through the casing with a bodkin or safety pin for eco-friendly gift wrapping.
8. Padded Fabric Sunglass & Eyeglass Case
Cut two 4×7.5 inch outer cotton pieces and two 4×7.5 inch soft flannel lining pieces. Fuse fleece interfacing to the wrong side of the outer cotton. Sew outer pieces right sides together, sew lining pieces right sides together leaving a turning opening, nest the sleeves, stitch around top opening, turn right side out, and topstitch closed.
9. Reusable Cotton Makeup Remover Rounds
Use a drinking glass to trace 3.5-inch circles onto patterned cotton scraps and organic bamboo terry cloth. Pair one cotton circle with one terry cloth circle right sides together, stitch around with a 1/4-inch seam leaving a 1-inch gap, turn, press, and topstitch perimeter to produce washable skincare pads.
10. Fabric Key Fob Wristlets
Cut a 3×11 inch strip of patterned cotton and a 1×11 inch strip of heavy cotton webbing. Fold the fabric edges around the webbing and topstitch down both edges. Fold the strap in half, clamp a 1-inch metal key fob hardware piece over the raw ends with pliers, and attach a split key ring.
11. Insulated Fabric Coffee Cup Cozies
Cut a curved wrap template matching a standard takeout coffee cup. Layer outer cotton, Insul-Bright thermal fleece, and lining fabric. Stitch the perimeter, turn, topstitch, and sew a 1-inch strip of hook-and-loop Velcro to the ends for adjustable mug wrapping.
12. Hanging Fabric Wall Pocket Organizer
Sew three tiered hemmed pockets onto a 12×20 inch heavy cotton canvas background. Stitch vertical divider lines through the pockets to create storage slots for craft scissors, rotary cutters, and rulers, then mount onto a wooden dowel with hanging cord.
13. Over-the-Collar Dog Bandanas
Cut two triangular pieces of cotton fabric. Hem the top edge with a 1.5-inch channel so your pet’s standard collar can slide through. Sew the remaining two diagonal edges right sides together, turn, and press for an effortless holiday pet accessory.
14. Padded E-Reader / Tablet Sleeve
Construct an 8×10 inch pouch padded with 1/4-inch foam interfacing. Insert a small elastic cord loop into the top center seam and sew a vintage tortoiseshell button on the front flap for closure.
15. Vintage Mason Jar Pin Cushion Topper
Cut a 6-inch circle of linen fabric. Place a tennis-ball-sized puff of polyester fiberfill in the center, place the metal flat lid of a canning jar behind it, gather the fabric tightly around the back with hot glue, and screw the outer metal band on for a dual-purpose pincushion and button storage jar.
Frequently Asked Questions (FAQ)
Q: What is the best fabric for complete beginner sewists?
A: 100% medium-weight quilter’s cotton or cotton linen blend is the best starter fabric. It holds crisp iron presses, feeds smoothly under the machine presser foot without slipping, and does not stretch out of shape like knit or jersey fabrics.
Q: Why are my sewing machine stitches bunching up in a nest on the bottom of the fabric?
A: Thread bunching beneath the fabric (called a “bird’s nest”) is almost always caused by an unthreaded upper tension disc. Rethread your top thread with the presser foot raised all the way UP so the thread seats properly into the tension discs, and ensure your bobbin is inserted in the correct counter-clockwise orientation.
Q: Do I need to backstitch at the beginning and end of every seam?
A: Yes! Stitch forward 3 stitches, hit reverse for 3 stitches to lock the knot, and then stitch your seam. Repeating this at the end prevents your stitches from unraveling when the finished project is turned right side out or washed.

