
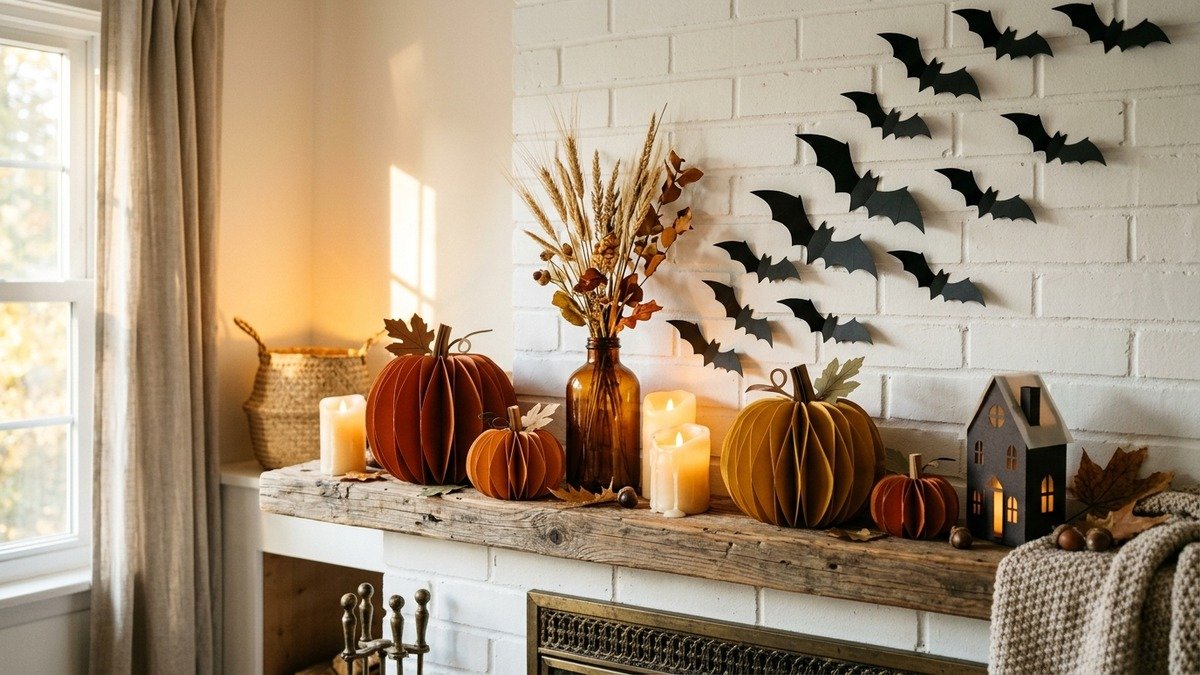
Construction paper often carries a reputation as an elementary classroom staple meant only for messy glue sticks and flat cutouts. When you approach standard paper with intentional folds, sharp scoring lines, and a warm earthy color palette, simple paper transforms into sculptural autumn home decor. Creating halloween crafts using construction paper allows you to decorate your mantel, dining table, and walls on a modest budget without sacrificing sophistication.
By replacing garish neon sheets with muted terracotta, charcoal black, mustard yellow, and warm cream, your handmade projects take on a refined modern bohemian presence. Heavyweight construction paper and cardstock hold crisp creases that cast dramatic physical shadows across white walls and rustic timber. According to the EPA Paper and Paperboard Recycling data, paper materials represent one of the highest recovered domestic commodities, making mindful paper crafting an environmentally responsible choice for seasonal decorating.
Quick Answer: How to Make Aesthetic Halloween Crafts Using Construction Paper
To create elevated halloween crafts using construction paper, select 65 lb to 80 lb heavyweight sheets in muted earth tones such as charcoal black, burnt ochre, and warm linen cream. Score fold lines precisely using a bone folder and metal ruler rather than folding by hand to prevent paper fibers from cracking. Assemble 3D accordion pumpkins, dimensional wall bats, and pinhole luminaries using dry double-sided craft tape instead of liquid glue to avoid surface puckering. Finish each piece with organic accents like real cinnamon stick stems, jute twine ties, and warm battery-operated LED tea lights for cozy autumn ambiance.
Unlike flat card cutouts that easily bend or peel off doorframes, dimensional paper crafts possess structural integrity that lasts through the entire fall season. Following proper archival folding and scoring techniques recommended by the National Archives paper preservation standards ensures that paper fibers bend cleanly without tearing along the ridge. Combining construction paper with rustic organic elements like dried wheat, cinnamon sticks, and jute cord grounds the paper in tactile warmth. For additional autumn inspiration, you can explore our complete paper halloween crafts tutorial collection to see how paper art enhances your seasonal interior.
1. Essential Supplies and Paper Selection for Elevated Crafts
Clean results in paper crafts come down to choosing the right tools before you make your first cut. Standard lightweight school paper often wrinkles when glued and flops under its own weight. Choosing the proper paper weight and adhesive transforms an ordinary afternoon craft into heirloom-quality fall decor.
Here are the key materials you need on your maker table:
- Heavyweight construction paper or cardstock (65 lb to 80 lb): Standard 176 gsm to 216 gsm sheets provide structural stiffness for standing pumpkins and winged bats. Stick to earthy tones like matte black, slate gray, burnt orange, mustard, and unbleached cream.
- Bone folder tool: A smooth bone or plastic folder creases fibers cleanly without burnishing shiny streaks onto matte construction paper.
- Steel-edged ruler: Essential for guiding precision cuts and providing a rigid straightedge for scoring fold lines.
- Precision craft knife and self-healing mat: Clean blades ensure crisp edges on intricate silhouette cuts without paper fuzz or fraying.
- Dry double-sided adhesive tape: Strong double-sided tape bonds accordion folds instantly without introducing moisture that warps paper sheets.
- Natural botanical accents: Real cinnamon sticks, twisted grapevine tendrils, dried wheat stems, and polished wooden beads complete the rustic aesthetic.
- LED illumination: Battery-powered micro wire lights and flameless tea lights provide gentle candle flicker without fire risk to paper crafts.
Paper Weight and Performance Comparison
Choosing the appropriate paper stock determines how cleanly your folds hold and if your projects remain upright on display. The table below outlines how common paper varieties perform across seasonal crafting techniques.
2. Project 1: Accordion Pleated 3D Paper Pumpkins
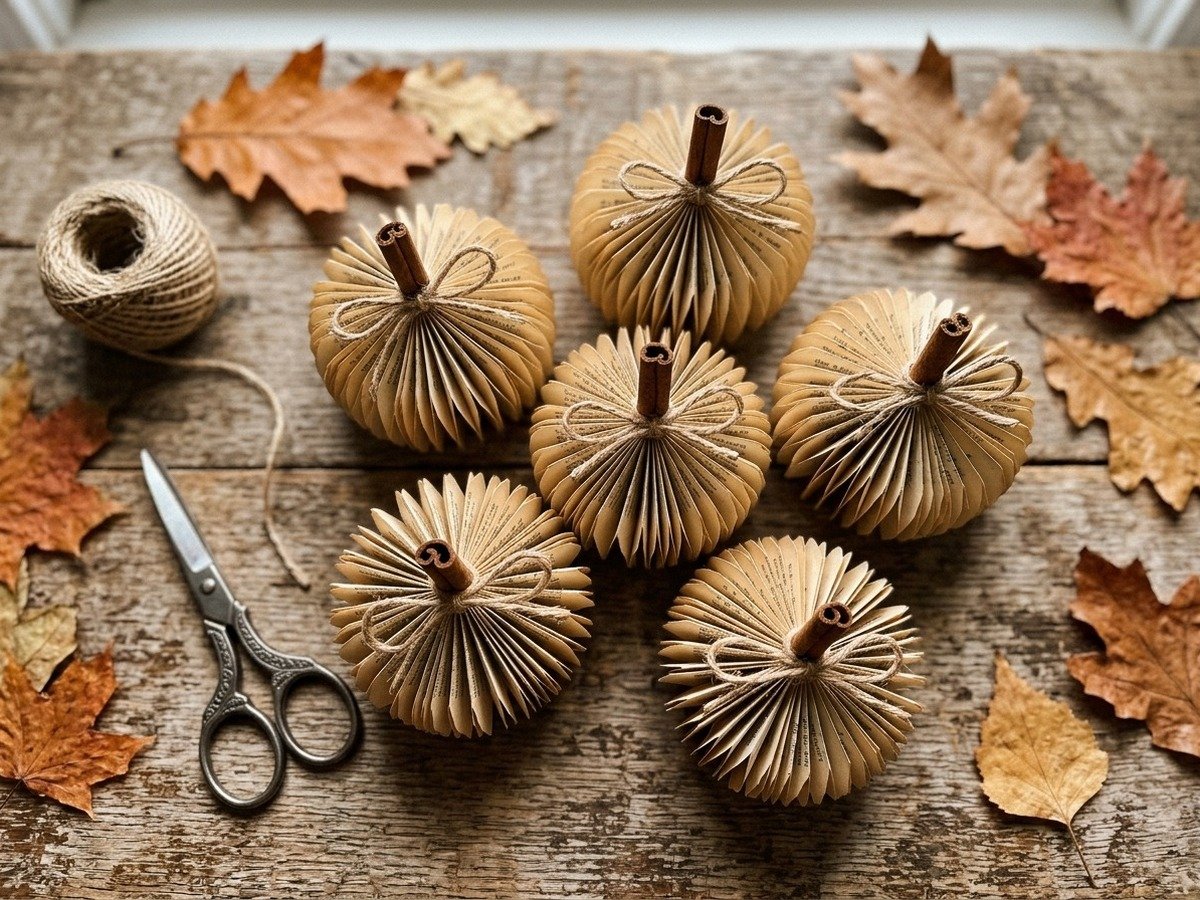
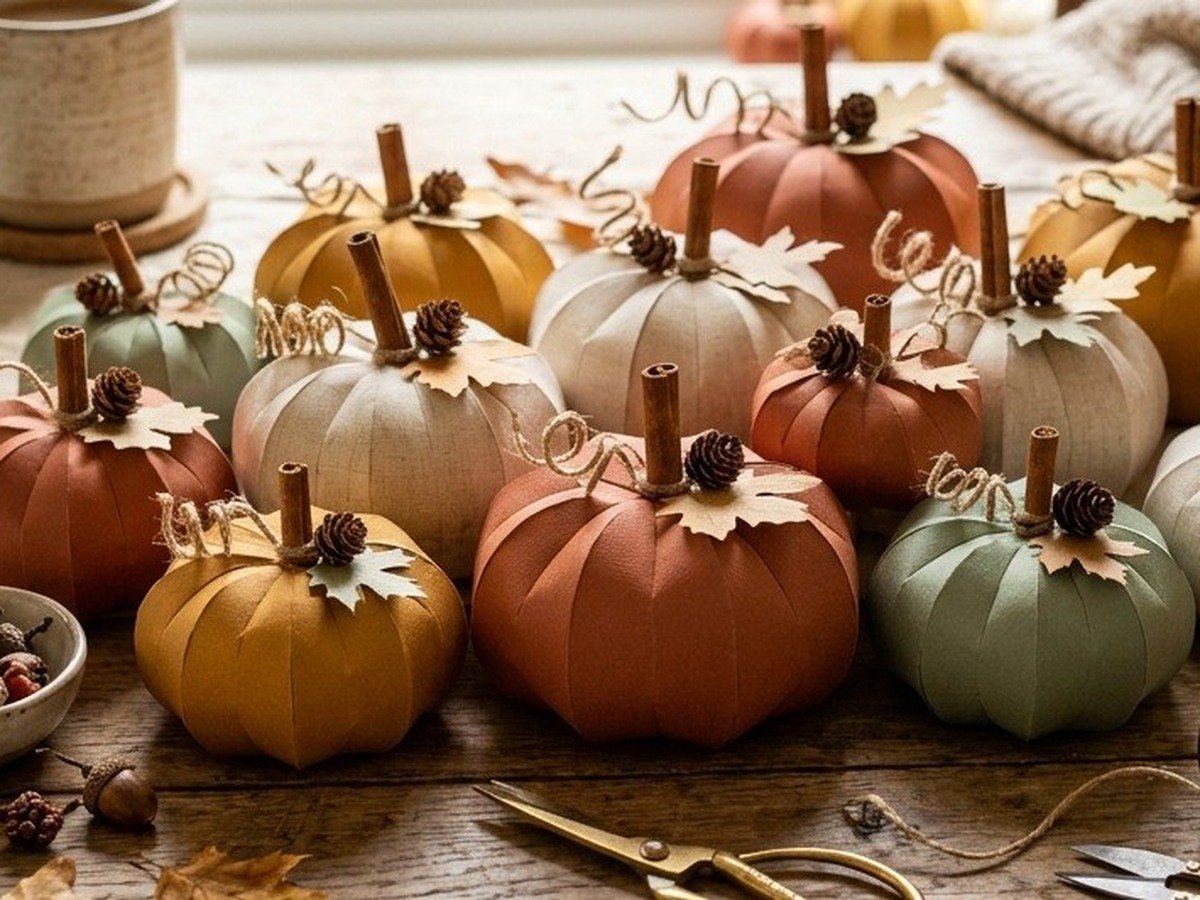
Accordion pleated pumpkins are among the most satisfying paper builds because they look intricate while relying on a straightforward repeating fold. By scoring narrow strips of orange, mustard, or olive construction paper, you create round sculptural spheres that sit proudly on tabletops, shelves, and entry credenzas.
To construct a medium 5-inch pumpkin, cut three strips of construction paper measuring 4 inches wide by 12 inches long. Using your steel ruler and bone folder, score vertical lines across each strip at half-inch intervals. Accordion fold each strip back and forth along the scored lines until you produce three tight pleated fans.
Connect the three pleated strips end to end using strong double-sided tape, forming one continuous accordion loop. Thread a 10-inch length of jute twine through the bottom folds of the loop, pull tight, and knot securely underneath to gather the bottom into a bowl shape. Gather the top slightly around a 2-inch cinnamon stick, apply a dab of hot craft glue, and press the paper firmly against the wood. Wrap a coiled piece of twine around the stem to mimic real garden tendrils. For another take on dimensional gourds, take a look at our craft paper pumpkin project guide for full pattern templates.
3. Project 2: Scored Architectural 3D Wall Bats
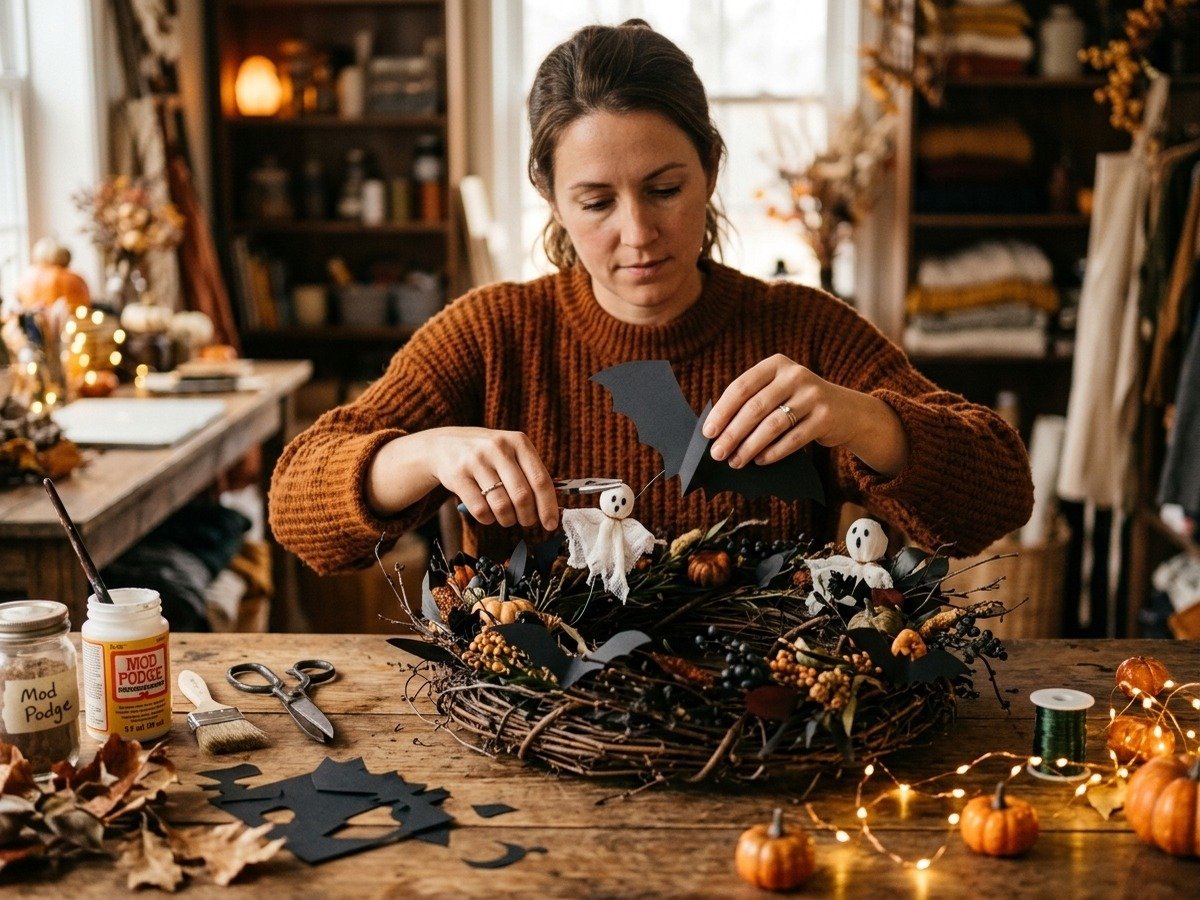
Nothing alters a room quite as dramatically as a swarm of black paper bats ascending across a fireplace or up a stairwell. Flat paper bats often look like stickers, but scoring precise wing creases gives each bat wings that hover outward in realistic flight.
Cut bat silhouettes from heavyweight black construction paper or 65 lb cardstock in three distinct sizes: 7 inches, 5 inches, and 3.5 inches wide. Instead of folding the bat in half down the middle, score two parallel lines along each side of the central body spine. Then, score a soft diagonal line across each wing where the elbow joint naturally bends.
Gently bend the wings forward and pinch the body spine outward. When you mount the flat body section to your wall using removable mounting putty or painter tape tabs, the wings remain angled toward the viewer. As overhead room lamps or candles flicker, the wings cast authentic drop shadows across your wall paint. Arrange your bats in an organic curved wave that begins tight near the hearth and scatters wider near the ceiling to suggest natural flock motion.
4. Project 3: Pierced Silhouette Tea Light Luminaries
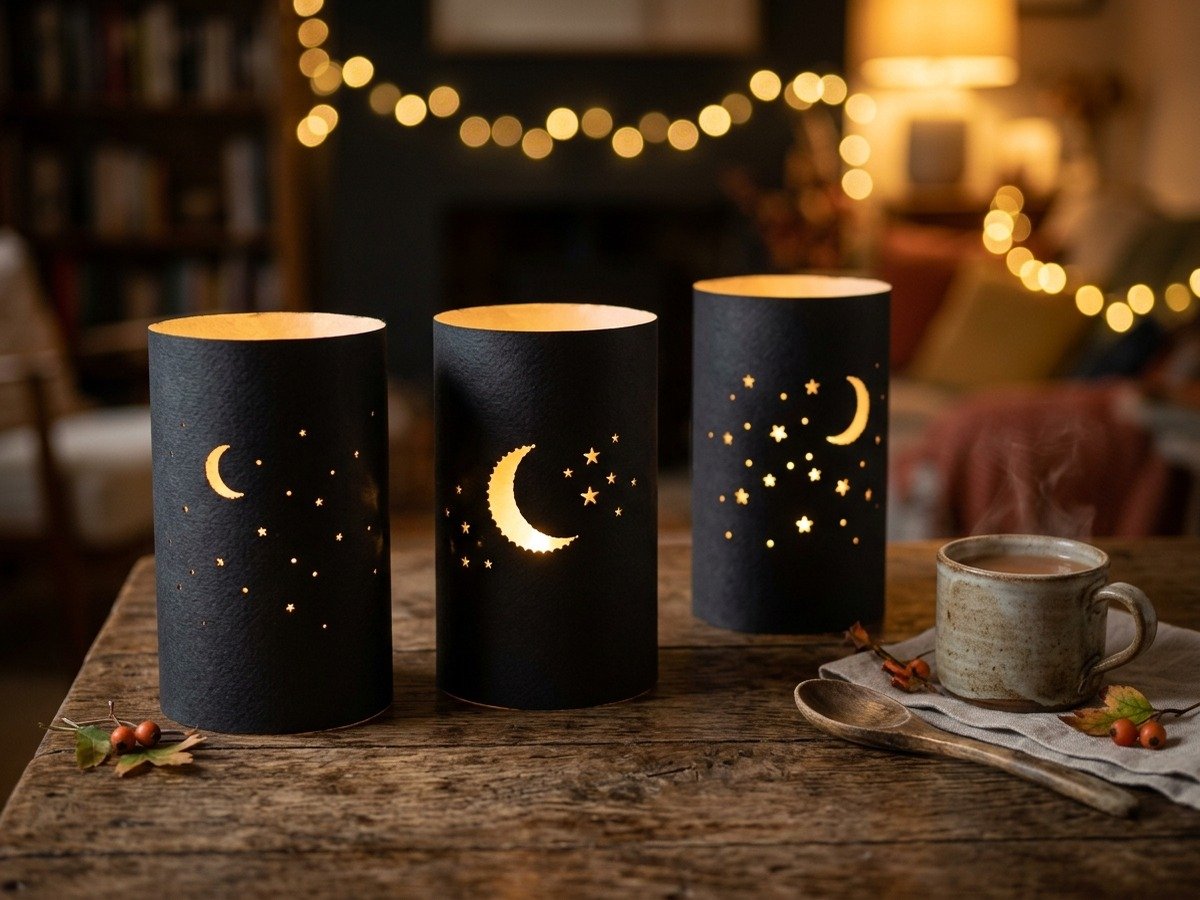
Pierced paper luminaries bring a gentle lantern glow to dark October evenings without requiring intricate cutting skills. By piercing tiny needle holes through dark paper wraps, glowing patterns appear when an LED tea light illuminates from behind.
Begin with a sheet of charcoal black or deep espresso construction paper cut to 5 inches tall and 10 inches wide. On the reverse side of the paper, lightly sketch simple Halloween outlines using a white pencil, such as crescent moons, dancing skeletons, or spider webs. Place your paper onto an old cork trivet or mouse pad to cushion your work surface.
Using a thick embroidery needle or awl, punch clean holes along your sketched lines at quarter-inch intervals. Vary the size of your pinholes by pushing the needle further through the paper on focal points to create brightness depth. Roll the paper into a cylinder, tape the back seam with clear double-sided tape, and slip the sleeve over a battery-powered LED tea light. Never use real open flame candles inside paper wraps. The tiny light points twinkle like stars across your tabletop.
5. Project 4: Layered Paper Ghost Rosettes and Bunting
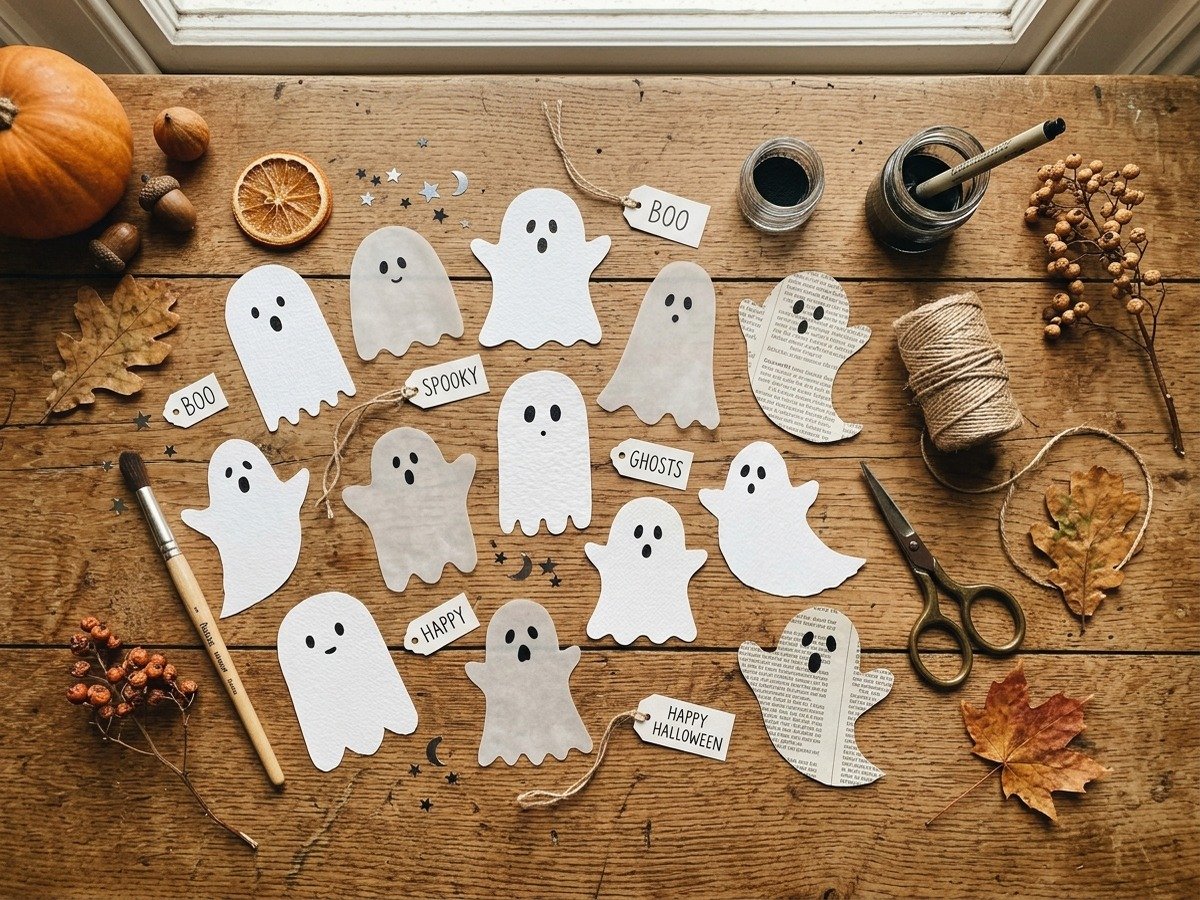
Paper rosettes bring retro charm and rich textural layers to holiday garlands. Crafting friendly floating ghosts from warm cream paper rounds creates cheerful accents that soften dark seasonal displays.
To assemble a ghost rosette, fold two 3-inch by 12-inch strips of cream construction paper into tight accordion folds. Glue the ends together to form a pleated wheel, pressing the center down flat onto a small scrap circle coated with craft glue. Hold the center flat with a pebble until the adhesive bonds.
Cut flowing wavy ghost tails from remaining cream paper and affix them beneath the bottom of the rosette. Add two small oval eyes punched from black paper to the center of the medallion. String several ghost rosettes onto a length of twisted jute cord alongside wooden beads and dried orange slices for a striking hearth accent. This project pairs effortlessly with our diy fall garland styling ideas to build layered texture above your fireplace.
6. Projects 5 and 6: Haunted Silhouette Village and Folded Favor Cones
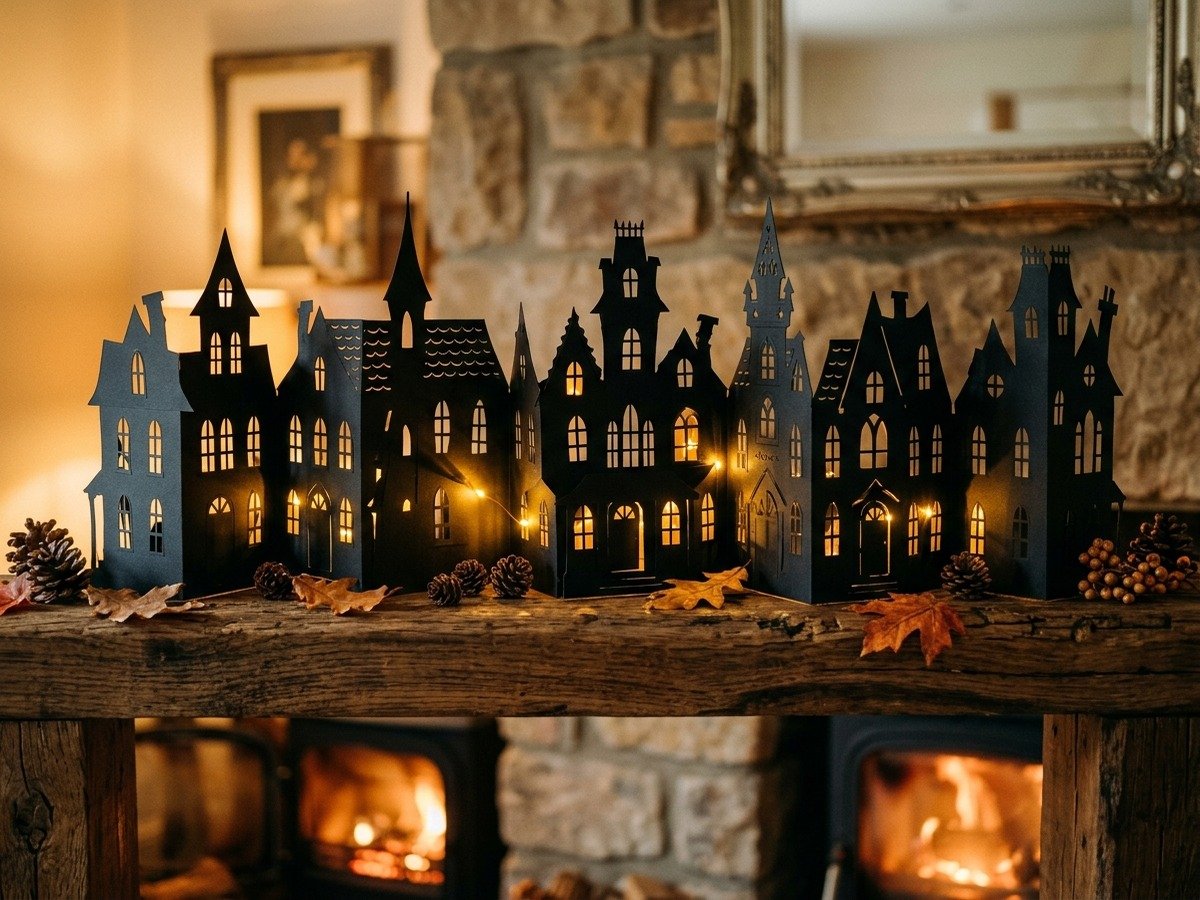
Dimensional village silhouettes create architectural interest on deep window sills, sideboards, and floating bookshelves. Instead of buying ceramic display houses, you can craft a moody miniature street scene using matte black construction paper.
Fold a long sheet of black cardstock in an accordion zig-zag with 4-inch wide panels. On the front face of each panel, draw varying rooflines, crooked chimneys, and tall gothic window arches. Cut out the window panes using your precision craft knife on a cutting mat. When you stand the folded paper on edge, the zig-zag folds support the paper upright without extra braces. Tuck amber micro fairy lights behind the houses so golden rays spill through the open windows.
For smaller party treats and place settings, folded witch hat cones serve as delightful containers for wrapped sweets. Cut a half-circle from black construction paper, roll the curved edge toward the point to form a tall cone, and secure the seam with double-sided tape. Cut a circular base 1.5 inches wider than the cone opening, slice an inner star pattern, and slide the brim upward over the cone base. Tie a narrow band of velvet ribbon or jute around the brim for a polished finish that delights dinner guests.
7. Project 7: Botanical Dried Branch Hanging Mobile
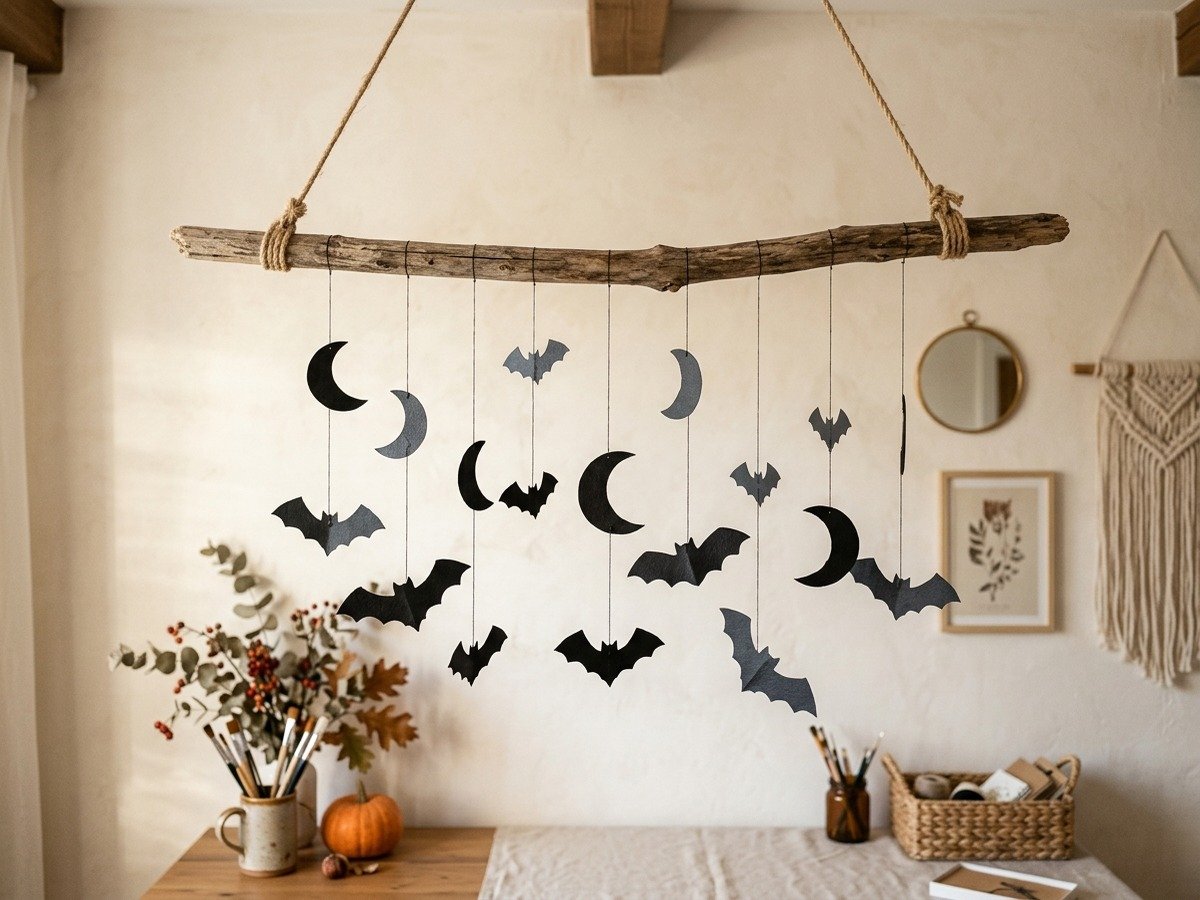
Suspended mobiles bring kinetic movement to your autumn decor, catching gentle air currents as people move through the room. Combining paper silhouettes with weathered outdoor branches bridges natural textures with graphic paper shapes.
Find a clean fallen branch roughly 24 to 30 inches long with interesting branching twigs. Suspend the branch horizontally from your ceiling or porch beam using two strands of clear monofilament fishing line or natural twine. Cut silhouette shapes of flying bats, resting ravens, and crescent moons from double-sided black construction paper so the dark color shows from all angles.
Tie individual lengths of black sewing thread or thin jute twine to each paper shape, varying the hanging lengths from 6 to 18 inches. Knot each thread onto the branch twigs, balancing the weight evenly along the limb so the mobile hangs level. The subtle twirling of the silhouettes creates shifting shadows on surrounding walls. Outdoor safety recommendations from the Oregon State University Extension Service highlight inspecting natural fallen wood for clean, dry bark before bringing branches indoors for seasonal home crafts. This suspended display makes an inspiring companion piece to a front door accent like our diy halloween wreath door accents.
8. Styling Tips and Seasonal Storage for Paper Decor
Displaying paper crafts successfully relies on intentional layering. Paper pieces look best when paired with contrasting materials like rustic ceramics, tarnished brass candle holders, woven baskets, and raw timber. Group your 3D paper pumpkins in odd-numbered clusters on an entry console, tucking real dried oak leaves and mini pinecones between the bases to create depth.
Keep paper decor away from moisture sources like open windows, steamy bathroom areas, and kitchen sinks. High humidity causes construction paper fibers to absorb moisture, leading to curled edges and weakened creases. When lit exclusively by cool-running LED pucks and fairy lights, paper items remain fresh and pristine for weeks.
When November arrives, pack your dimensional paper crafts carefully so you can enjoy them again next autumn. Gently compress accordion pumpkins flat along their original fold lines and slide them into cardboard document envelopes. Store paper bats flat between sheets of clean cardstock inside a shallow plastic storage bin kept in a climate-controlled closet. To learn more about creating year-round sustainable paper home accents, visit our guide on aesthetic paper crafts for adults.
Frequently Asked Questions
What is the best paper weight for 3D construction paper crafts?
Heavyweight construction paper between 65 lb and 80 lb (176 gsm to 216 gsm) offers the fitting balance. It is sturdy enough to hold sharp scored creases and support its own weight without cracking or flopping, while remaining easy to cut cleanly with standard scissors.
How do I stop construction paper from fading in sunlight?
Standard construction paper contains unrefined wood pulp that fades rapidly in direct UV light. Keep your paper crafts away from sunny south-facing windows, or choose acid-free, fade-resistant heavyweight cardstock sheets if your room receives abundant daylight.
Which adhesive works best without warping construction paper?
Dry double-sided adhesive tape and glue dots are the gold standard because they contain zero moisture. Liquid white glues like school PVA cause paper to buckle, wrinkle, and dry unevenly, while hot glue can leave bulky lumps between thin paper seams.
How do you stick 3D paper bats to walls without peeling paint?
Use small pea-sized balls of removable poster putty or delicate-surface painter tape rolled into small cylinders. Avoid standard foam mounting squares or heavy craft tape, which can tear delicate drywall paper or strip paint finishes upon removal.

