
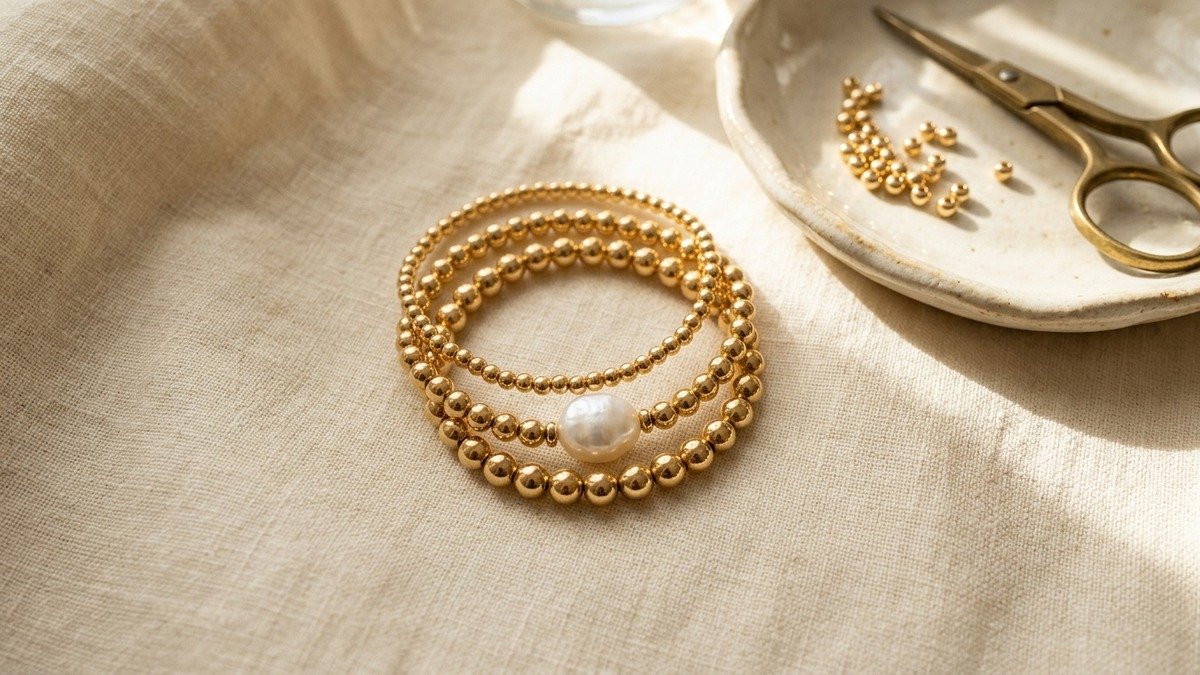
If you have browsed luxury boutique jewelry counters lately, you have certainly noticed the rise of delicate, gleaming beaded bracelets. Brands like Gorjana and Enewton often price a single gold bead stretch strand anywhere between forty-five and eighty-five dollars.
What many shoppers do not realize is that you can handcraft the exact same heirloom-grade bracelet at home in fifteen minutes for under twelve dollars. When you use authentic 14k gold-filled beads paired with professional jeweler elastic, your finished piece will never chip, peel, or turn your skin green.
This complete maker guide walks you through the metallurgic truth behind gold-filled findings, exact bead count mathematics for every wrist size, and the double surgeon knot technique that ensures your bracelets last for decades without snapping.
Quick Answer: What Is a Gold-Filled Beaded Bracelet?
A gold-filled beaded bracelet is an elastic or wire-strung piece made from seamless beads featuring a thick layer of solid 14k gold mechanically pressure-bonded to a jeweler brass core. By regulatory standard, gold-filled items contain at least 5% (1/20th) pure gold by total weight, which is over one hundred times thicker than standard flash gold plating.
Key takeaway: When crafted with 0.7mm Stretch Magic elastic and sealed with G-S Hypo Cement, a handmade gold-filled bracelet is 100% water resistant, hypoallergenic, and tarnish-proof through daily wear, exercise, and hand washing for 10 to 30 years.
Maker Project Summary at a Glance
- Primary Beads: 14k Yellow Gold-Filled seamless round beads (14/20 certified).
- Best Bead Sizes: 3mm (dainty everyday), 4mm (classic standard), and 5mm (statement stacker).
- Recommended Cord: 0.7mm Stretch Magic clear elastic or Opelon flat stretch fiber.
- Essential Adhesive: G-S Hypo Cement with precision needle tip applicator (never super glue).
- Skill Level & Build Time: Beginner friendly, roughly 15 to 20 minutes per strand.
- Average Material Cost: $8.50 to $12.00 per finished bracelet (saves over 75% off retail).
1. The Metallurgic Truth: Gold-Filled vs Gold-Plated vs Solid Gold
Before purchasing a single pack of beads, every jewelry maker must understand why metal quality determines the entire lifespan of your creation. In fast fashion jewelry, the term gold is tossed around loosely, often leaving crafters disappointed when their shiny creations turn dull brown within weeks.
Standard gold-plated beads receive a microscopic electrical bath that deposits less than 0.05% of gold onto a cheap base metal. Friction against your wrist and natural skin oils will strip that microscopic layer in a matter of days. In contrast, 14k gold-filled beads undergo extreme heat and mechanical pressure to bond thick sheets of solid 14-karat gold onto a core of jeweler brass.
Under guidelines enforced by the Federal Trade Commission jewelry trade guides, any item labeled 14/20 gold-filled must legally contain a full 5% karat gold by total weight. For a deeper breakdown of identifying authentic precious metals at home, explore our guide on how to tell if jewelry is real gold.
As detailed by official precious metal definitions on gold-filled jewelry metallurgy standards, this thick mechanical barrier prevents moisture and air from ever reaching the base core. You receive the exact visual luster, skin-safe hypoallergenic properties, and longevity of solid 14k gold at a tiny fraction of the cost.
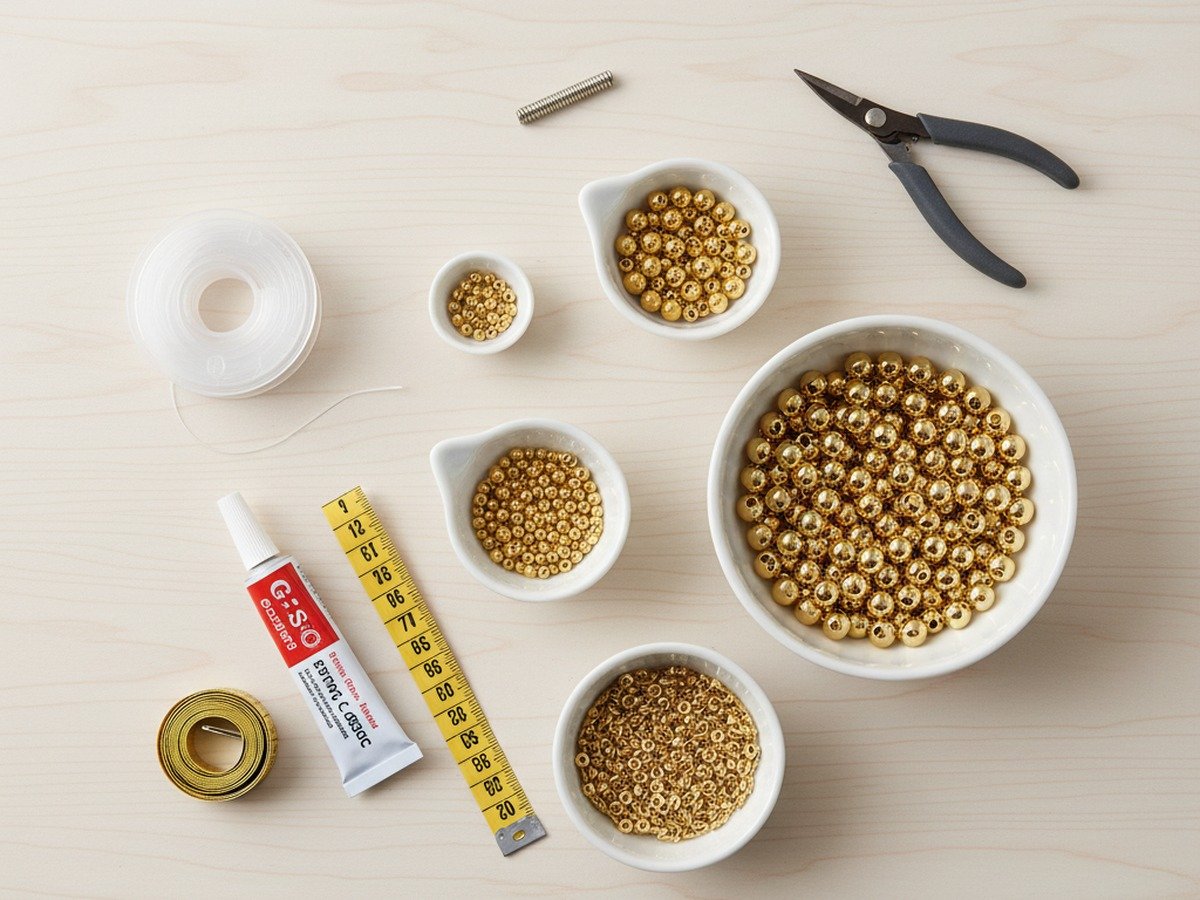
| Metal Classification | Gold Content (% by Wt.) | Bonding Process | Water & Sweat Safe? | Expected Lifespan | Cost per Bracelet |
|---|---|---|---|---|---|
| 14k Gold-Filled (14/20) | 5.0% (1/20th) | Mechanical pressure & heat rolling | Yes, 100% daily wear | 10 to 30 years | $8.50 – $12.00 |
| Gold Vermeil | ~1.5% to 2.5% | Heavy electroplate on sterling silver | Moderate (remove for swimming) | 2 to 5 years | $14.00 – $22.00 |
| Standard Gold Plated | < 0.05% | Quick flash electroplating | No (flakes, tarnishes green) | 2 to 6 weeks | $1.50 – $3.00 |
| Solid 14k Gold | 58.3% pure gold | Homogeneous solid alloy | Yes, lifetime resistant | Generational (50+ years) | $140.00 – $260.00 |
2. Essential Supplies and Bead Sizing Mathematics
The secret to making high-end beaded bracelets lies in choosing the right diameter beads and matching them with the correct cord gauge. When your cord is too thick, your knot will be bulky and refuse to hide inside the bead hole. When your cord is too thin, the sharp inner rim of metal beads will saw through the elastic over time.
Through years of testing, 0.7mm Stretch Magic clear elastic cord has proven to be the undisputed champion for gold beads. It provides ample tensile strength while maintaining enough flexibility to tie tight, microscopic surgeon knots that slip effortlessly into a standard bead hole.
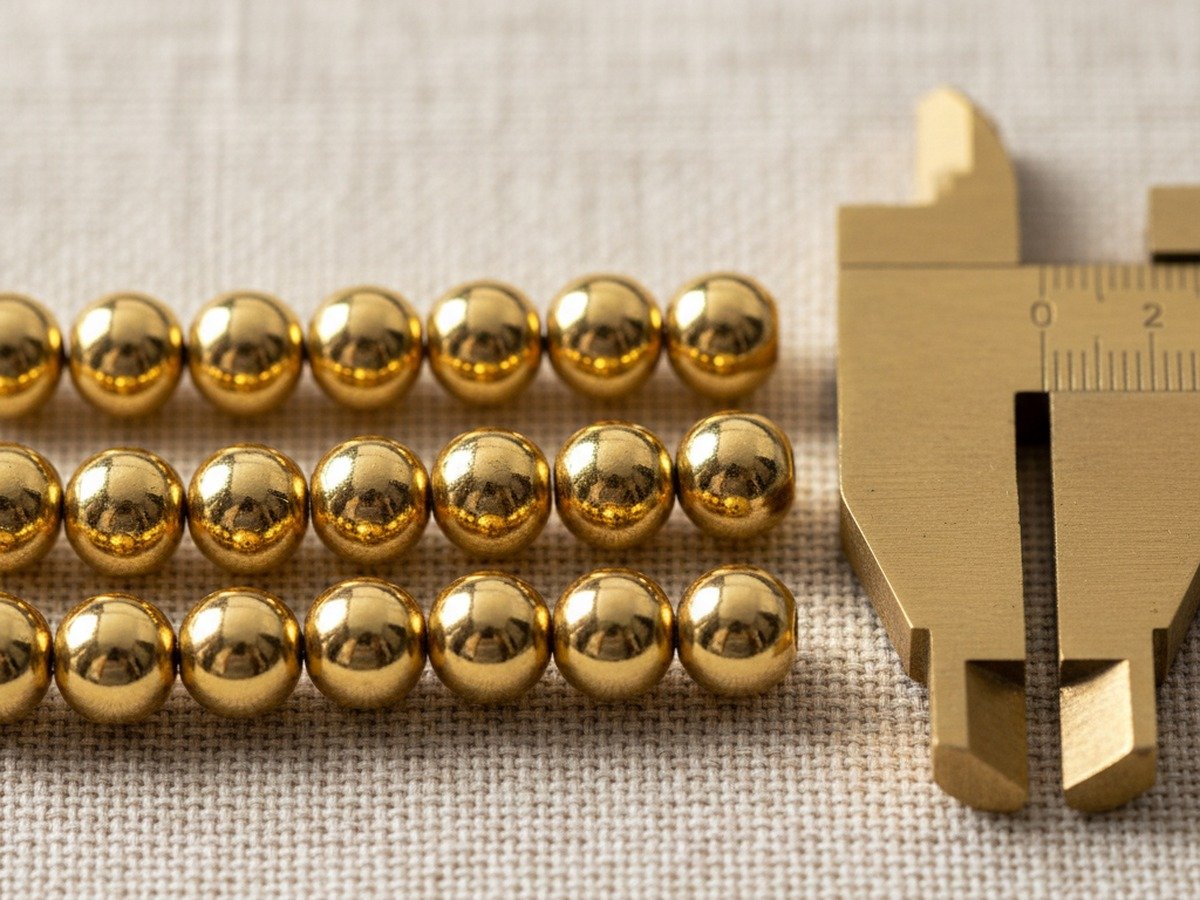
To calculate how many beads you need, measure your wrist with a flexible sewing tape right at the wrist bone. Add exactly half an inch (0.5″) for a comfortable, drape-free fit that rolls smoothly over your hand without pinching skin. If you love pairing gold beads with colorful accents, check out our popular guide to preppy clay bead bracelet ideas for complementary sizing tips.
| Wrist Circumference | Finished Bracelet Length | 3mm Beads Count | 4mm Beads Count | 5mm Beads Count | Recommended Hole Size |
|---|---|---|---|---|---|
| 5.5 inches (Petite) | 6.0 inches (152 mm) | 50 – 51 beads | 38 beads | 30 beads | 1.0 mm – 1.2 mm |
| 6.0 inches (Small) | 6.5 inches (165 mm) | 54 – 55 beads | 41 – 42 beads | 33 beads | 1.2 mm – 1.4 mm |
| 6.5 inches (Standard Medium) | 7.0 inches (178 mm) | 58 – 60 beads | 44 – 45 beads | 35 – 36 beads | 1.2 mm – 1.5 mm |
| 7.0 inches (Large) | 7.5 inches (190 mm) | 63 – 64 beads | 47 – 48 beads | 38 beads | 1.2 mm – 1.5 mm |
| 7.5 inches (Plus Size) | 8.0 inches (203 mm) | 67 – 68 beads | 50 – 51 beads | 40 – 41 beads | 1.4 mm – 1.6 mm |
3. Step-by-Step DIY Construction Blueprint
Stringing a stretch bracelet looks deceptively simple, but doing it with professional jewelry longevity requires precise technique. If you make one small mistake during knotting or gluing, the entire strand can pop apart when pulled over a hand. Follow these six refined steps for a flawless finish.
Step 1: The 30-Second Pre-Stretch Ritual
Cut a ten to twelve-inch piece of 0.7mm Stretch Magic cord. Before threading a single bead, grip each end between your thumbs and forefingers and pull firmly three to four times.
This essential step removes the initial memory slack inherent to extruded polyurethane. If you skip pre-stretching, your bracelet will stretch out permanently within the first week of wear, creating unsightly gaps where bare cord shows between beads.
Step 2: Stringing with a Bead Stopper and Needle
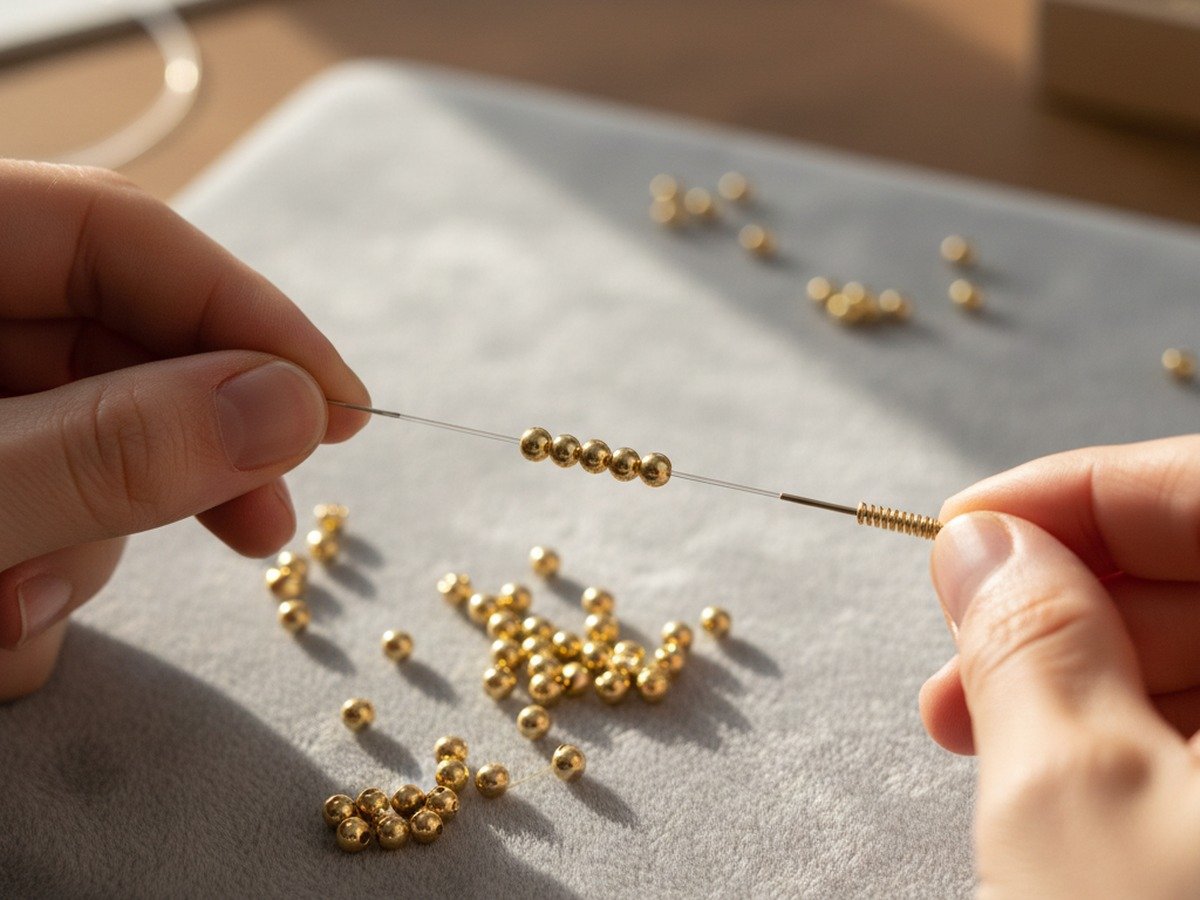
Attach a metal spring bead stopper roughly three inches from one end of the cord. Thread your collapsible eye beading needle onto the working end, or simply use the stiffened tip of the cord.
Begin loading your 14k gold-filled beads onto the cord. If you want to master foundational beading rhythms before tackling precious metals, review our beginner tutorial on how to make beaded bracelets in 7 simple steps.
Step 3: The Indestructible Double Surgeon Knot
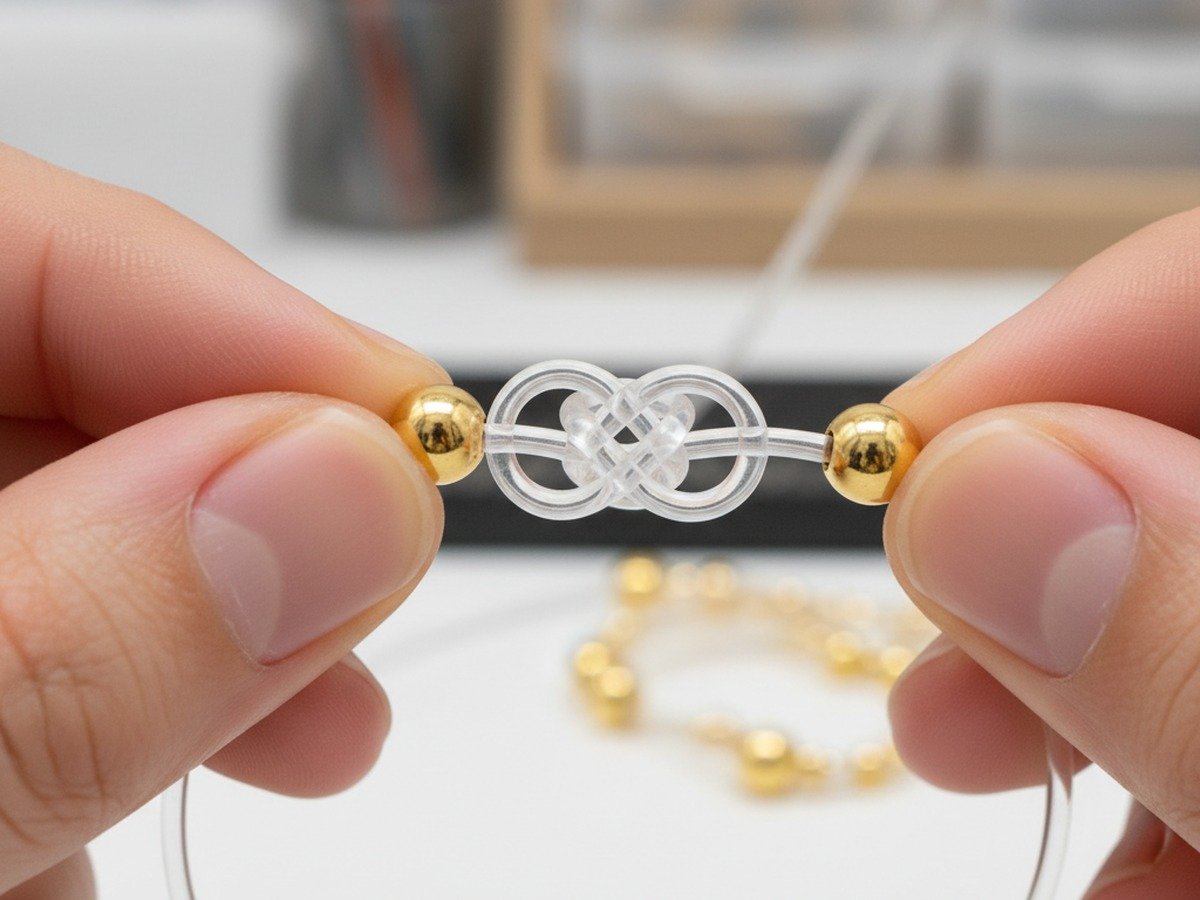
Once your strand reaches the target length, bring both ends together snugly. Remove the bead stopper and cross the left cord over the right cord, passing it through the loop twice instead of once. This double pass creates friction that prevents the knot from slipping open.
Pull both ends to snug the knot down against the beads, taking care not to pull so tight that the bracelet buckles into an oval. Then tie a second double surgeon knot in reverse (right over left twice) directly over the first.
Finally, perform the four-way tension pull: grip both working ends in one hand and the bracelet beads in the other, pulling firmly from all four angles. The knot will lock into a microscopic clear bead.
Step 4: Sealing with G-S Hypo Cement (Never Super Glue)
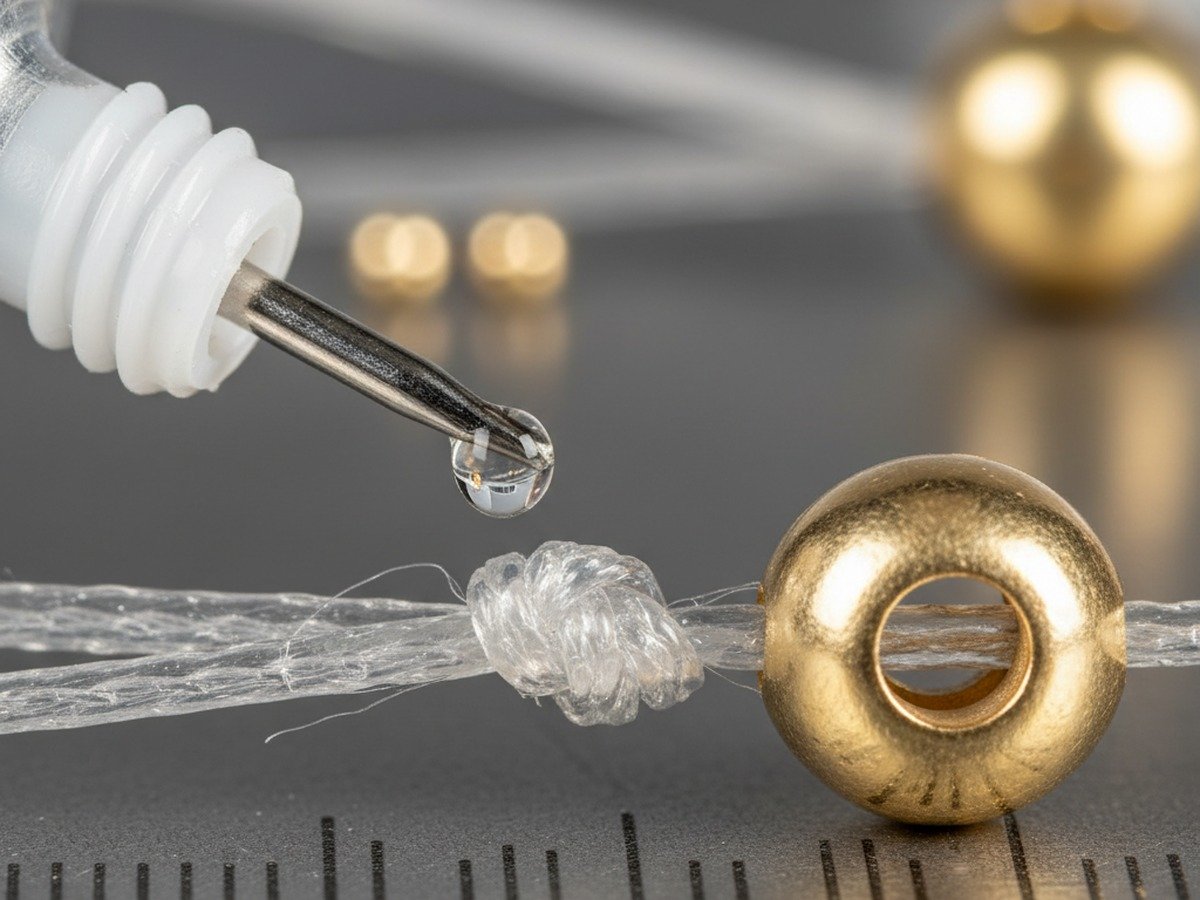
One of the most catastrophic beginner errors is reaching for cyanoacrylate super glue. Super glue dries into rigid, brittle glass that chemically degrades elastic cord, causing it to snap the moment tension is applied.
G-S Hypo Cement is a flexible jeweler adhesive with a micro-fine needle applicator. Place a pinpoint droplet directly onto the knot core, allowing the adhesive to seep between the cord fibers.
Step 5: Concealing the Knot Inside the Bead Cavity
While the cement is still wet, gently pull the adjacent bead over the knot until it disappears inside the bead hole. If you are using 3mm beads with narrow holes, designate one 4mm or 5mm large-hole bead (or a 14k gold-filled crimp cover) as your anchor bead.
Allow the bracelet to cure flat on your worktable for a full twenty-four hours before wearing or trimming the tail ends. Once fully cured, use sharp flush cutters to snip the excess cord tails to one millimeter, letting them rest invisibly inside the bead cavity.
4. Five High-End Stacking Formulas for a Luxury Wrist Stack
The real magic of gold-filled beaded bracelets happens when you stack multiple diameters, textures, and organic accents together. Creating a balanced wrist stack requires varying visual weights so the bracelets complement rather than compete with each other.
Formula 1: The Modern Minimalist Trio
Pair two dainty 3mm smooth gold strands with one classic 4mm gold strand. This combination creates an effortless golden glow that looks like fine jewelry but feels completely weightless during long desk days.
Formula 2: The Organic Coastal Pearl Stack
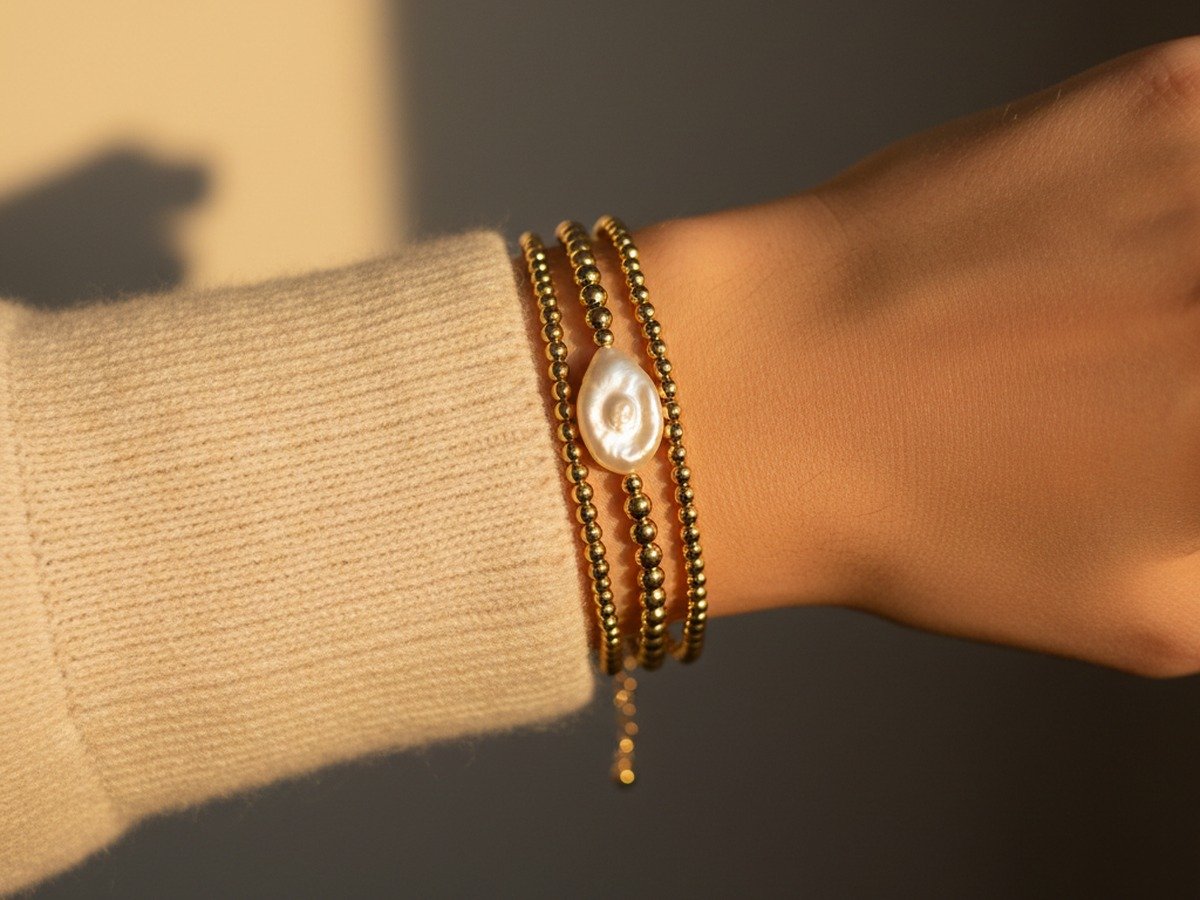
Thread a centerpiece of a single organic baroque freshwater pearl nestled between two 3mm corrugated gold saucer spacer beads, flanked by 4mm smooth gold rounds. Flank this focal strand with two solid gold strands for an editorial Hamptons aesthetic. For floral charm accents, you can also incorporate motifs from our beaded flower bracelet DIY guide.
Formula 3: The Graduated Architectural Stack
Layer one 3mm strand, one 4mm strand, one 5mm strand, and one bold 6mm strand on the same wrist. Arranging them from smallest to largest toward the elbow creates an elongated, sculpted wristline favored by luxury stylists.
Formula 4: Bohemian High-Low Contrast
Intersperse bright 4mm gold-filled beads with neutral terracotta or cream African vinyl disc heishi beads. The matte earthy texture makes the gleaming gold elements pop with warm bohemian energy.
Formula 5: The Heirloom Stamped Charm Stack
Attach a tiny 8mm 14k gold-filled disc charm hand-stamped with a child or partner initial directly onto the center of a 4mm bead strand using an unsoldered 4mm heavy jump ring. If you plan to sell these custom stacks online or at local boutique markets, make sure to read our strategy breakdown on how to price handmade crafts for fair profit.
5. Jewelry Care and the Roll-On Rule
Because your beads have a thick mechanical gold layer, they resist tarnishing even through showers and gym sessions. According to data compiled on USGS precious metals statistical standards, gold maintains non-reactive surface stability under normal atmospheric exposure.
However, the elastic cord inside remains a polymer that responds to physical mechanics. Never put on a stretch bracelet by pulling it open wide like a rubber band.
Instead, follow the roll-on rule: pinch your fingers together into a cone shape and roll the bracelet gently over your hand onto your wrist. Reverse the motion to roll it off at night. This simple habit preserves cord elasticity and guarantees your bracelets stay snug for years.
To clean your gold-filled stack, soak the bracelets in a bowl of warm water mixed with two drops of gentle dish soap for five minutes. Gently buff the beads with an ultra-soft microfiber cloth to lift away sunscreen, lotion, and body oils, restoring their brilliant mirror shine.
Frequently Asked Questions
Can I wear my gold-filled beaded bracelet in the shower or swimming pool?
Yes, daily fresh water showers will not harm 14k gold-filled beads. However, you should remove your bracelets before entering chlorinated swimming pools or saltwater oceans. Harsh chemicals and chlorine can weaken polyurethane elastic cord over time, and heavy salt deposits can dull the polished gold finish.
What is the best elastic cord thickness for gold beads?
The sweet spot is 0.7mm Stretch Magic or Opelon stretch fiber. A 0.5mm cord is too frail and stretches out quickly, while a 1.0mm cord produces knots too large to conceal inside 3mm or 4mm bead holes. A 0.7mm cord provides forty pounds of tensile durability while maintaining a compact knot footprint.
Why did my stretch bracelet break right at the knot?
Knots snap almost exclusively due to using cyanoacrylate super glue or pulling the initial knot too tight while stringing. Super glue crystalizes and turns elastic cord brittle. Always use flexible jeweler cement such as G-S Hypo Cement or E6000, and ensure your knot is pulled with four-way balanced tension rather than brute force.
How can I tell genuine 14k gold-filled beads from fake ones?
Legitimate jewelry wholesalers sell 14k gold-filled beads stamped or packaged under the industry designation 14/20 GF. Authentic gold-filled beads will feel noticeably weightier than aluminum or acrylic imitations and will never stick to a magnet. Always source findings from reputable jewelry supply houses rather than bargain unverified marketplace listings.
What size gold beads are most popular for wrist stacks?
The 4mm seamless round bead is the universal standard for luxury jewelry stacks. It offers enough metallic surface area to reflect light brilliantly while remaining subtle enough to stack three or four high without looking heavy. Incorporating one 3mm strand and one 5mm strand creates the ideal high-low textural balance.

