
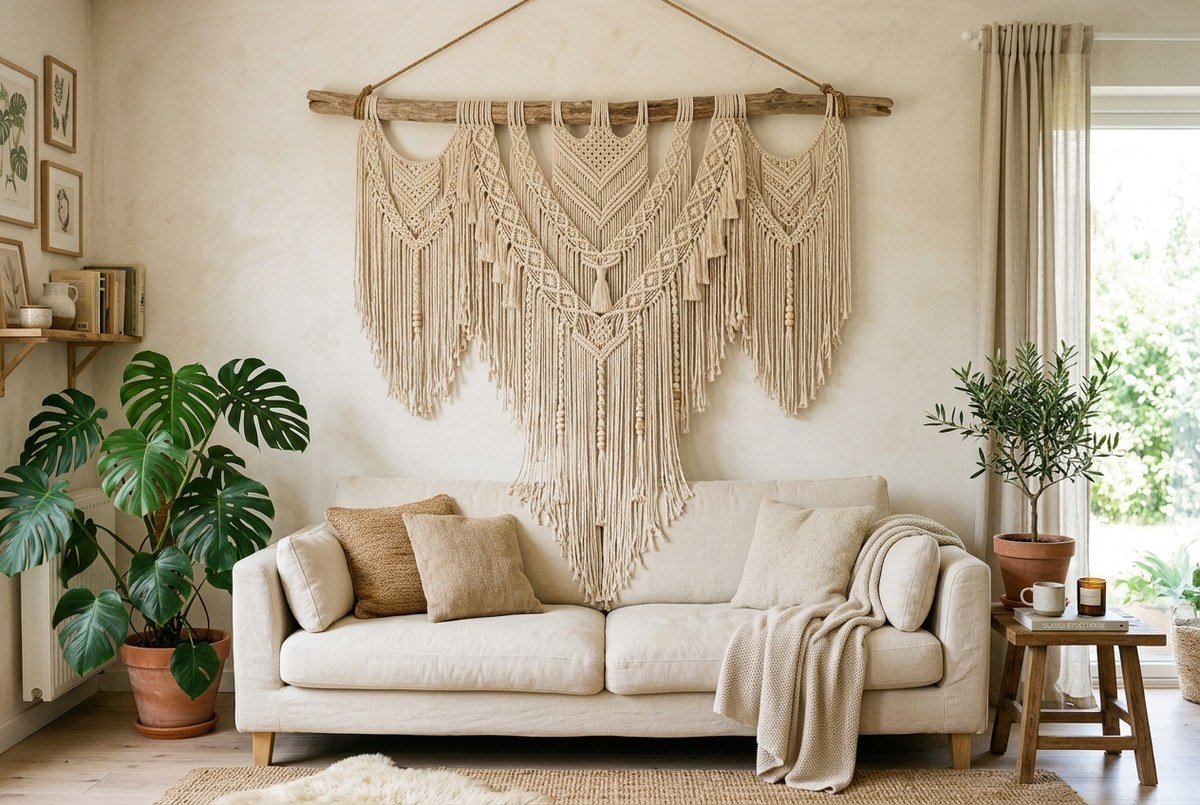
Quick Project Summary
A large macrame wall hanging is an expansive statement textile art piece mounted on a 36-inch to 54-inch wooden dowel or natural driftwood branch. Woven with heavy-duty 4mm or 5mm 3-ply twisted cotton cord, a typical 48-inch wide tapestry requires approximately 650 to 900 feet of cord and features tiered geometric chevron diamonds, alternating square knot meshes, and cascading brushed fringe. This intermediate craft project takes 5 to 8 hours to complete, costs $35 to $60 in materials, and saves over $250 compared to boutique retail fiber art.
While oversized store-bought fiber tapestries regularly command prices between $200 and $500, crafting your own allows you to custom-match your branch length, cord thickness, and geometric diamond symmetry to your exact wall proportions. In this comprehensive step-by-step master guide, you will learn the exact cord calculation formulas, driftwood preparation techniques, structural knotting patterns, and fringe styling secrets needed to build a magnificent large macrame wall hanging.
Materials, Tools & Dimension Planning
Creating an oversized textile tapestry requires substantial cord tensile strength so that long hanging cords do not stretch unevenly under their own gravitational weight. Review the complete materials matrix below:
| Supply / Component | Recommended Specification | Quantity Needed | Artisan Purpose |
|---|---|---|---|
| Cotton Macramé Cord | 5mm 3-ply twisted unbleached natural cotton rope | 800 feet (245 meters) | Main body chevron diamonds, square knots & cascading fringe |
| Mounting Branch / Dowel | 48-inch (120 cm) natural driftwood or 1.25″ oak dowel | 1 piece | Structural hanging support |
| Measuring Tape | Flexible tailor tape or 25ft steel tape measure | 1 unit | Precision cord length cutting and symmetrical spacing |
| Tailor Shears | 8-inch heavy-duty fabric shears | 1 pair | Clean, crisp cutting without fraying rope tips prematurely |
| Pet Slicker Brush | Fine metal wire bristle grooming brush | 1 brush | Unravels and fluffs dense 3-ply bottom fringe into soft cotton clouds |
| Painter’s Masking Tape | 1.5-inch blue or beige paper tape | 1 roll | Secures straight cut lines when trimming bottom fringe hem |
The Master Cord Length Calculation Formula
One of the most common beginner pitfalls is cutting cord strands too short, leaving you stranded midway through a complex pattern. Because knotting consumes significant fiber, calculate your cord lengths using our universal workshop rule:
Large Wall Hanging Formula:
Individual Strand Cut Length = (Desired Finished Length × 4.5) × 2
Example: For a 40-inch long finished wall hanging, each folded working strand should measure 40″ × 4.5 = 180 inches (15 feet). When folded in half over the dowel, this creates two 15-foot working ends (total cut length = 30 feet per strand).
To customize cord math for other project dimensions, consult our interactive macramé cord calculator and beginner reference on how to make a beginner macramé wall hanging.
Step-by-Step Large Wall Hanging Construction
Phase 1: Preparing Driftwood & Lark’s Head Mounting
If using natural foraged driftwood, scrub the branch with warm soapy water and allow it to dry completely for 48 hours. Lightly sand away sharp burrs with 180-grit sandpaper while preserving the organic weathered texture.
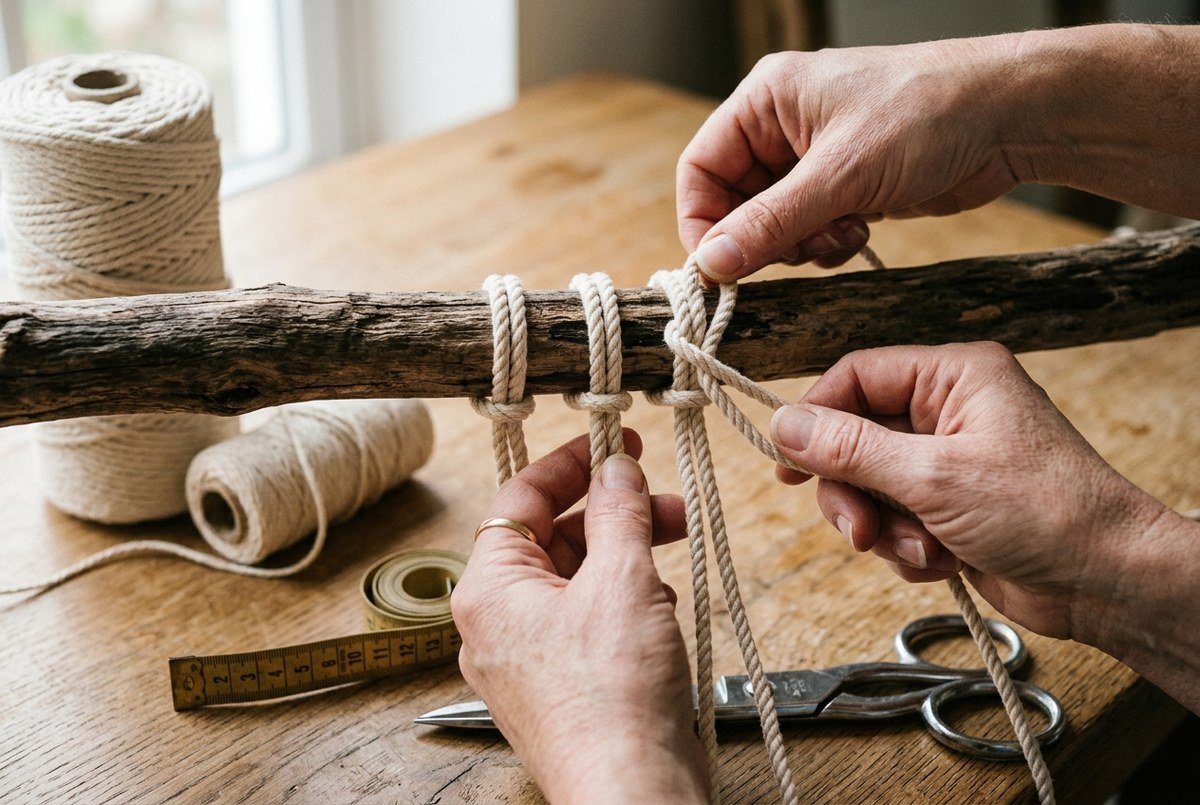
- Cut Working Strands: Cut 28 strands of 5mm cotton cord, each measuring 24 feet (7.3 meters) long.
- Mount Cords: Fold each strand precisely in half. Place the center loop over the driftwood branch from front to back, pull the two tail ends through the loop, and pull down firmly to seat the Lark’s Head knot.
- Spacing: Mount all 28 folded strands across the center 36 inches of your 48-inch branch (yielding 56 working cords hanging vertically), leaving 6 inches of natural exposed wood on each end.
- Attach Suspension Cord: Cut a separate 6-foot heavy cord and tie each end to the outer edges of the branch using double half-hitches to hang the piece at comfortable eye level on a clothes rack or wall hook.
Phase 2: Weaving the Tiered Chevron Diamond Lattice
The structural hallmark of large bohemian tapestries is the multi-layered chevron diamond pattern, constructed using alternating square knots and diagonal double half-hitches.
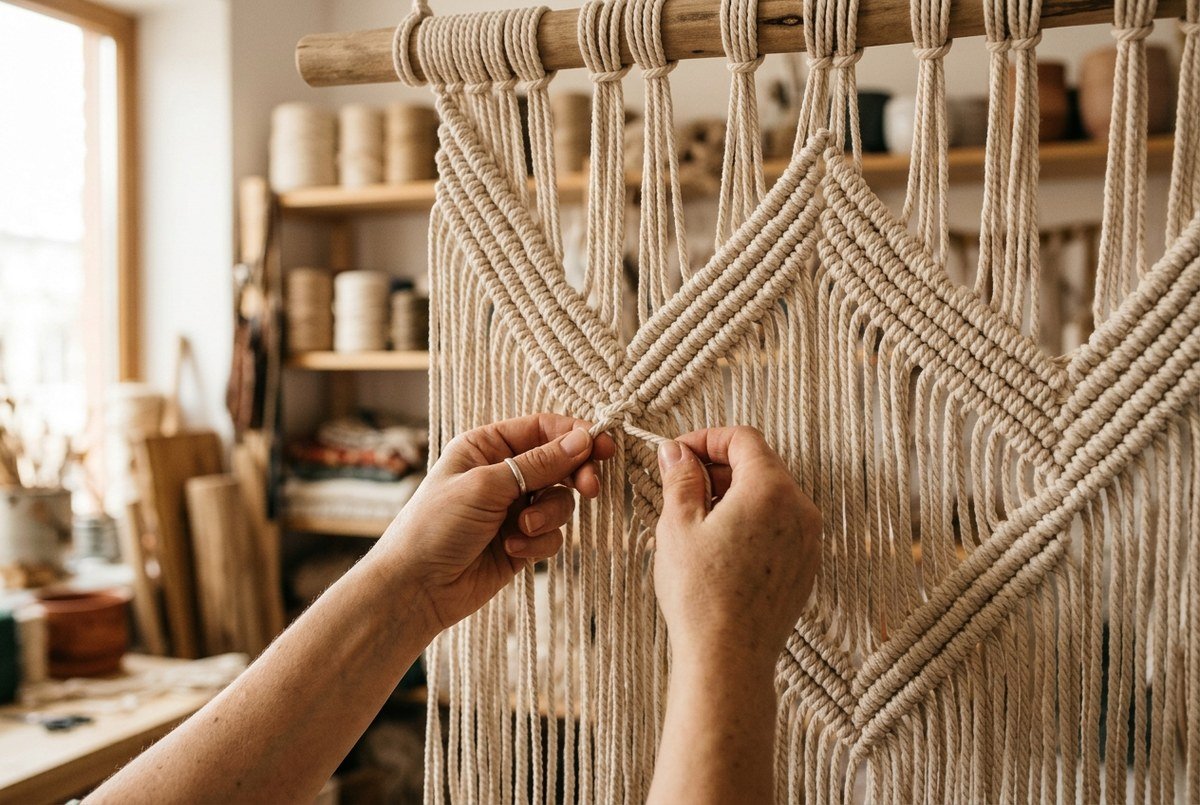
- Row 1 Base Knots: Group cords into sets of 4 (14 sets total) and tie 14 Square Knots directly beneath the driftwood mounting knots.
- Alternating Mesh: For Row 2, leave the first 2 cords unworked, and tie 13 Alternating Square Knots using 2 cords from adjacent knots. Repeat for 4 rows to establish a firm upper header.
- Center Diamond Anchor: Identify the center 8 cords. Take the 4th cord as your Left Lead (filler cord) and angle it diagonally down and left. Tie 3 Diagonal Double Half-Hitches over it.
- Mirror the Right Lead: Take the 5th cord as your Right Lead, angle it down and right, and tie 3 Diagonal Double Half-Hitches. Fill the diamond interior with 3 dense square knots, then close the bottom apex with a final clove hitch.
- Flanking Outer Diamonds: Repeat this chevron geometry across the left and right quadrants to form a dramatic 3-tiered diamond tapestry.
Phase 3: Shaping, Combing & Trimming the Cascading V-Fringe
The lower third of your wall hanging gives it luxurious movement and softness. Creating a clean, graduated V-shaped hem elevates the entire installation.
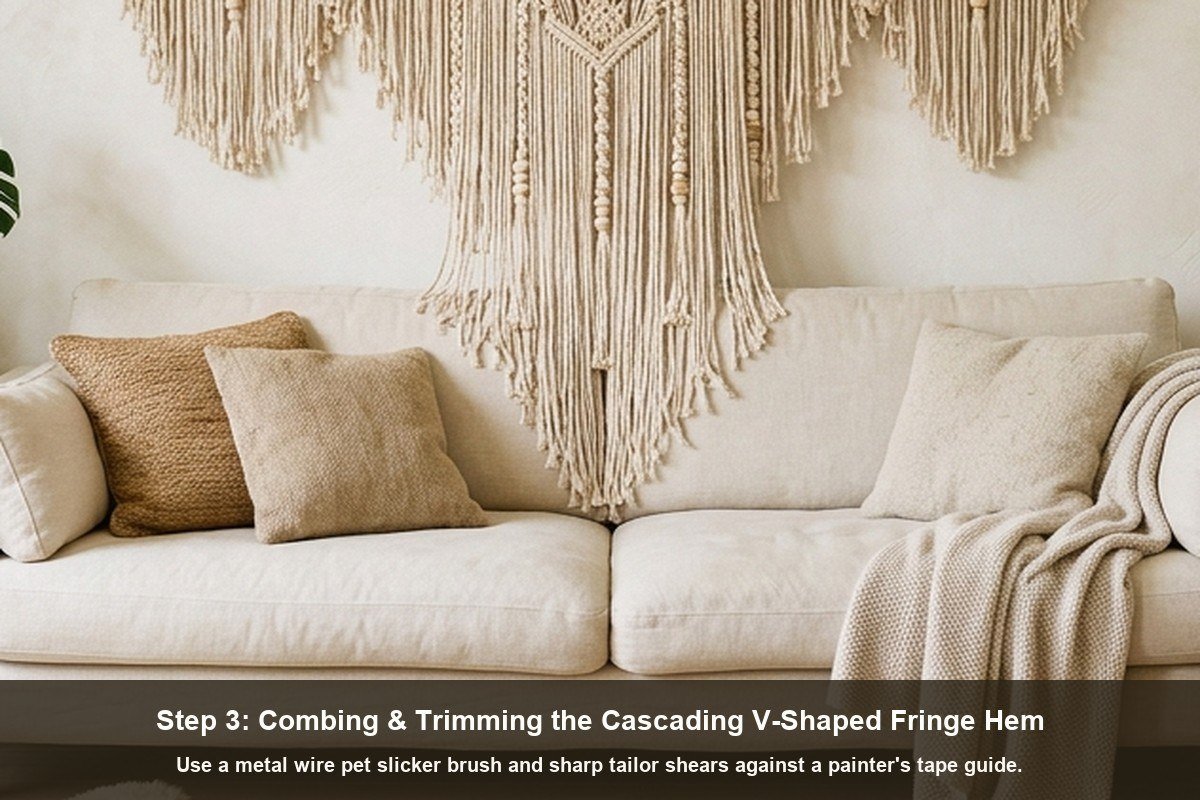
- Step 1: Hang the Piece Flat: Hang your wall hanging against a flat white wall or craft board so all cords hang straight with natural gravitational tension.
- Step 2: Apply Painter’s Tape Guide: Apply two strips of 1.5-inch blue painter’s tape across the bottom cords, angling downward from the outer edges to meet at a sharp point in the center, forming a precise 45-degree V-shape.
- Step 3: Cut Along the Tape Edge: Using sharp fabric shears, cut slowly along the bottom edge of the blue tape. Cutting against the tape prevents cords from shifting or yielding jagged edges.
- Step 4: Unravel & Brush: Remove the tape. Using a metal pet slicker brush or fine comb, gently brush the lower 6 inches of 3-ply twisted cord from bottom to top, separating the individual cotton fibers into a lush, feathery fringe. For stiffer feather accents, review our guide on how to make macramé leaves that stay flat.
Styling, Mounting & Room Pairing Ideas
To maximize visual impact, pair your finished large macramé tapestry with organic interior textures:
- Living Room Sofa Focal Point: Hang the 48-inch branch centered 8 to 12 inches above your sofa backrest, flanked by floating wooden shelves and trailing pothos vines. Coordinate with our 15 small apartment DIY decor ideas.
- Boho Bedroom Headboard Alternative: Mount directly above a queen or king mattress against warm terracotta or oatmeal walls, paired with our boho chic bedroom styling ideas.
- Fiber Care & Cleaning: Dust your wall hanging monthly using a hair dryer on a cool, low setting. Never submerge the entire wall hanging in water; spot clean stains gently with mild soapy water and let air dry. Learn more about sustainable fiber textile care from the OEKO-TEX International Association.
Advanced Macramé Knotting Techniques for Large Tapestries
When scaling up from small wall hangings to 48-inch statement installations, subtle knotting errors multiply across dozens of hanging cords. Mastering these four advanced tension and alignment techniques ensures your finished piece hangs completely flat without bowing or twisting:
1. The Consistent Angle Double Half-Hitch Rule
The diagonal double half-hitch (clove hitch) is the most critical structural knot in chevron tapestries. The secret to razor-sharp lines lies in holding your Lead Cord (Filler Cord) at a rigid, unwavering 45-degree angle with your non-dominant hand while tying the two loops with your dominant hand. Never let the lead cord slacken while pushing the working loops upward.
2. Preventing the Dreaded Center Sag (Horizontal Bowing)
Because the center of a large macramé piece contains the highest knot density, natural downward cord weight can cause the horizontal header to pull down into a smiley-face curve. To prevent this, always work horizontally across entire rows rather than finishing one quadrant completely before starting the next. This balances tension evenly across the full width of your driftwood branch.
3. Splicing Extra Cord When You Run Short
If an active working cord runs short midway through a large diamond, you do not need to start over. Introduce a new 6-foot length behind the work, weave it alongside the short tail through two square knots, pull snug, and hide the excess tail behind the knot core with a dab of fabric glue.
Comprehensive Macramé Troubleshooting Guide
| Issue | Root Cause | Workshop Fix |
|---|---|---|
| Wavy / Buckling Tapestry | Uneven knot tension across adjacent square knots | Gently massage and stroke cords downward while misting lightly with distilled water; let dry flat under a towel. |
| Curling Bottom Fringe | Static electricity and memory in 3-ply twisted cotton fibers | Use a clothes steamer held 4 inches away while combing with a pet slicker brush to relax the cotton fibers. |
| Driftwood Tilting / Lopsided Hang | Suspension cord knot placed off-center relative to branch weight | Slide the top hanging triangle loop along the branch until the level reads 0 degrees, then secure with a dab of wood glue. |
Frequently Asked Questions (FAQ)
Q: What is the best cord thickness for a large macramé wall hanging?
A: For tapestries spanning 36 to 60 inches wide, 5mm 3-ply twisted cotton cord is the golden standard. 3mm cord requires twice as many knots and looks too delicate on large walls, while 8mm cord is overly bulky for intricate chevron diamonds. 5mm offers the ideal balance of bold knot definition, structural stability, and soft fringe.
Q: How do you keep large macramé fringe from separating or twisting over time?
A: After brushing out your fringe with a pet slicker brush and trimming it to shape, spray a light, even mist of unscented extra-hold hairspray or specialized fabric stiffener across the back side of the fringe. This holds the combed fibers in a smooth, cloud-like curtain without making the front feel stiff.
Q: How heavy is a completed 48-inch macramé wall hanging?
A: A finished 48-inch piece using 800 feet of 5mm cord and natural driftwood typically weighs between 4.5 to 7.0 pounds (2 to 3.2 kg). It can be safely hung on standard drywall using two 20-lb rated brass picture hooks or anchored directly into wooden wall studs.

